5 Things I Learned Making a Dinosaur Cake
I made a homemade dinosaur cake for my son's birthday and learned five things the hard way. Here's what actually worked, and what I'd change. If you love dinosaur cake inspiration, start with our Dinosaur Cake Ideas collection, then browse the full Cake Ideas hub for more.
Save this for later 📌
Pin this article to your Pinterest board so the full list is one tap away when you need it.
Save on PinterestCake Ideas
Intermediate
Kitchen Journal
5 steps
Table of Contents
- Lesson 1: Bake and Freeze the Cakes a Day Ahead
- Lesson 2: Use Gel Color for Green, Not Liquid Drops
- Lesson 3: Make the Spikes and Plates the Day Before
- Lesson 4: Crumb Coat, Chill, Then Do the Textured Coat
- Lesson 5: Support and Balance the Tail and Neck Before You Move It
- What I'd Tell a Friend Trying This
- The Recipe I Used
Lesson 1: Bake and Freeze the Cakes a Day Ahead
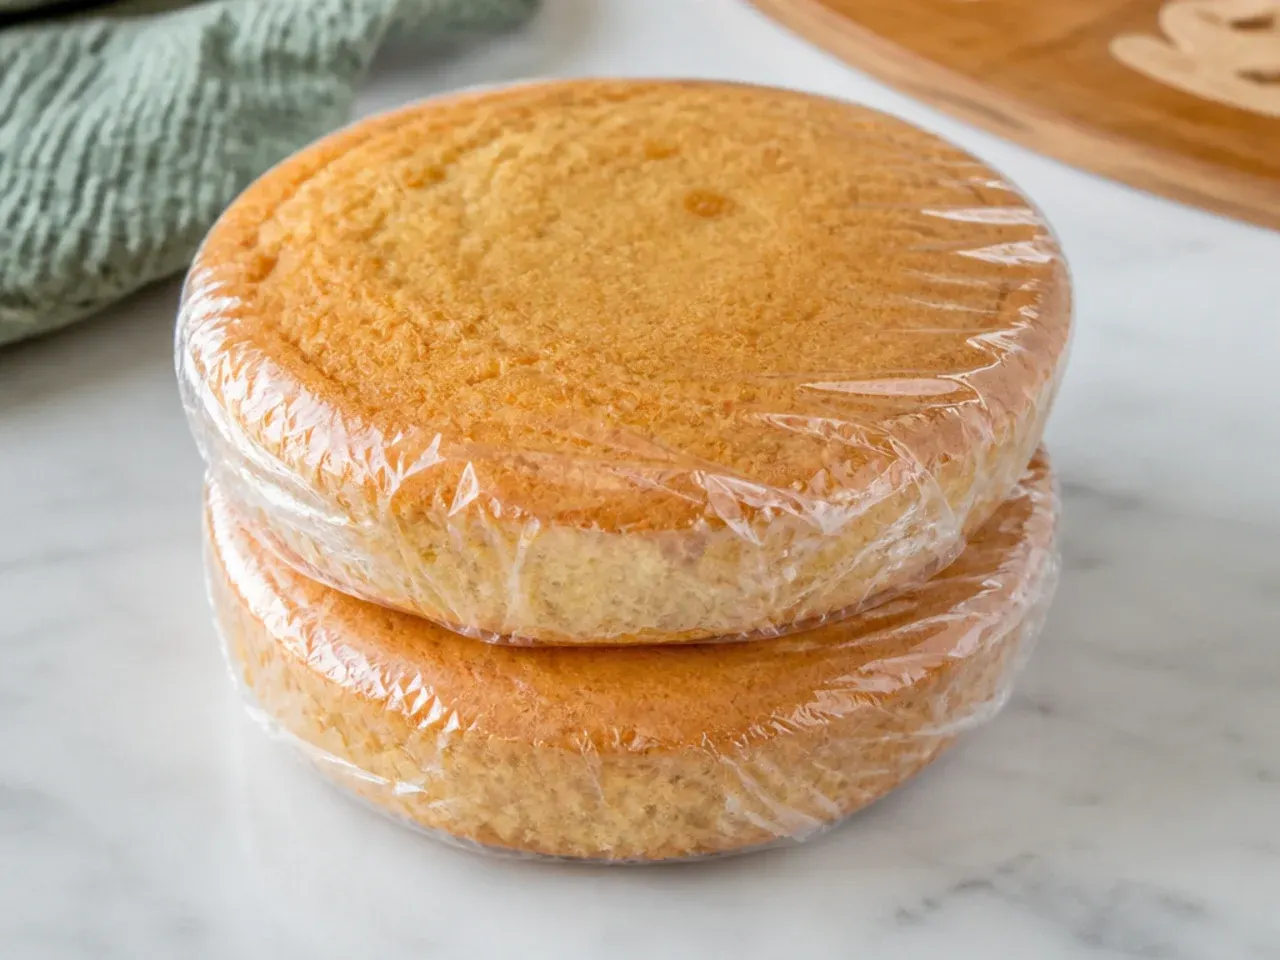
I tried to bake, cool, carve, and decorate all in one afternoon, and by 6pm I was frosting a cake that was still slightly warm, so the buttercream slid off in sheets. Next time I'll bake two 8-inch round layers a day early at 180C (350F) for 25 to 30 minutes, cool them fully, then wrap and freeze overnight. A cold, firm cake carves cleanly and holds crumbs in place, which is exactly what you want when you're shaping a dino body and long tail. Frozen layers also let you crumb coat without the sponge tearing, and the whole thing defrosts under the frosting while you decorate. Splitting the job across two days turned a stressful sprint into two calm, manageable steps.
Lesson 2: Use Gel Color for Green, Not Liquid Drops
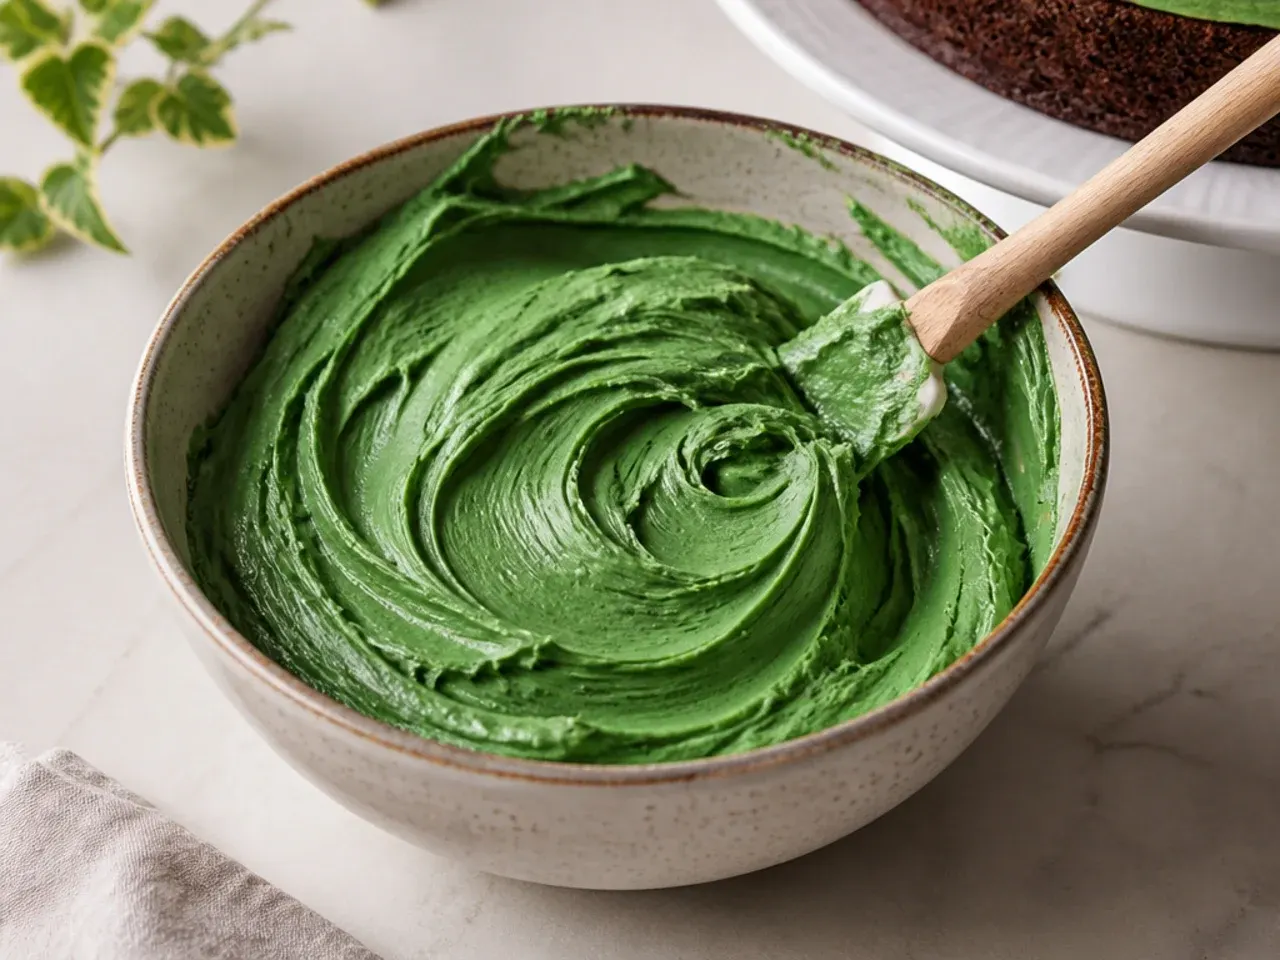
My first batch of buttercream went full radioactive lime because I kept adding supermarket liquid green, which is weak, so I overdid it and the frosting turned soupy too. The fix is gel or paste color, which is concentrated, so a little gives a deep shade without thinning the buttercream. For a natural dinosaur green I now mix a leaf or moss green with a tiny hit of yellow, then knock it back toward earthy with a toothpick-tip of black or brown, added a touch at a time. Aim for a muted forest green, not neon, because it reads more like a real dino and photographs far better. Color it a shade darker than you want, since buttercream deepens as it sits for an hour.
Lesson 3: Make the Spikes and Plates the Day Before
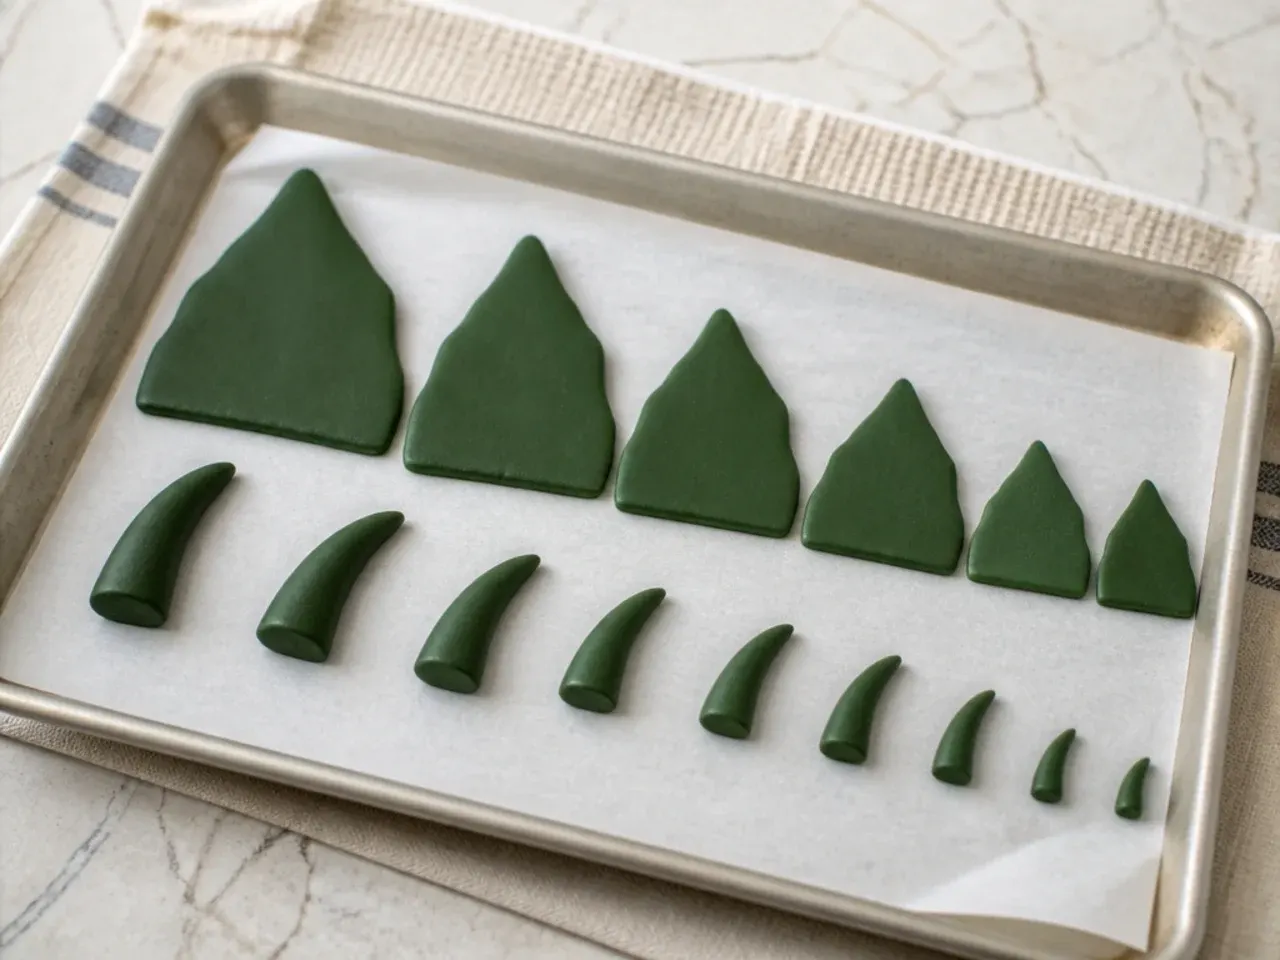
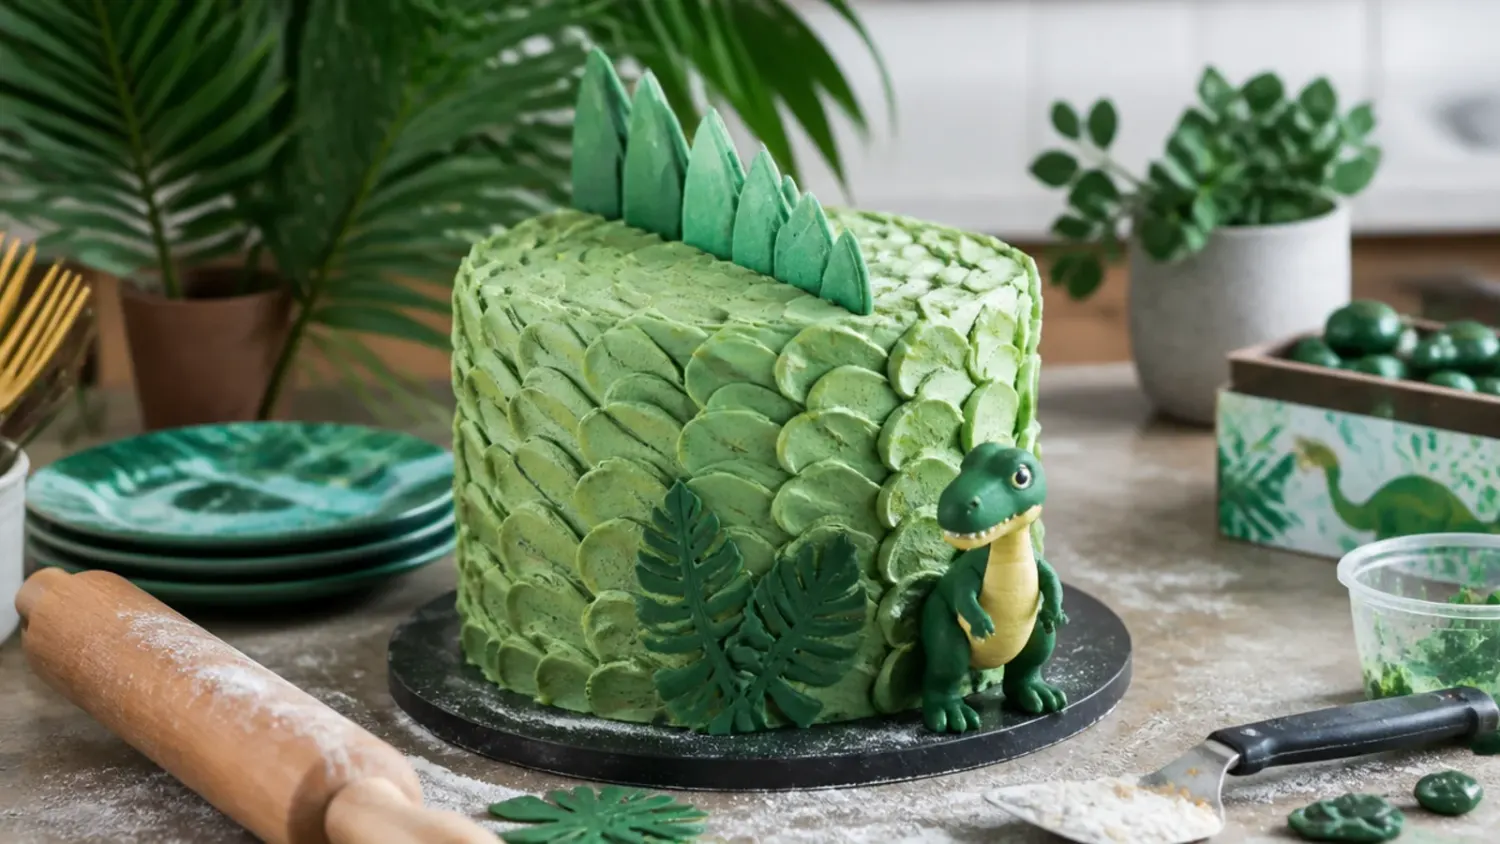
I tried to cut fresh soft fondant spikes and press them on right away, and every single one flopped over like wet cardboard. What actually works is shaping the back plates and tail spikes from fondant mixed with a little tylose or gum paste, then leaving them to dry hard overnight on baking paper so they stand straight. I use teardrop or triangle cutters in three sizes for a spine that gets smaller toward the tail, and I insert a short piece of dry spaghetti into the base of the tall ones so they anchor into the cake instead of sliding. If fondant feels like too much, Oreo Thins pushed in on edge make great armor plates and candy corn or chocolate buttons work as quick spikes. Making them a day ahead means they are rock solid when it counts.
Lesson 4: Crumb Coat, Chill, Then Do the Textured Coat
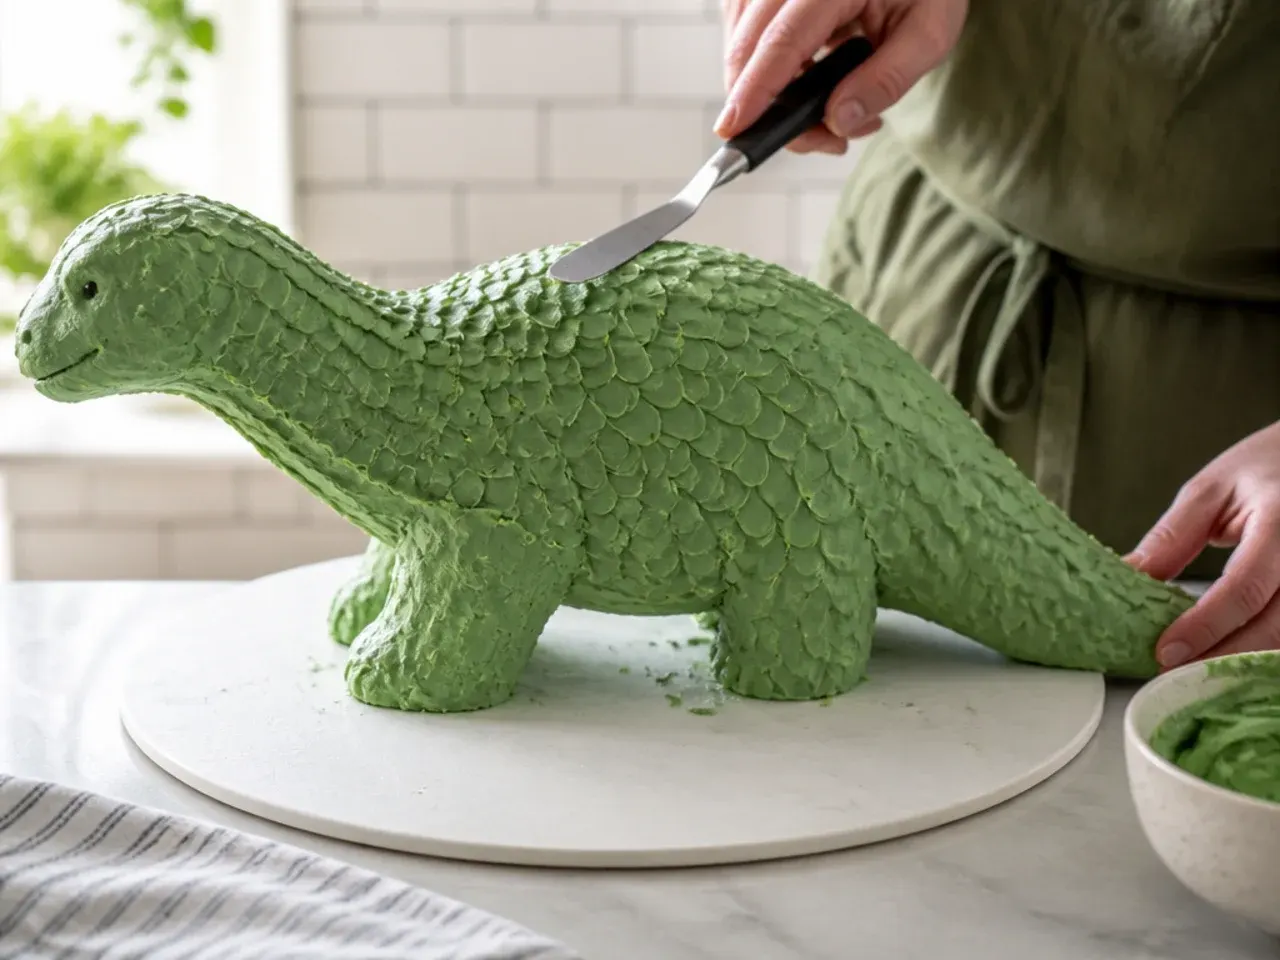
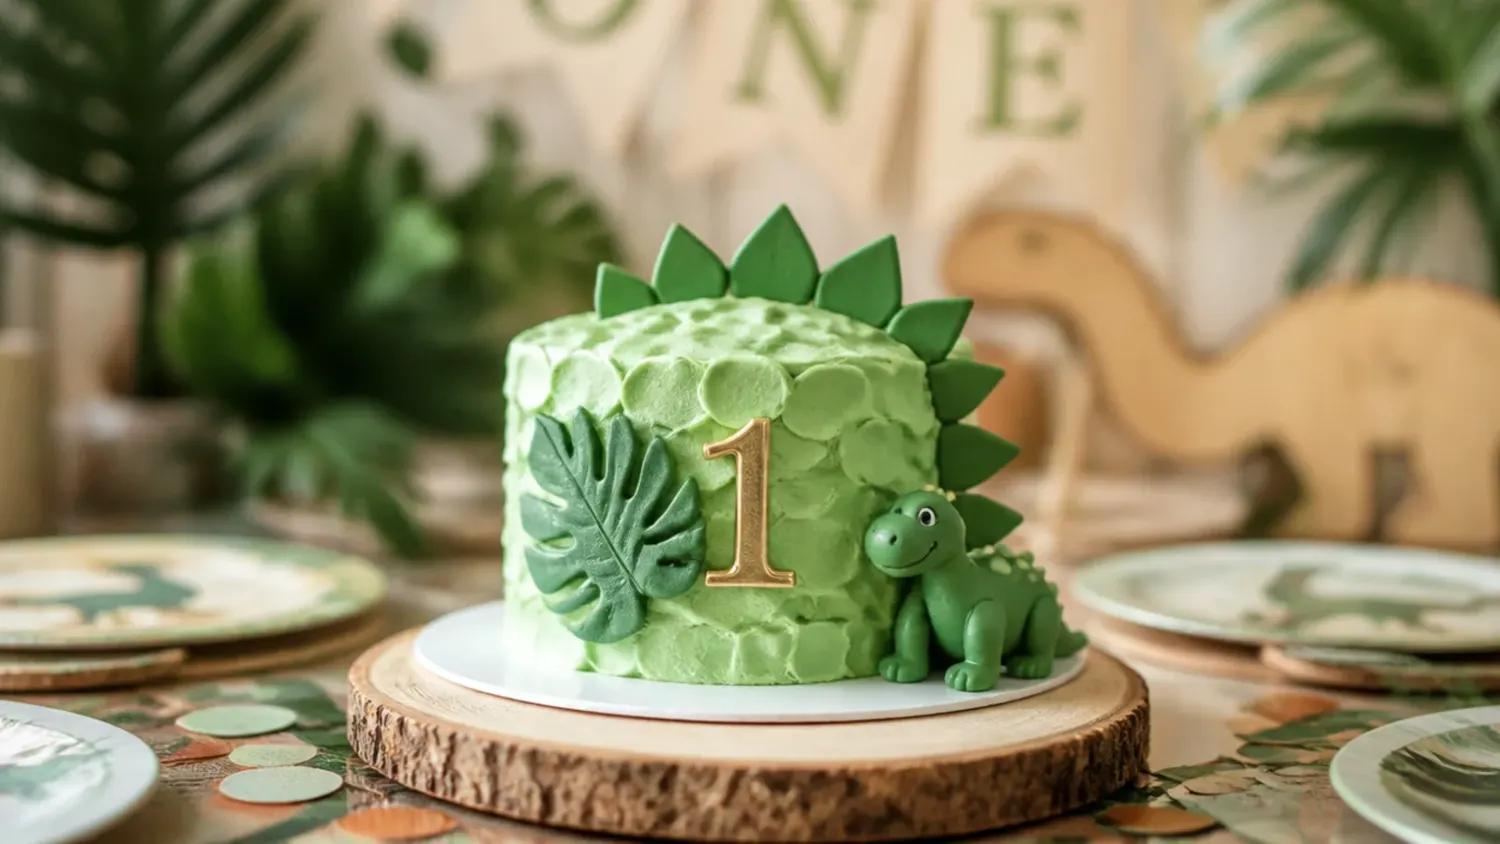
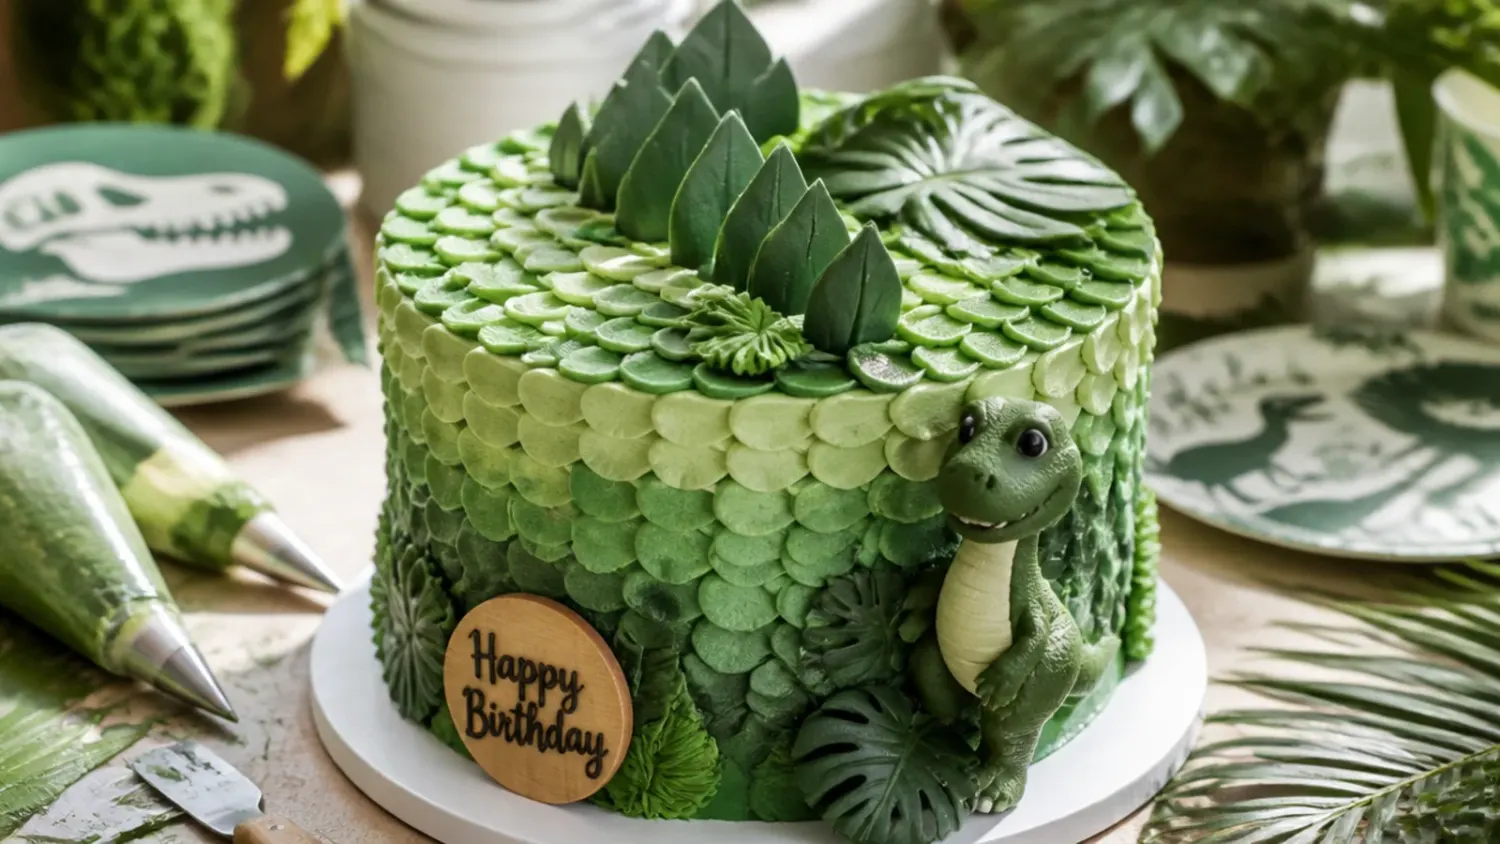
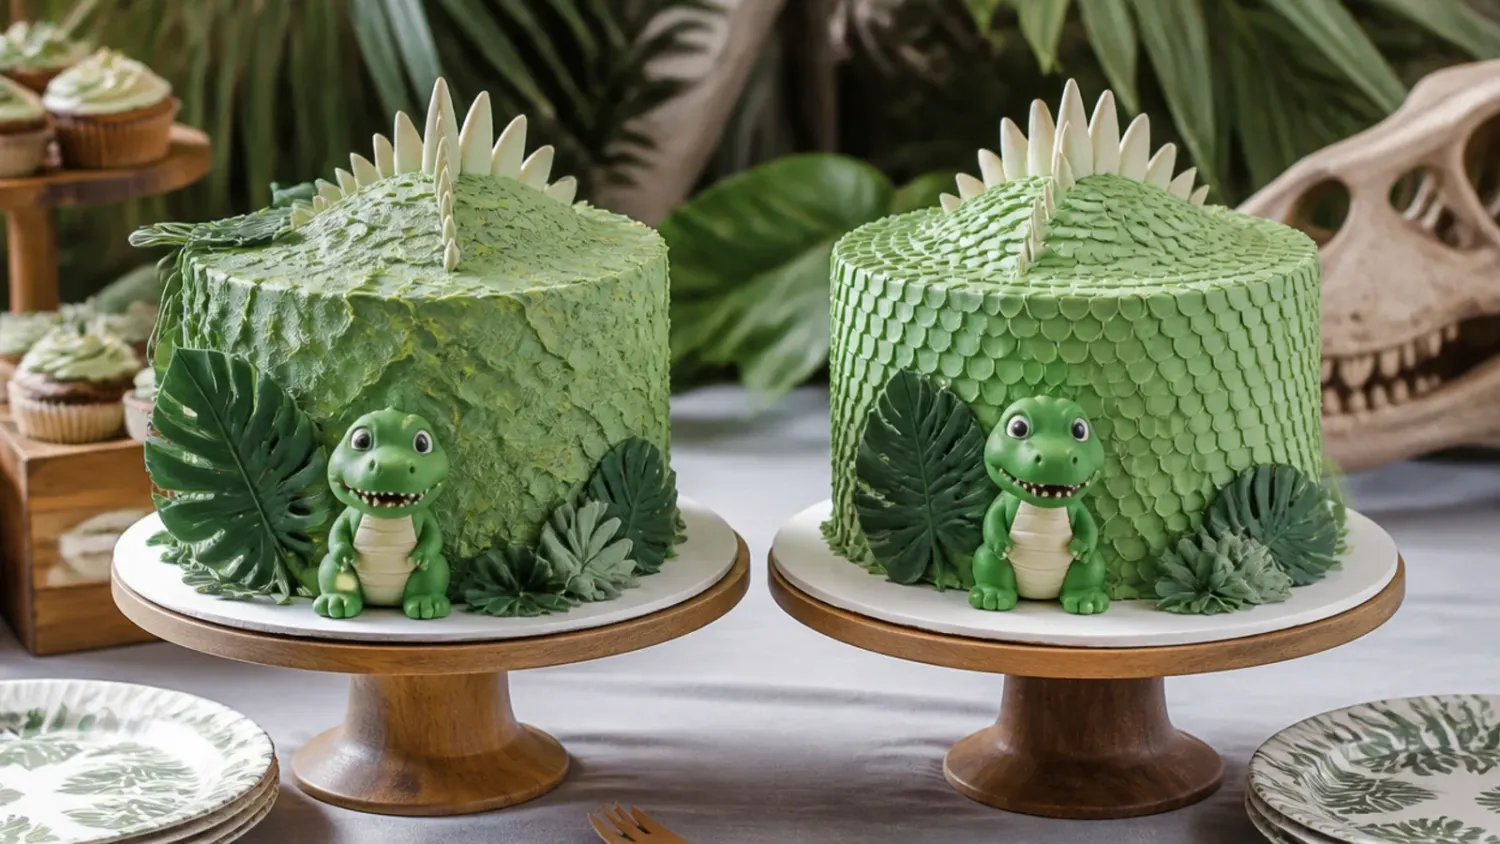
The first time, I slathered thick green buttercream straight onto the bare cake and dragged brown crumbs all through it, so my dinosaur looked mouldy. The real order is a thin crumb coat first, just enough to glue the crumbs down, then chill the cake in the fridge for 20 to 30 minutes until the surface is firm to the touch. After that the final green coat goes on clean, and I press a small offset palette knife into it in short flicks to build a scaly, bark-like skin texture that hides every imperfection. For the belly I switch to a lighter green using a piping bag so the tummy stands out from the back. Chilling between coats is the single step that made mine look intentional instead of accidental.
Lesson 5: Support and Balance the Tail and Neck Before You Move It
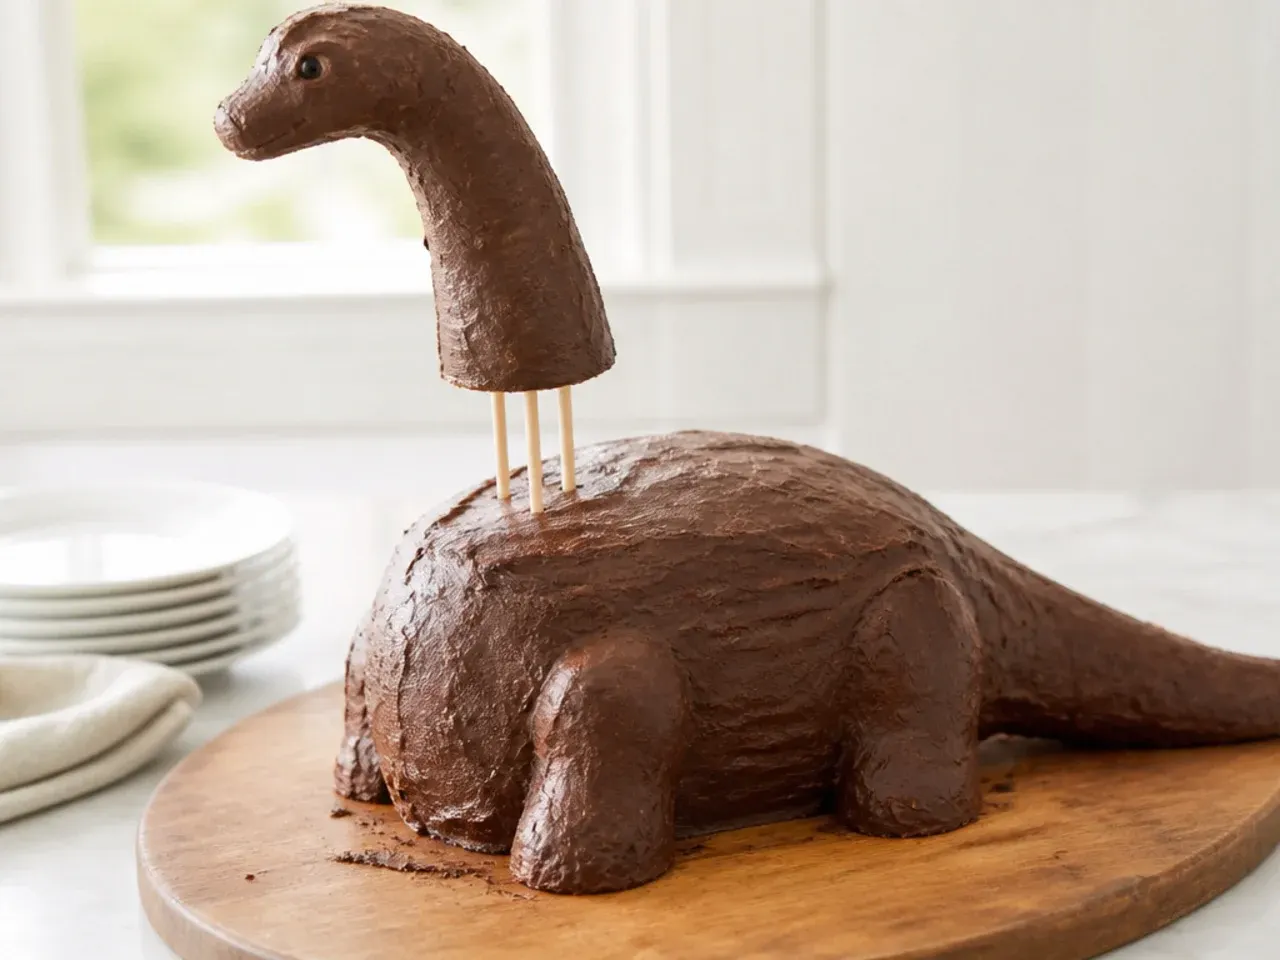
My dino had a long tail and a raised neck, and when I lifted the board the tail cracked clean off at the join because there was nothing holding it. Now I trim the carved pieces so the head and tail sit low and wide, keep the heaviest part of the cake over the center of the board, and push a couple of trimmed bubble-tea or plastic dowels down through any raised section like a lifted neck. I assemble directly on the serving board so I never have to transfer the finished cake, and I chill it firm again for 30 minutes before it travels. A pointed candy or fondant claw at the feet also visually anchors the shape so it reads as a stable, standing dinosaur. Structure first, cuteness second, or you will be piping repairs in the car park.
What I'd Tell a Friend Trying This
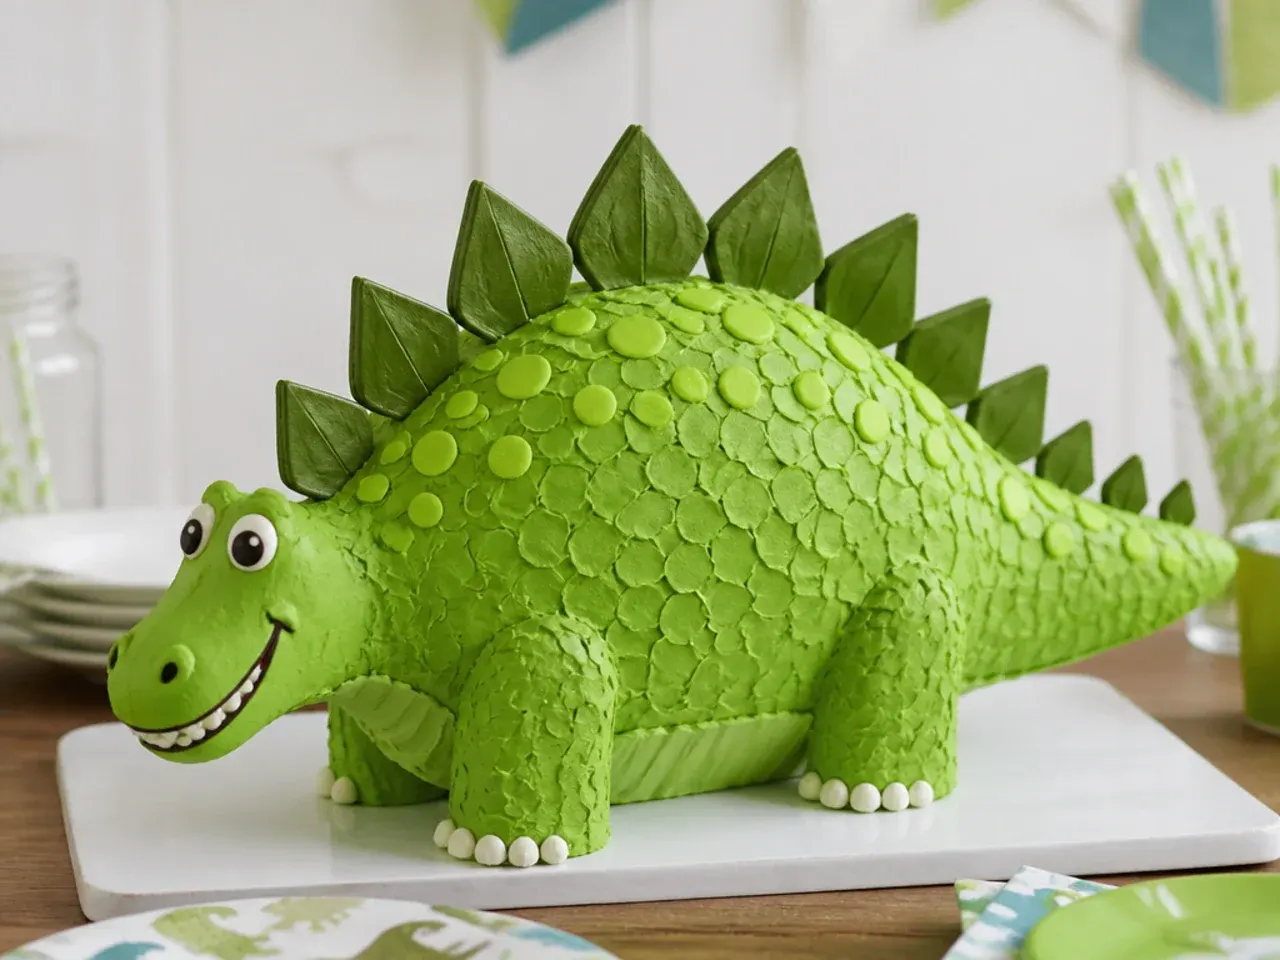
Honestly, a homemade dinosaur cake is 80 percent buttercream confidence and 20 percent skill, so don't let the shape scare you off. Bake and freeze your layers a day ahead, dry your fondant spikes overnight, and never skip the crumb-coat-then-chill step, because those three moves prevent almost every disaster I hit. Buy a couple of small plastic dinosaur toys as a backup topper, and keep an extra batch of green buttercream in the fridge for on-the-spot repairs, since something always needs patching. Pick a chunky, friendly dino body over a slim realistic one, because a rounder shape is far more forgiving to carve and far cuter to a four-year-old. Give yourself two evenings, put on some music, and remember the birthday kid will love it even if the tail is a little wonky.
The Recipe
The Recipe I Used
45 min
30 min
2 hr (plus chilling)
16
Intermediate
Ingredients 16 Person(s)
Directions
Step 1: Prep and preheat
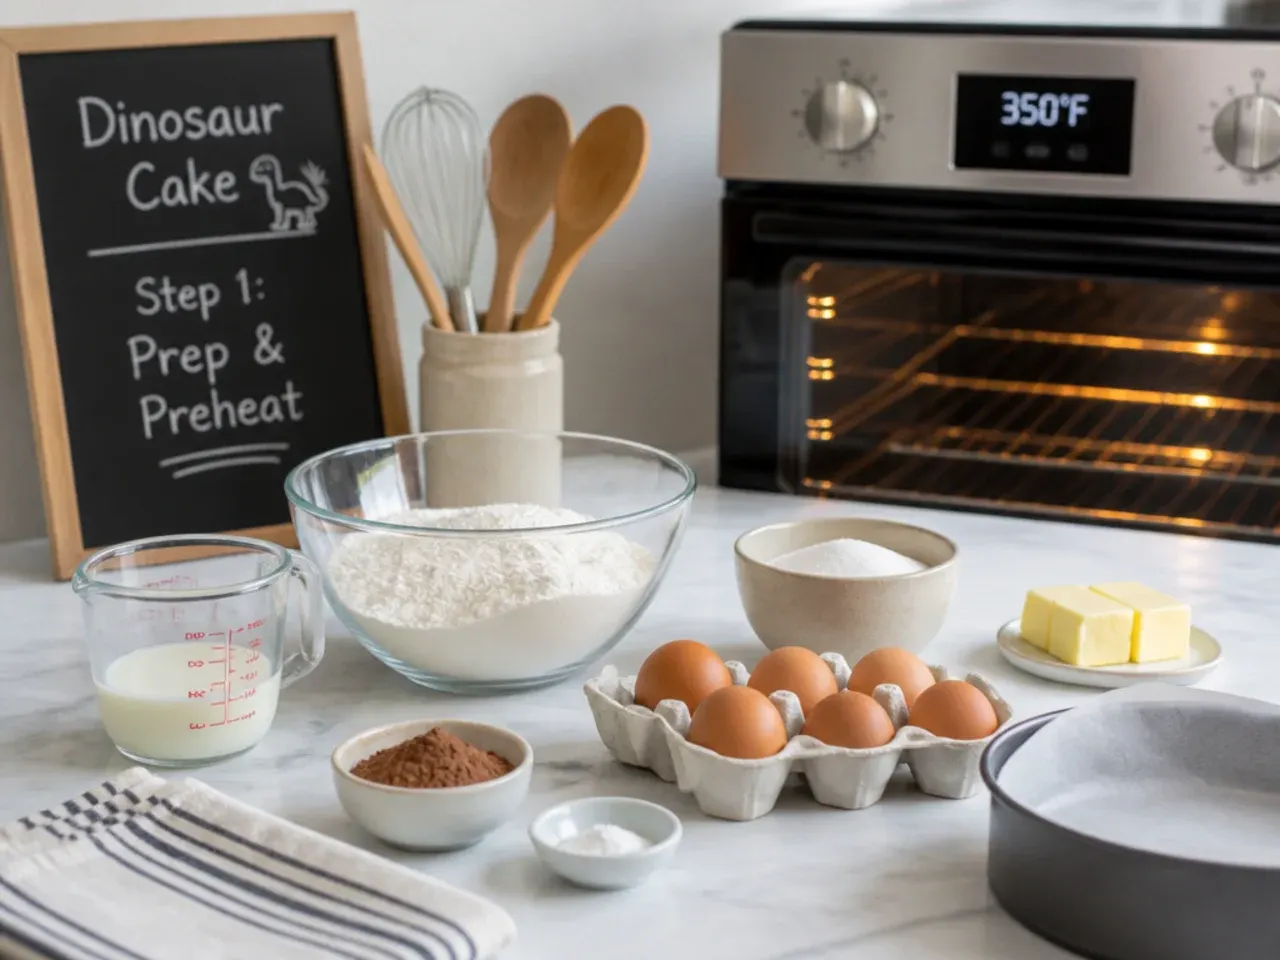
Heat the oven to 180C (350F), or 160C (325F) fan. Grease two 8-inch (20cm) round cake pans and line the bases with baking paper. Have all ingredients at room temperature so the batter emulsifies smoothly rather than curdling.
Step 2: Cream the butter and sugar
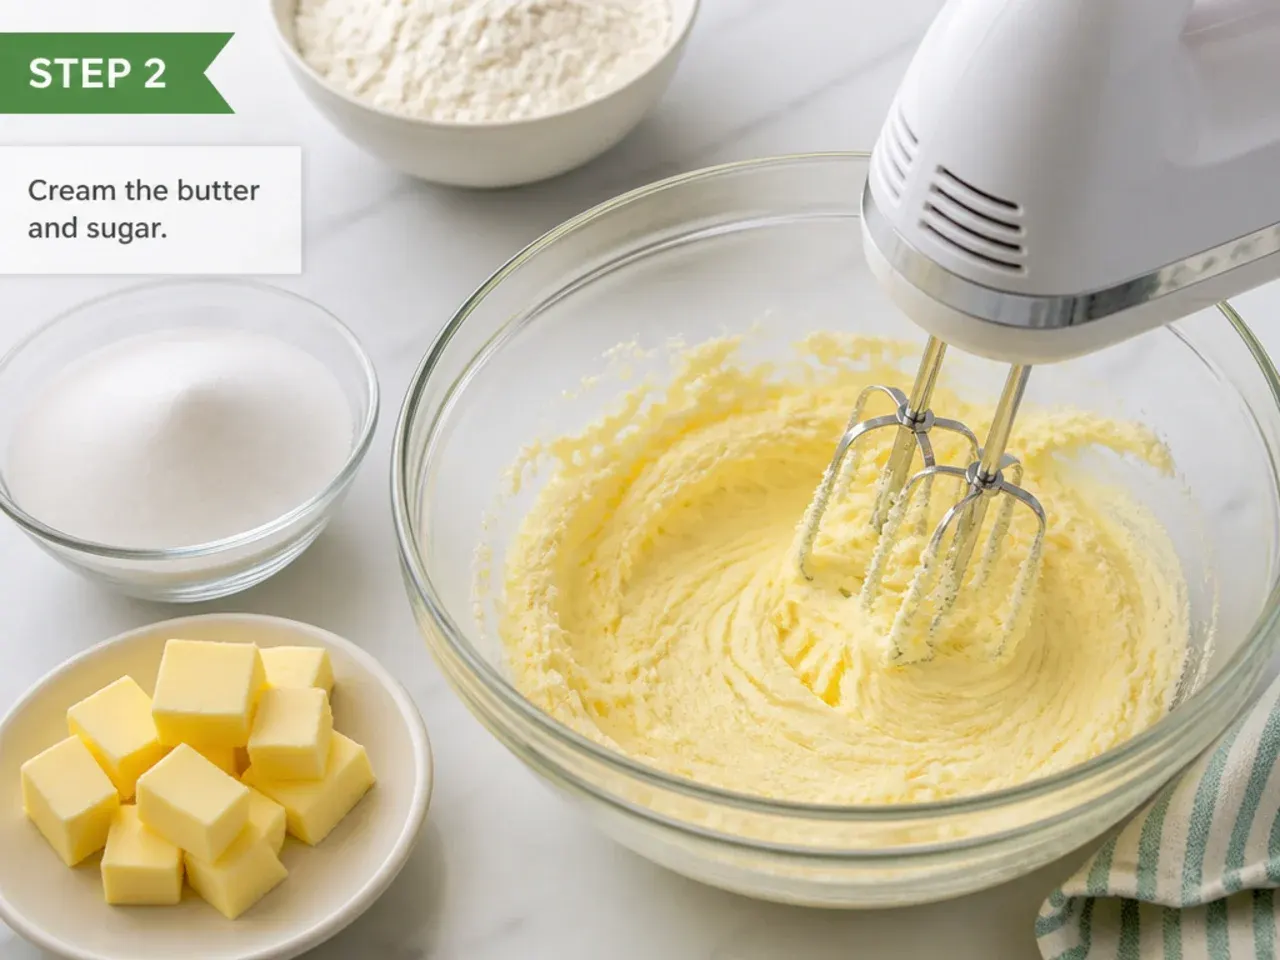
Beat the 225g softened butter with the 400g sugar on medium-high for 3 to 4 minutes until pale and fluffy. Add the eggs one at a time, beating well after each, then mix in the vanilla. Don't rush this, as the air you build here gives the cake a sturdy, carveable crumb.
Step 3: Add dry and wet alternately
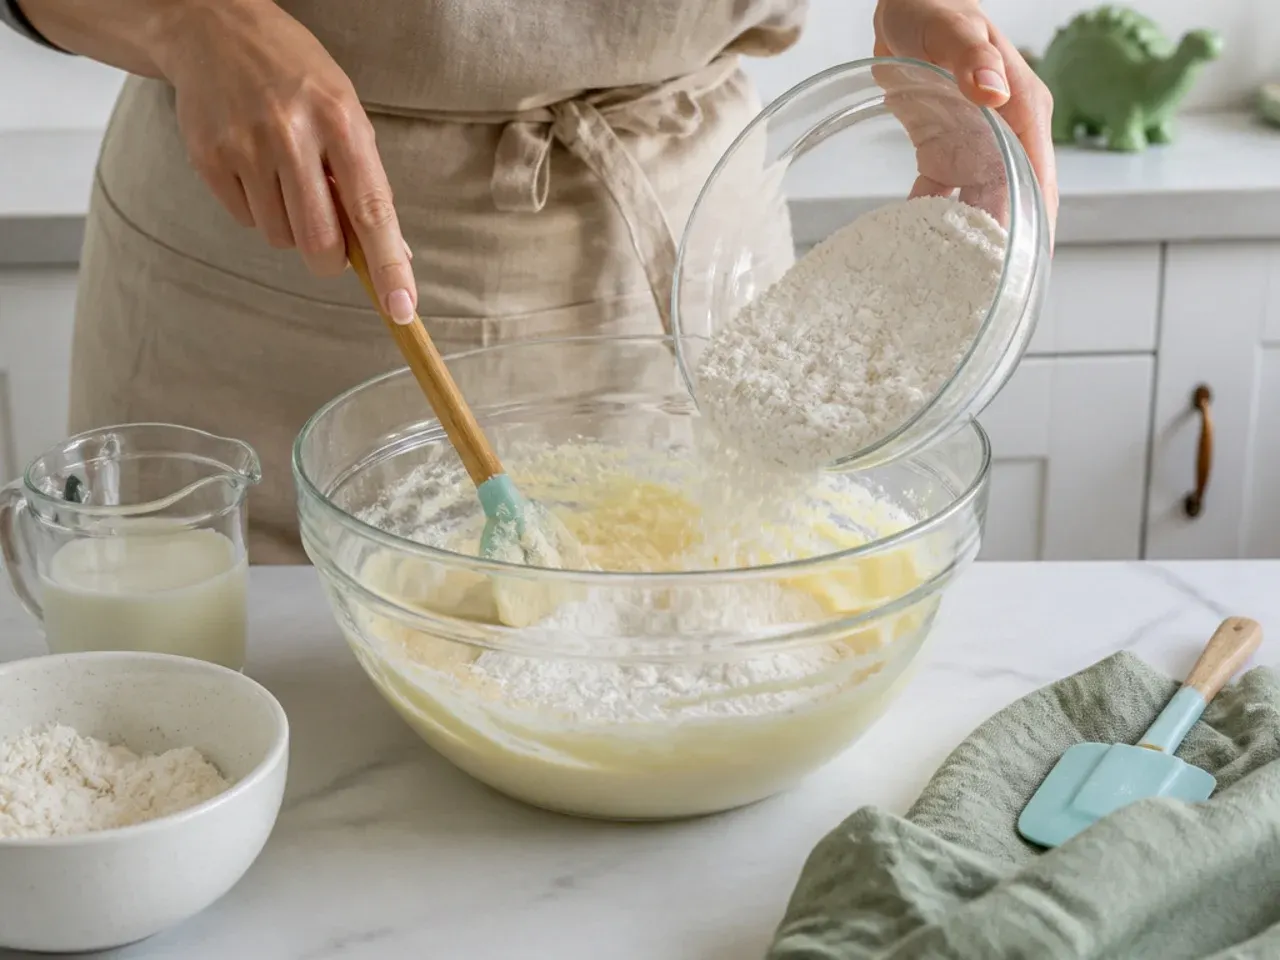
Whisk the flour, baking powder, and salt in a separate bowl. Add to the butter mixture in three additions, alternating with the milk and beginning and ending with flour, mixing on low just until combined. Overmixing at this stage makes the cake tough, so stop as soon as no dry streaks remain.
Step 4: Bake and cool
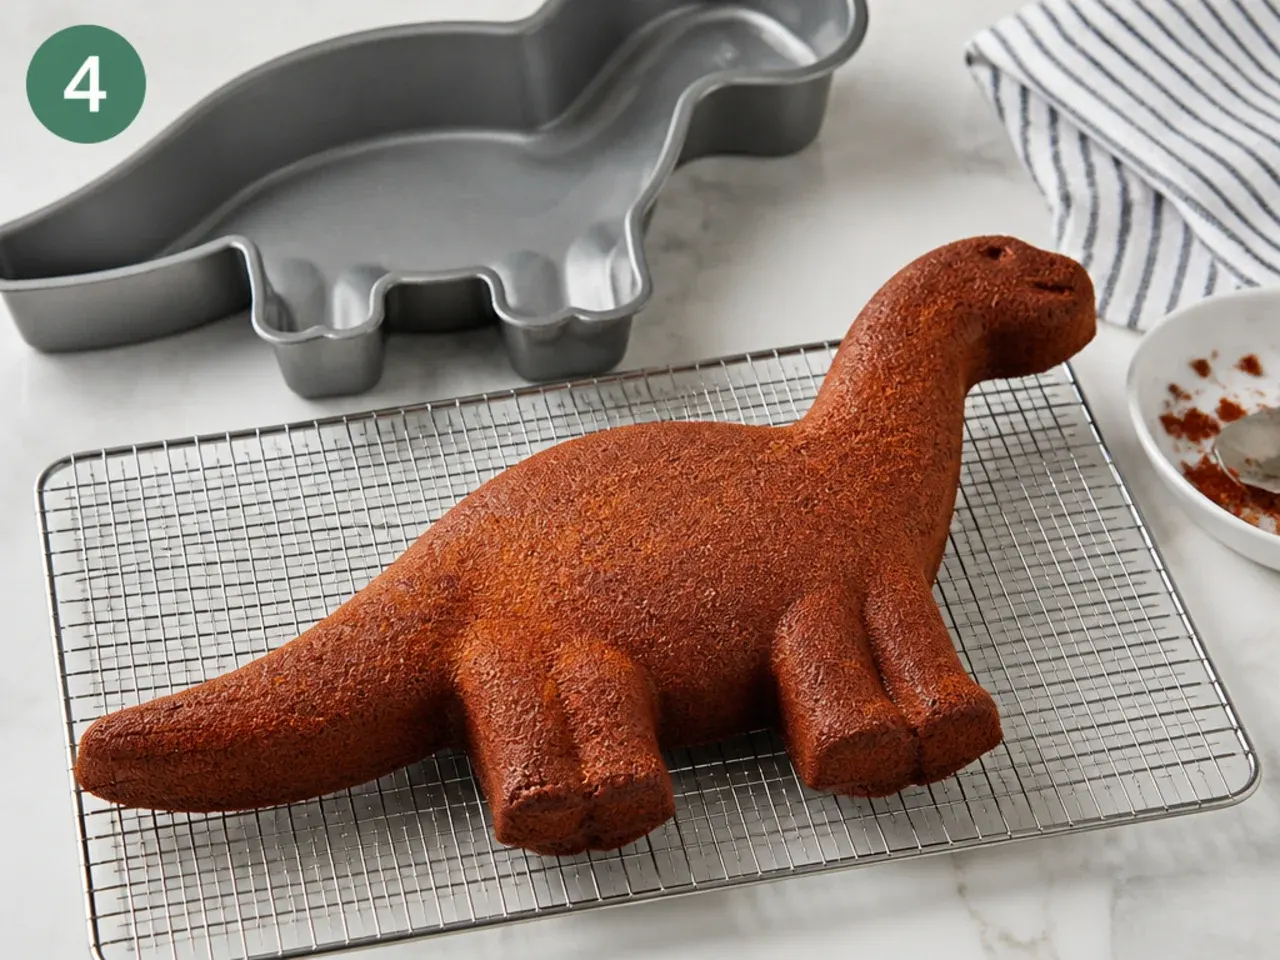
Divide the batter evenly between the two pans and smooth the tops. Bake for 25 to 30 minutes, until a skewer comes out clean and the tops spring back. Cool in the pans for 10 minutes, then turn out onto a rack to cool completely, ideally wrapping and chilling or freezing the layers so they carve cleanly.
Step 5: Make the buttercream
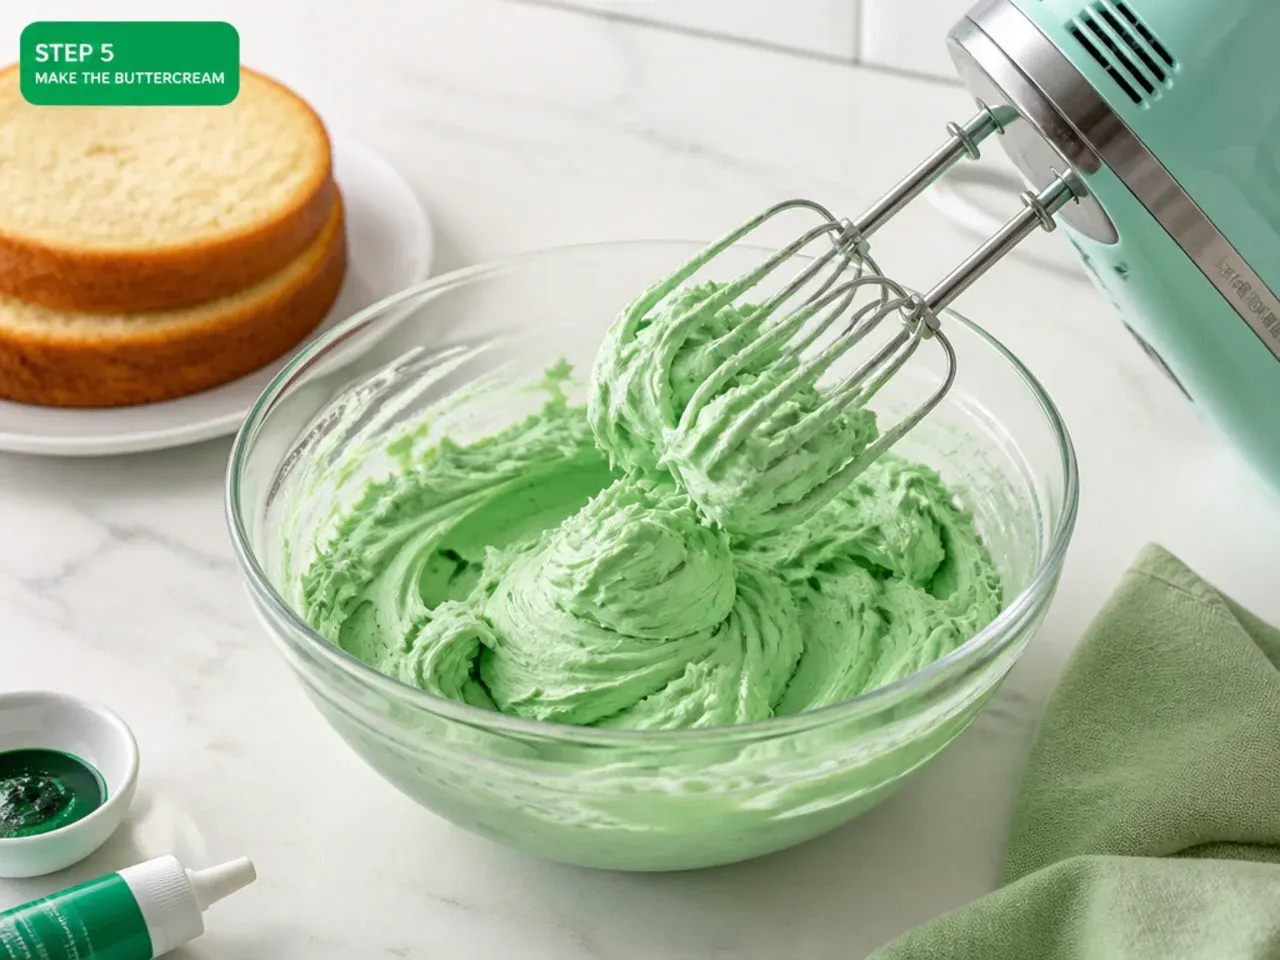
Beat the 340g softened butter for 2 minutes until creamy, then add the sifted icing sugar in two batches on low so it doesn't fly out. Pour in the milk or cream and a pinch of salt, then whip on medium-high for 3 to 4 minutes until light and spreadable. This makes roughly 6 cups, enough to fill, crumb coat, and texture-frost the whole dinosaur.
Step 6: Color and crumb coat
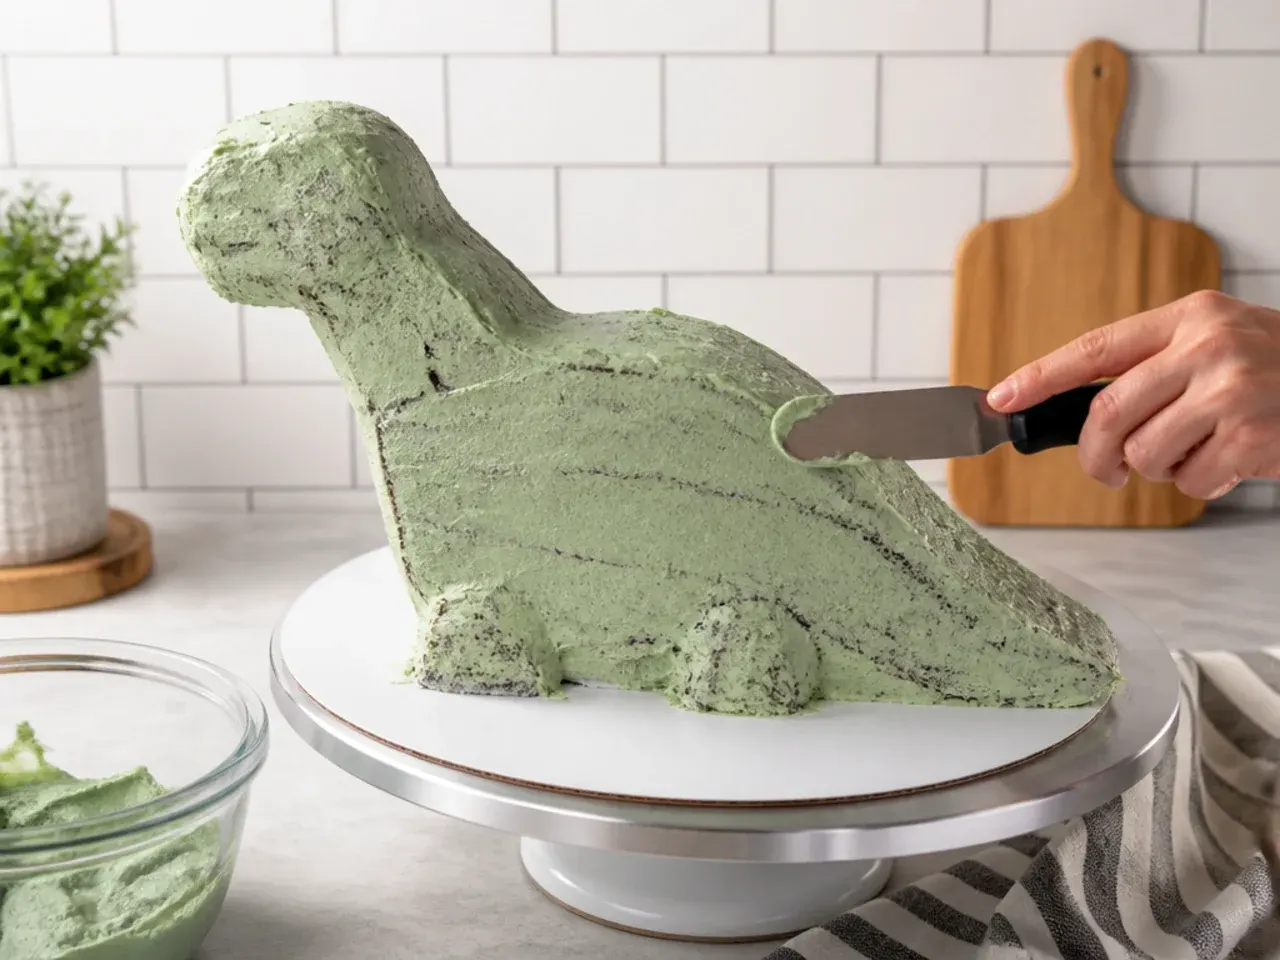
Tint most of the buttercream with green gel plus a little yellow, aiming for a muted forest green, and set a small bowl of paler green aside for the belly. Level the cakes, carve your dino body, head, and tail, then stack and fill with a layer of frosting. Spread a thin crumb coat over the whole shape and chill for 20 to 30 minutes until firm.
Step 7: Texture, decorate, and finish
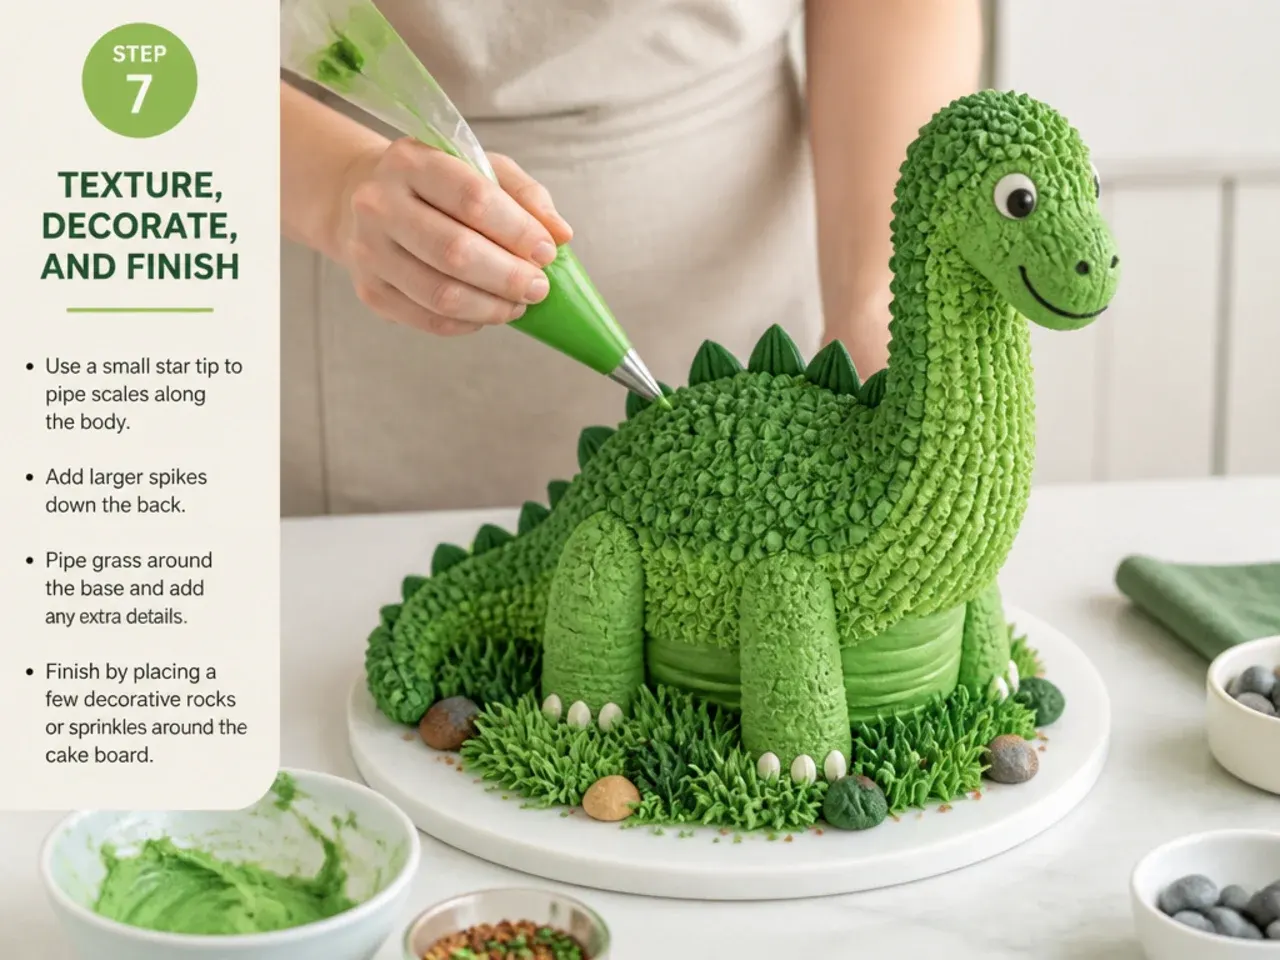
Apply the final green coat, then press a small offset palette knife in short flicks to create a scaly skin texture. Pipe the paler green belly, add your pre-dried fondant back plates and spikes, and finish with candy or fondant eyes, spots, and claws. Chill the finished cake for 30 minutes to set before serving or transporting.
Frequently Asked Questions
Use gel or paste food color, not liquid drops, because gel is concentrated and won't thin your buttercream. Start with a leaf or moss green, add a little yellow for warmth, then dull it toward earthy with a toothpick-tip of black or brown added a touch at a time. Color it slightly darker than you want, since buttercream deepens as it rests for an hour.
Save this for later 📌
Pin this article to your Pinterest board so the full list is one tap away when you need it.
Save on Pinterest