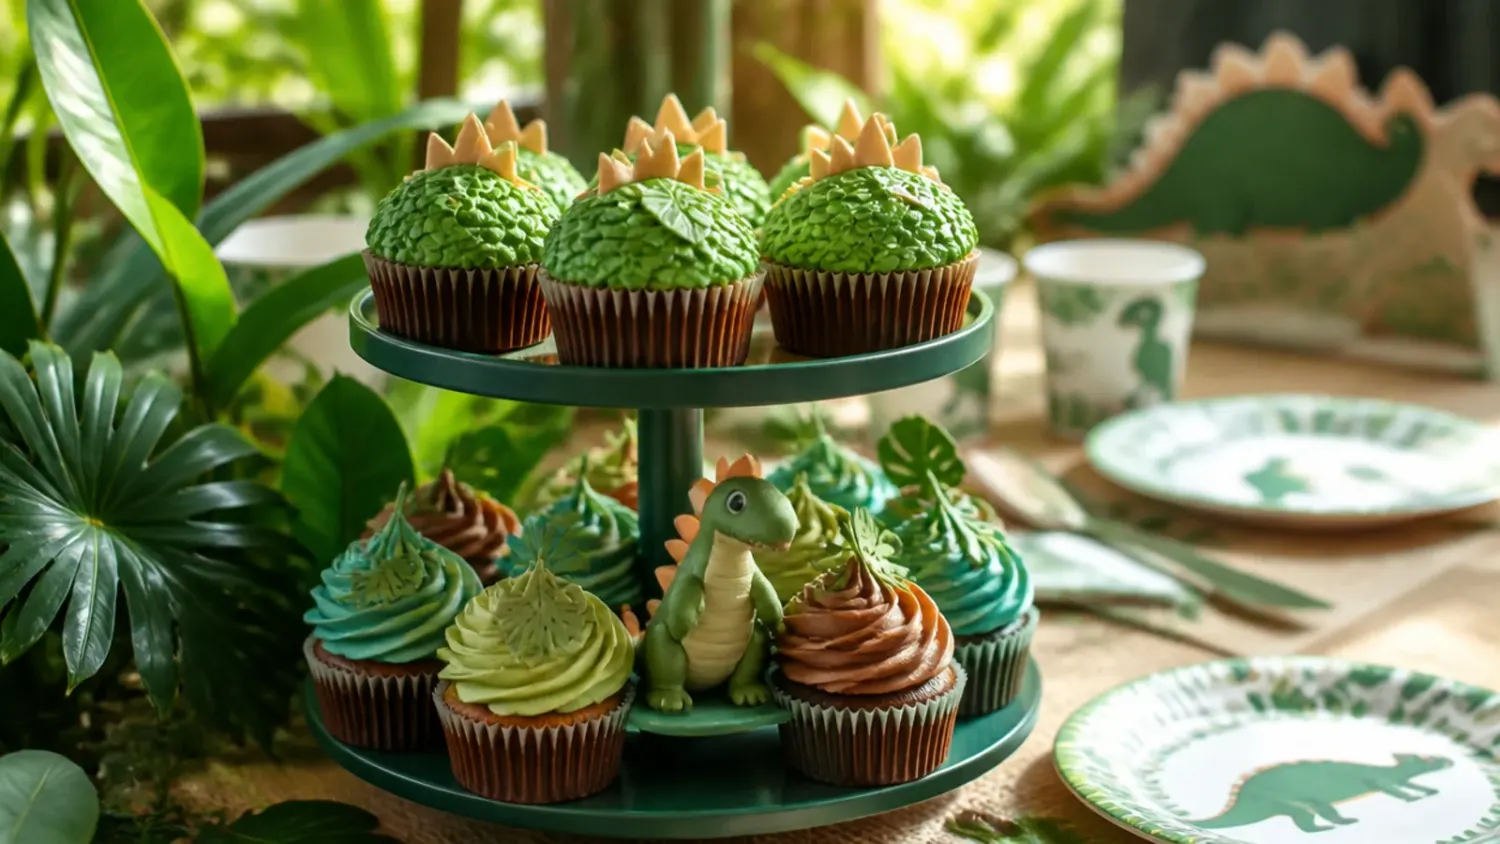
20 Adorable Mini Dinosaur Cake Ideas
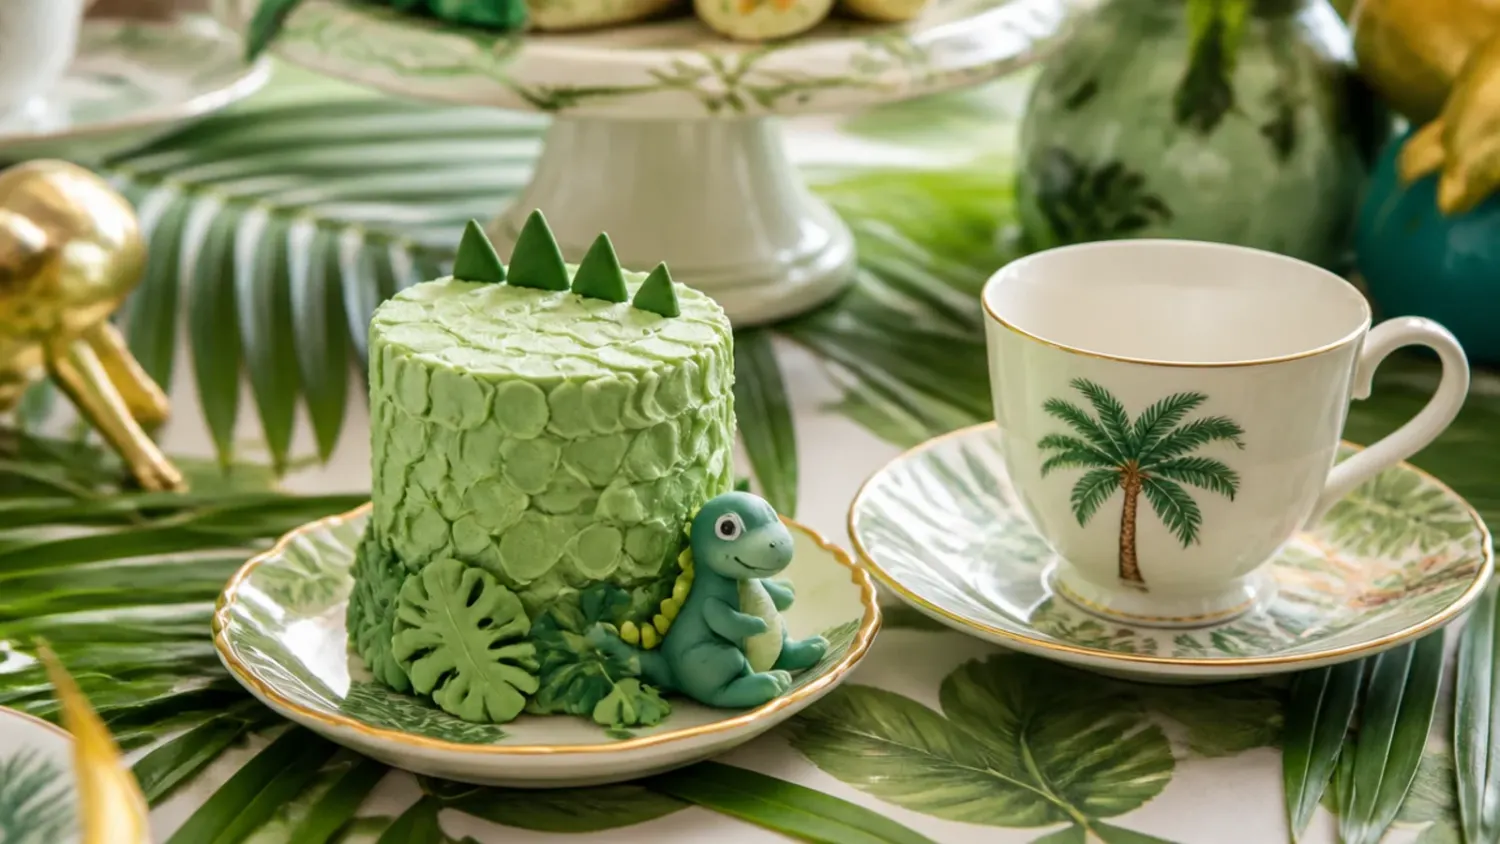
Find 20 adorable mini dinosaur cake ideas, from easy toy-topper bakes to fossil digs and volcano drips, plus a foolproof 6-inch vanilla base recipe. If you love dinosaur cake inspiration, start with our Dinosaur Cake Ideas collection, then browse the full Cake Ideas hub for more.
Save this for later 📌
Pin this article to your Pinterest board so the full list is one tap away when you need it.
Save on PinterestCake Ideas
Beginner
Ideas
20 ideas
Table of Contents
- 1. Classic Green Buttercream Dino Cake with Grass Border
- 2. Easy Toy-Topper Cake You Can Decorate in 15 Minutes
- 3. Elegant Fossil-Imprint Cake with Gold Lustre
- 4. Playful Footprint Trail Cake
- 5. Modern Colour-Block Silhouette Cake
- 6. Rustic Fossil Dig Cake with Cookie Dirt
- 7. Rainbow Layer Surprise Dino Cake
- 8. Minimal Semi-Naked Cake with a Single Sugar Dino
- 9. Festive Party-Hat Dinos with a Number Candle
- 10. Whimsical Volcano Cake with Candy Lava
- 11. Bold Black Ganache Drip Cake with Neon Dinos
- 12. Delicate Watercolour Pastel Dino Cake
- 13. Vintage Piped Heart Cake with a Dino Twist
- 14. Creative Dino Egg Nest Cake
- 15. Charming Prehistoric Jungle Scene Cake
- 16. Swamp Green Ombre Cake
- 17. Cutter Mini Dino Cakes from One Sheet Pan
- 18. Elegant Sage and Gold Splatter Cake
- 19. Pinata Surprise Cake with a Hidden Candy Core
- 20. Hand-Painted Line-Art Dino Cake
- Tips to Make These Ideas Easier
- Common Mistakes to Avoid
- The Base Recipe — Make Any of These Ideas
1. Classic Green Buttercream Dino Cake with Grass Border
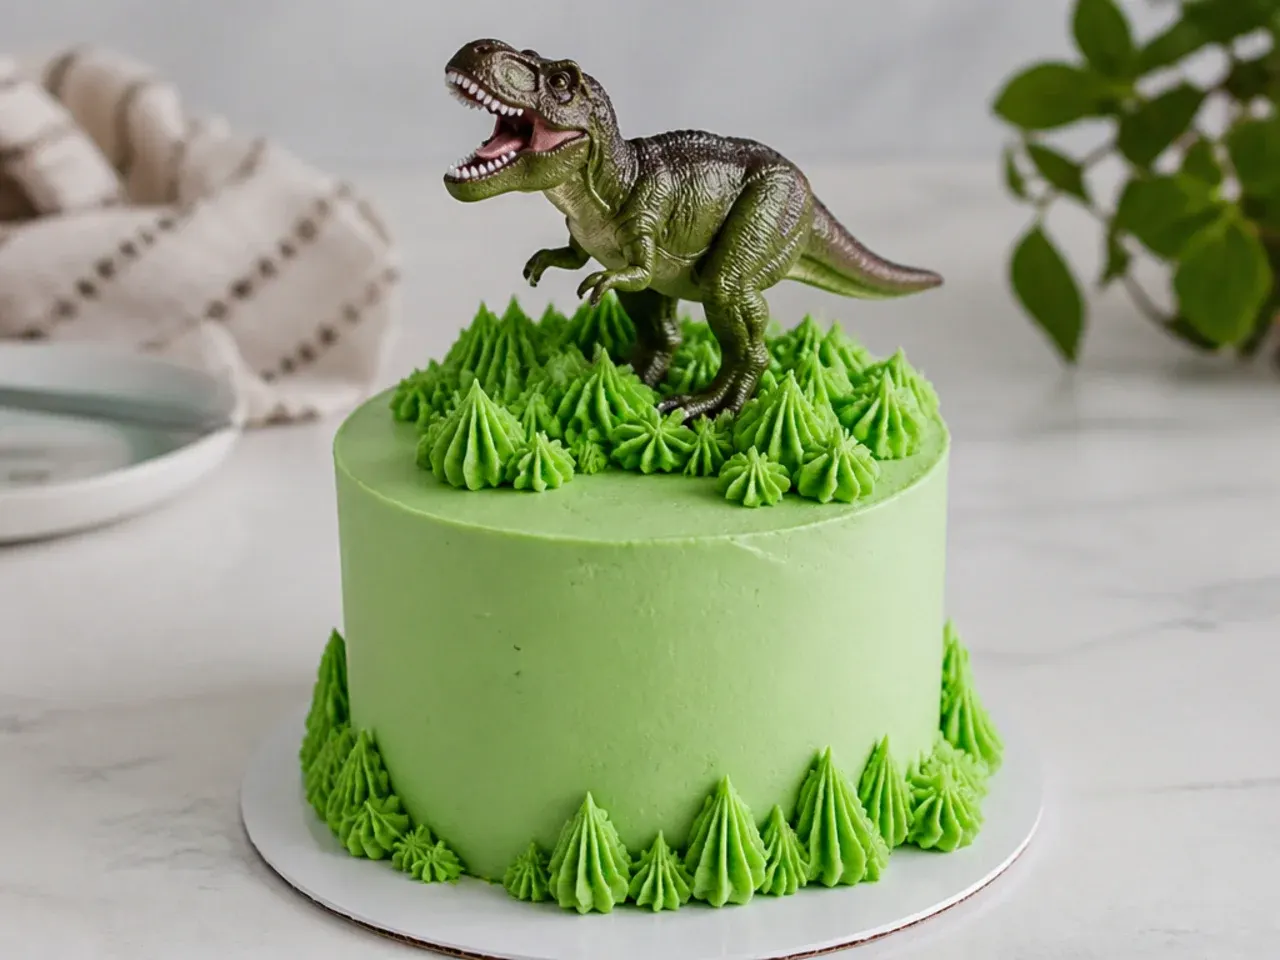
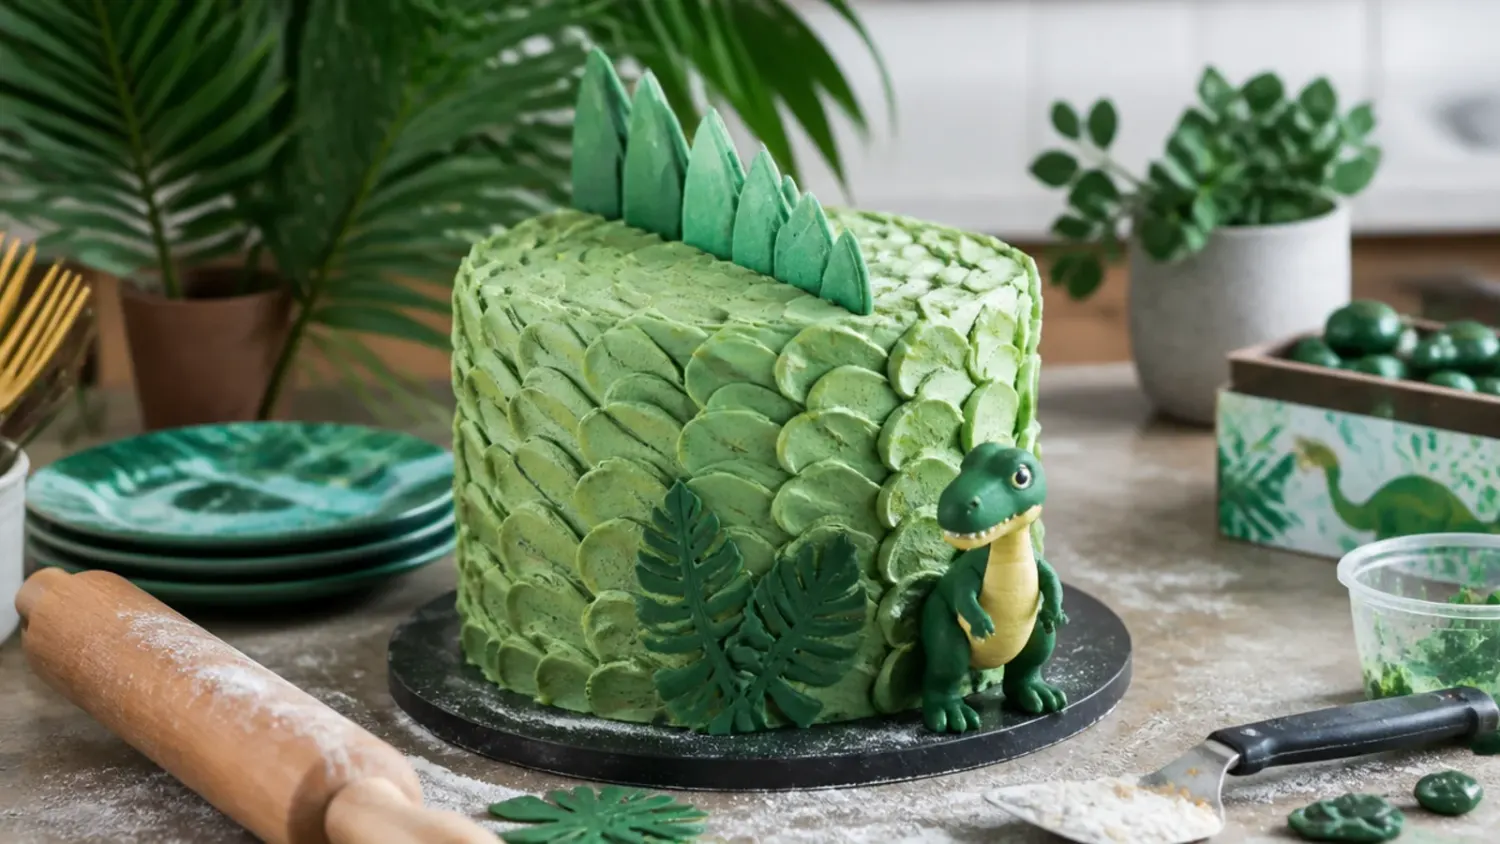
This is the design most people picture when they think of a mini dinosaur cake: a two-layer 15cm (6-inch) cake covered in leaf-green buttercream with a toy T-rex stomping on top. It works because the grass texture hides any imperfect frosting, making it genuinely beginner-proof. Tint your buttercream with leaf green gel colour, smooth the sides with a cake scraper, then fit a Wilton 233 grass tip and pipe short tufts around the top edge and base by squeezing, pulling up 1cm and releasing. Wash a plastic dinosaur in hot soapy water, dry it, and press it gently into the chilled top. Scatter chocolate chips or chocolate rocks around its feet to finish the scene.
2. Easy Toy-Topper Cake You Can Decorate in 15 Minutes
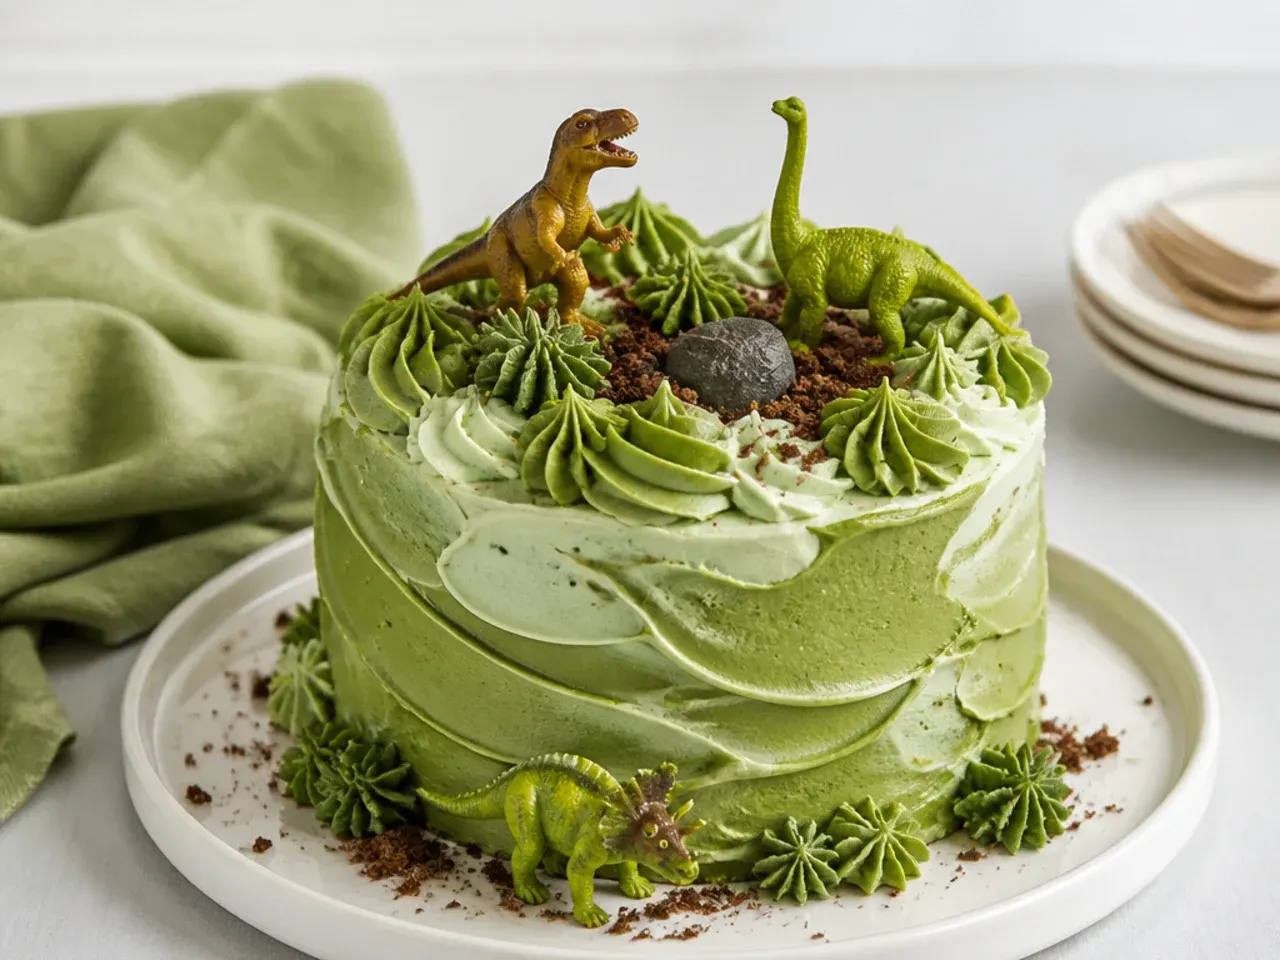
If the party is tomorrow and you have zero piping tips, this is your cake. Frost the base recipe with rustic swirls using the back of a spoon or an offset spatula — deliberately messy frosting looks intentional and takes five minutes. Press a path of crushed chocolate biscuit crumbs across the top, then stand three washed toy dinosaurs of different sizes along it. The trick that makes it look styled rather than lazy is odd numbers and varied heights: one large dino, two small. Total decorating time is about 15 minutes, and the toys double as party favours afterwards.
3. Elegant Fossil-Imprint Cake with Gold Lustre
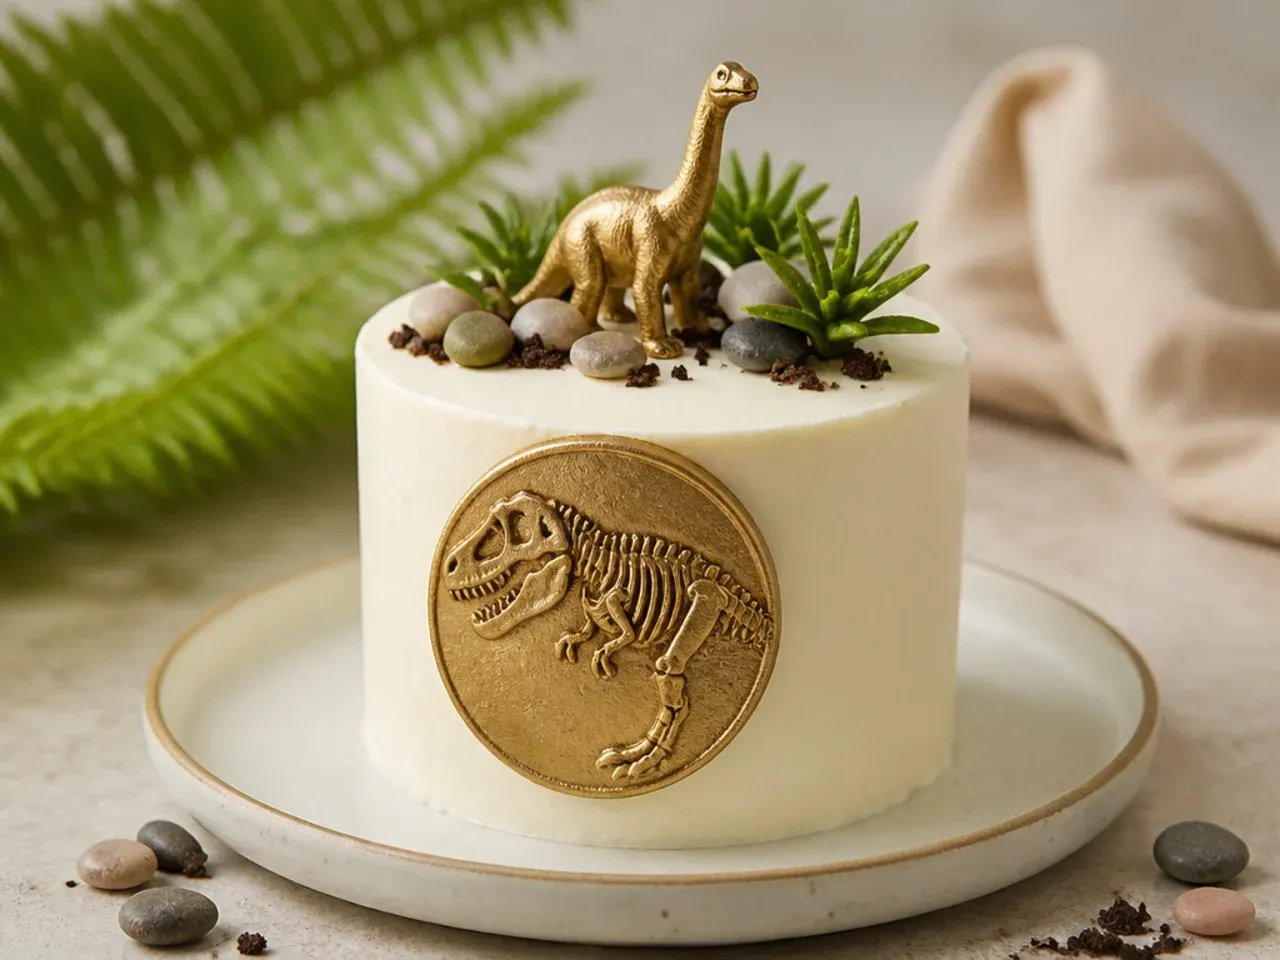
This one reads as grown-up enough for a stylish first birthday. Cover the cake in smooth ivory buttercream, then roll a 10cm disc of white fondant about 5mm thick and press a clean dinosaur skeleton toy or a fossil silicone mould firmly into it to leave a crisp imprint. Brush the raised edges with edible gold lustre dust mixed with a few drops of clear alcohol or rejuvenator spirit so it catches the light. Lay the fossil medallion on top of the chilled cake and add a thin gold-brushed border around the base. The neutral palette photographs beautifully and skips the neon-green look entirely.
4. Playful Footprint Trail Cake
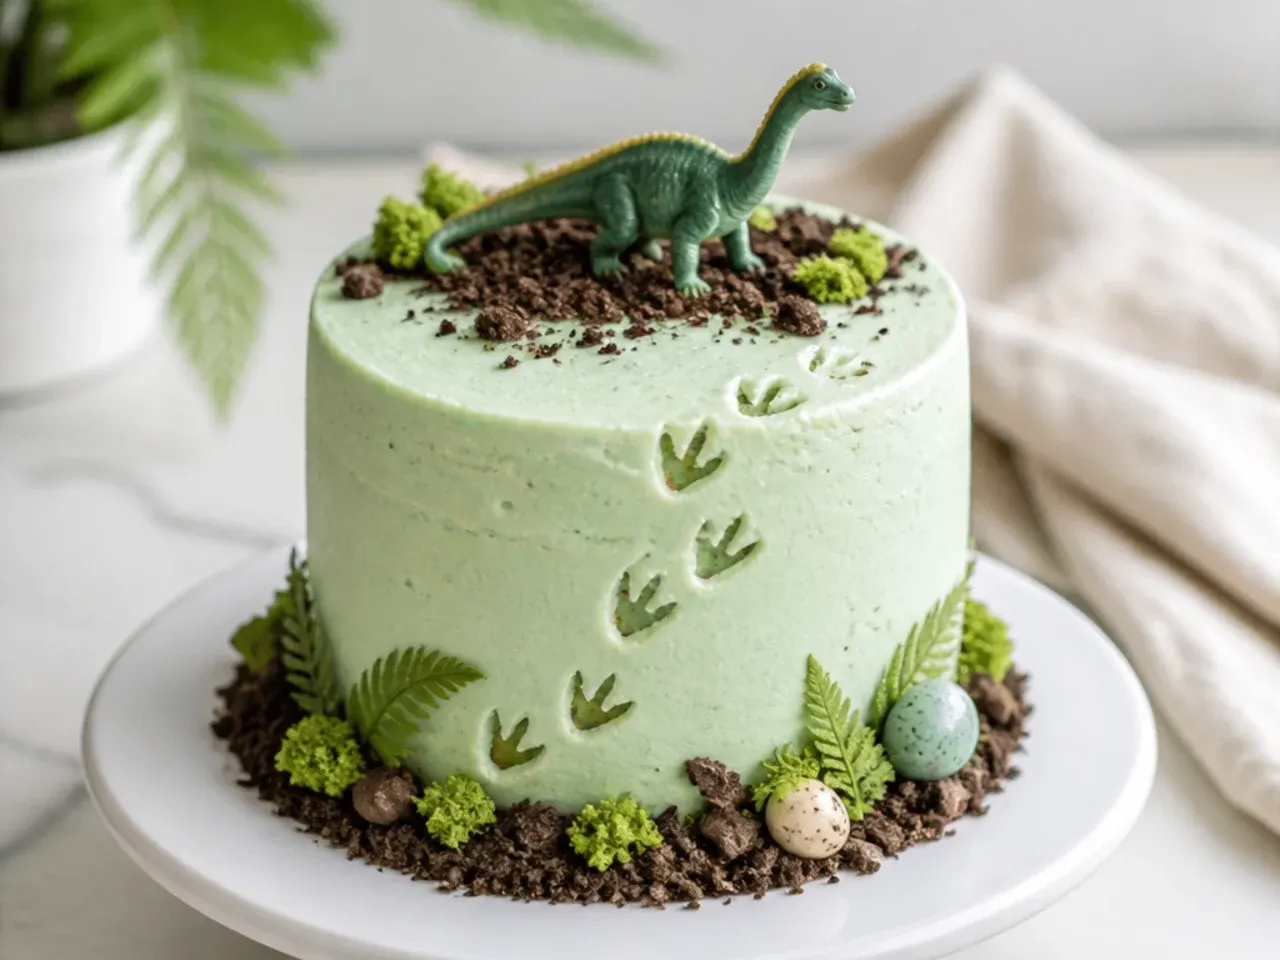
Kids love spotting the footprints winding up the side of this cake, and the technique could not be simpler. Frost the cake smoothly in pale green or sky-blue buttercream and chill it for 30 minutes so the surface is firm but not rock hard. Wash and dry a toy dinosaur, then press its feet into the buttercream in a staggered left-right trail from the base up and across the top. Dust each print lightly with cocoa powder on a small dry brush to add shadow and depth. Finish with the guilty dinosaur standing at the end of its own trail.
5. Modern Colour-Block Silhouette Cake
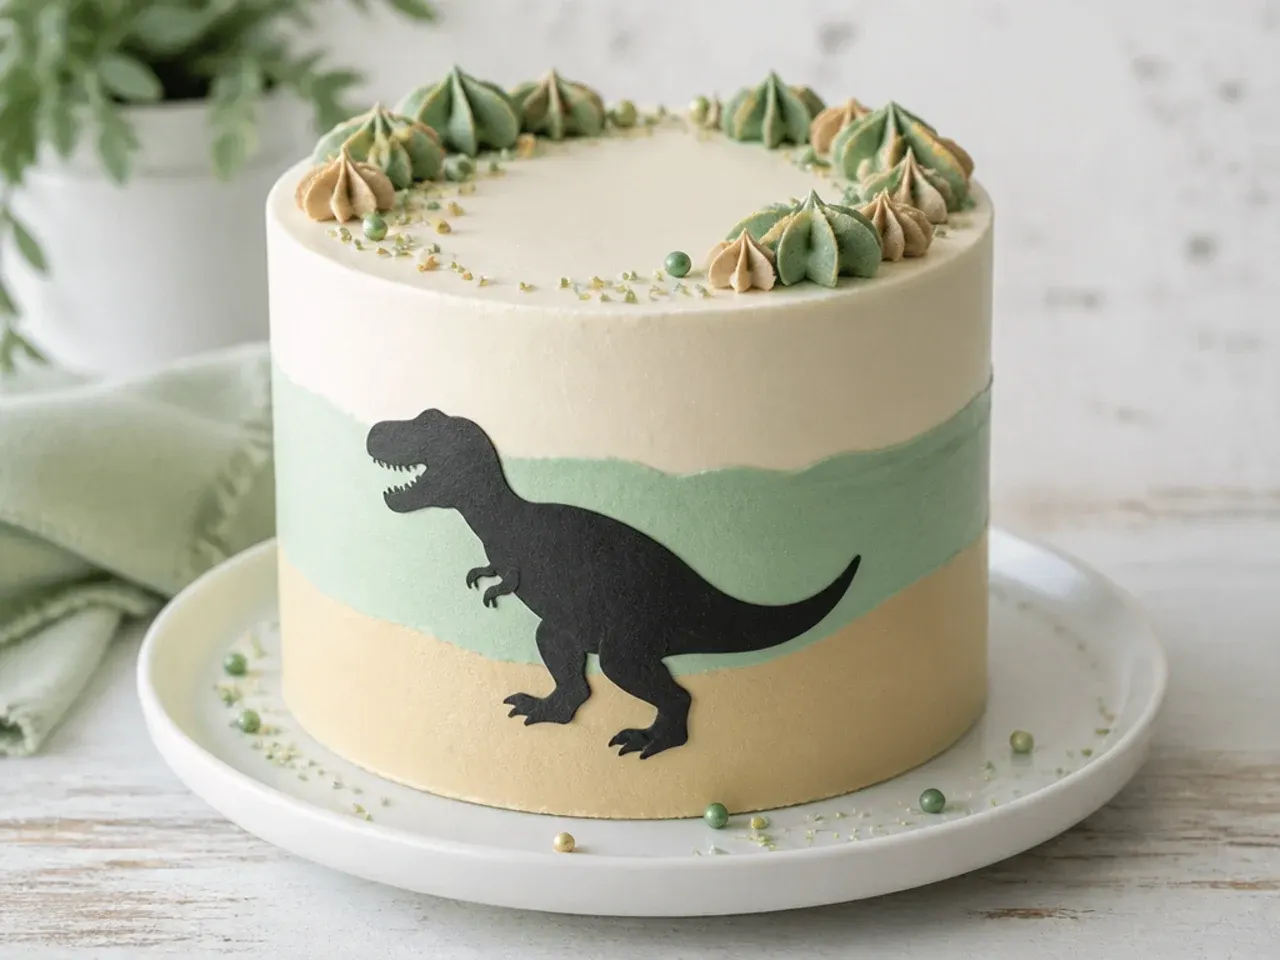
For a sleek, design-led take, split the cake into two clean horizontal bands: sage green buttercream on the lower two-thirds and cream on the top third. Apply each colour separately, chill 15 minutes, then run a straight-edged cake scraper around the whole cake in one pass to get a razor-sharp dividing line. Cut a dinosaur silhouette from black fondant using a cutter or a printed paper template and a small sharp knife, then press it onto the front so it straddles the colour line. No other decoration is needed — the contrast does all the work. This style suits older kids and adults who still love dinosaurs.
Save this for later 📌
Pin this article to your Pinterest board so the full list is one tap away when you need it.
Save on Pinterest6. Rustic Fossil Dig Cake with Cookie Dirt
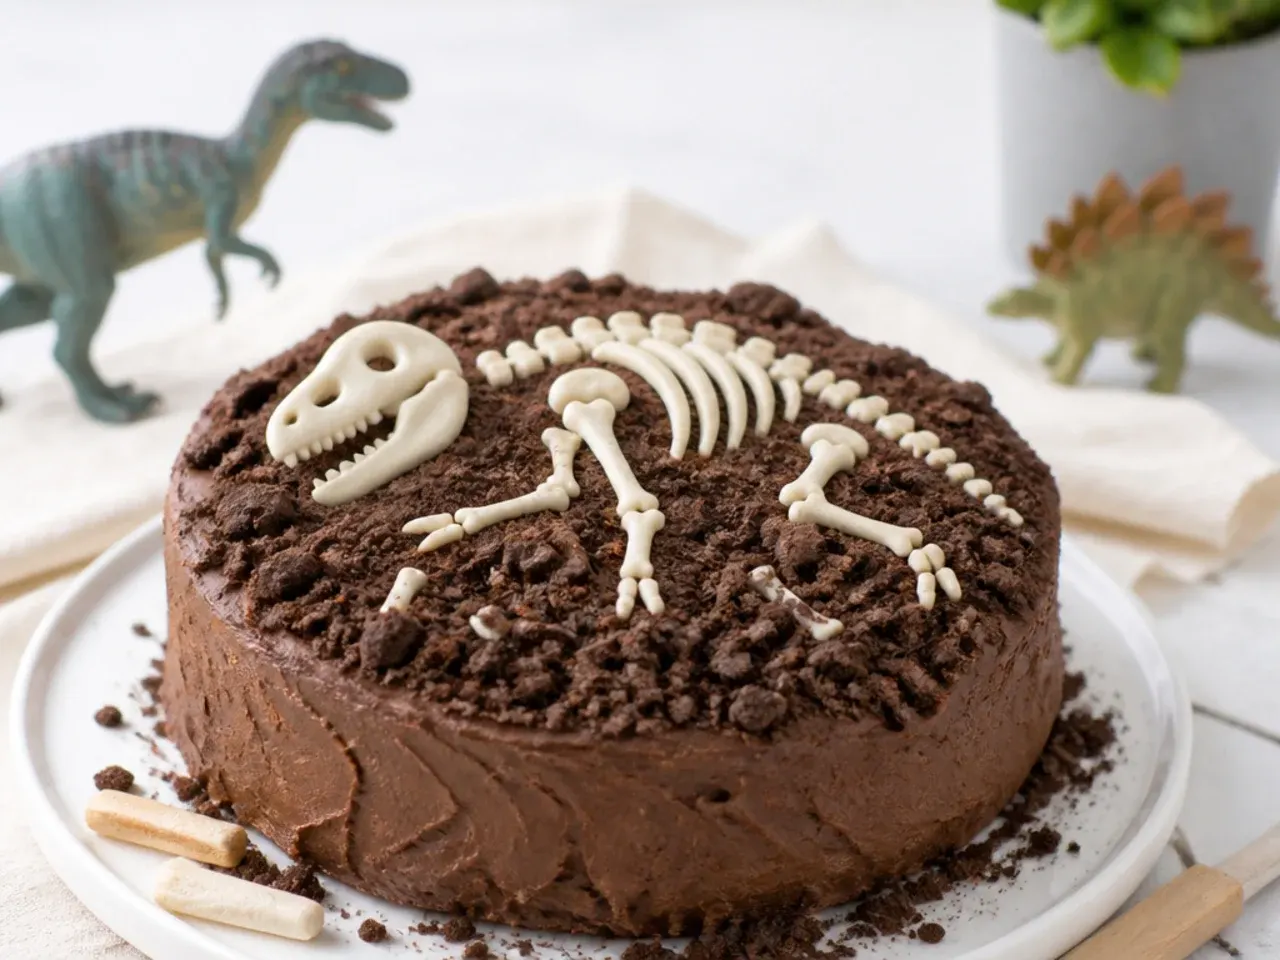
This cake looks like an excavation site and tastes like a cookies-and-cream dream. Swap the vanilla buttercream for chocolate (add 40g sifted cocoa powder to the base buttercream) and press crushed digestive or Oreo crumbs over the top and partway down the sides for dirt. Make bones by melting 100g white chocolate, piping simple bone shapes onto baking paper with a small round tip, and chilling them for 10 minutes until snappy. Half-bury the bones in the crumb layer so they look mid-discovery, and add a clean toy brush or a new small paintbrush as a prop. Chocolate rocks or chopped nuts around the base complete the dig site.
7. Rainbow Layer Surprise Dino Cake
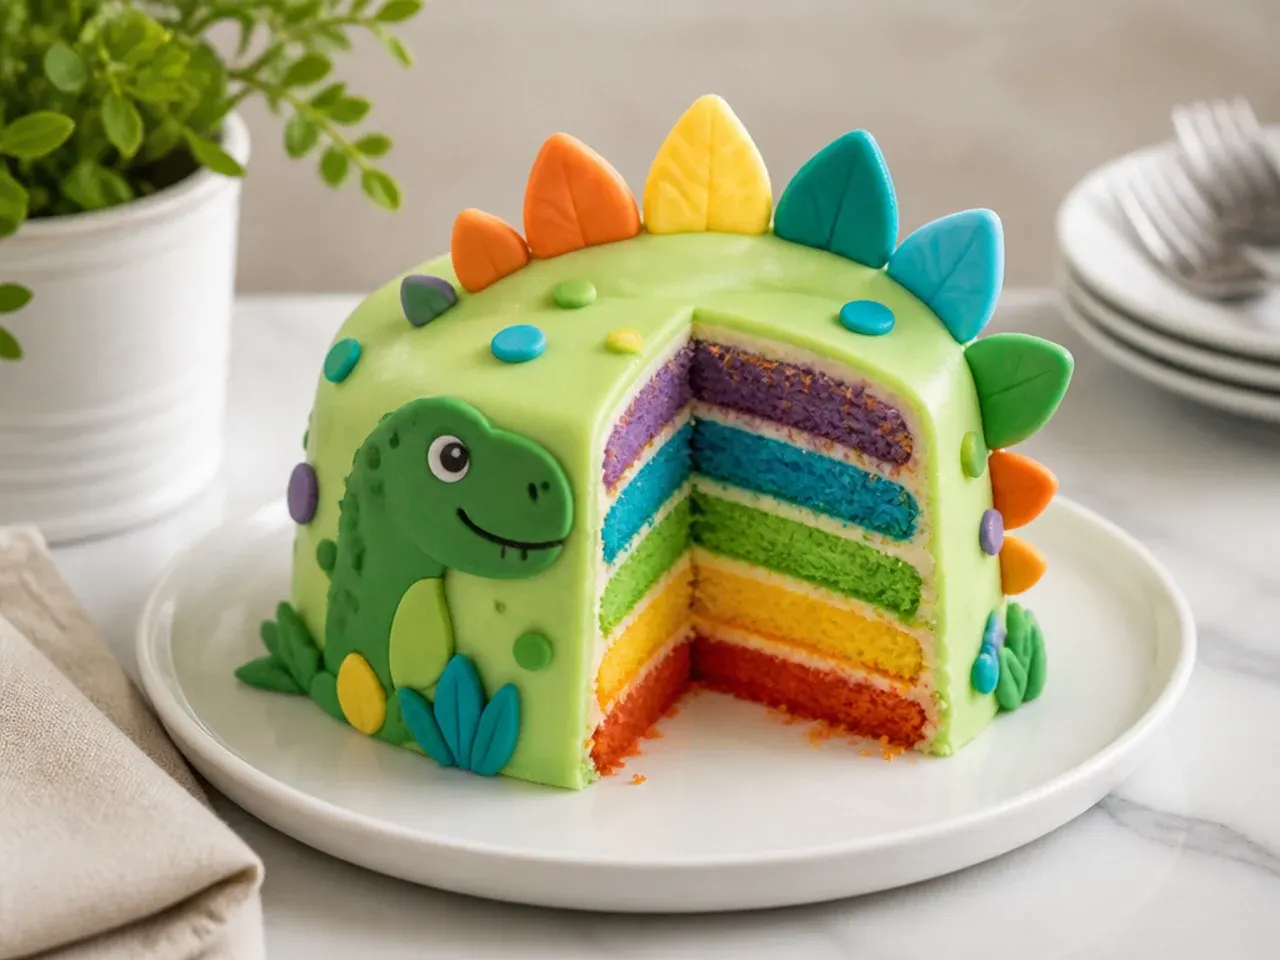
From the outside this is a simple green mini dinosaur cake; the roar happens when you cut it. Divide the base batter into three bowls and tint them with gel colours — pink, yellow and blue, or three shades of green for a scalier look — then bake as thinner layers, checking from 15 minutes. Stack with vanilla buttercream between each layer, coat in bright green, and press rainbow sprinkles around the bottom edge. Gel colours are essential here because liquid colouring waters down the batter and gives dull results. The reveal moment makes this the most requested repeat cake of every idea on this list.
8. Minimal Semi-Naked Cake with a Single Sugar Dino
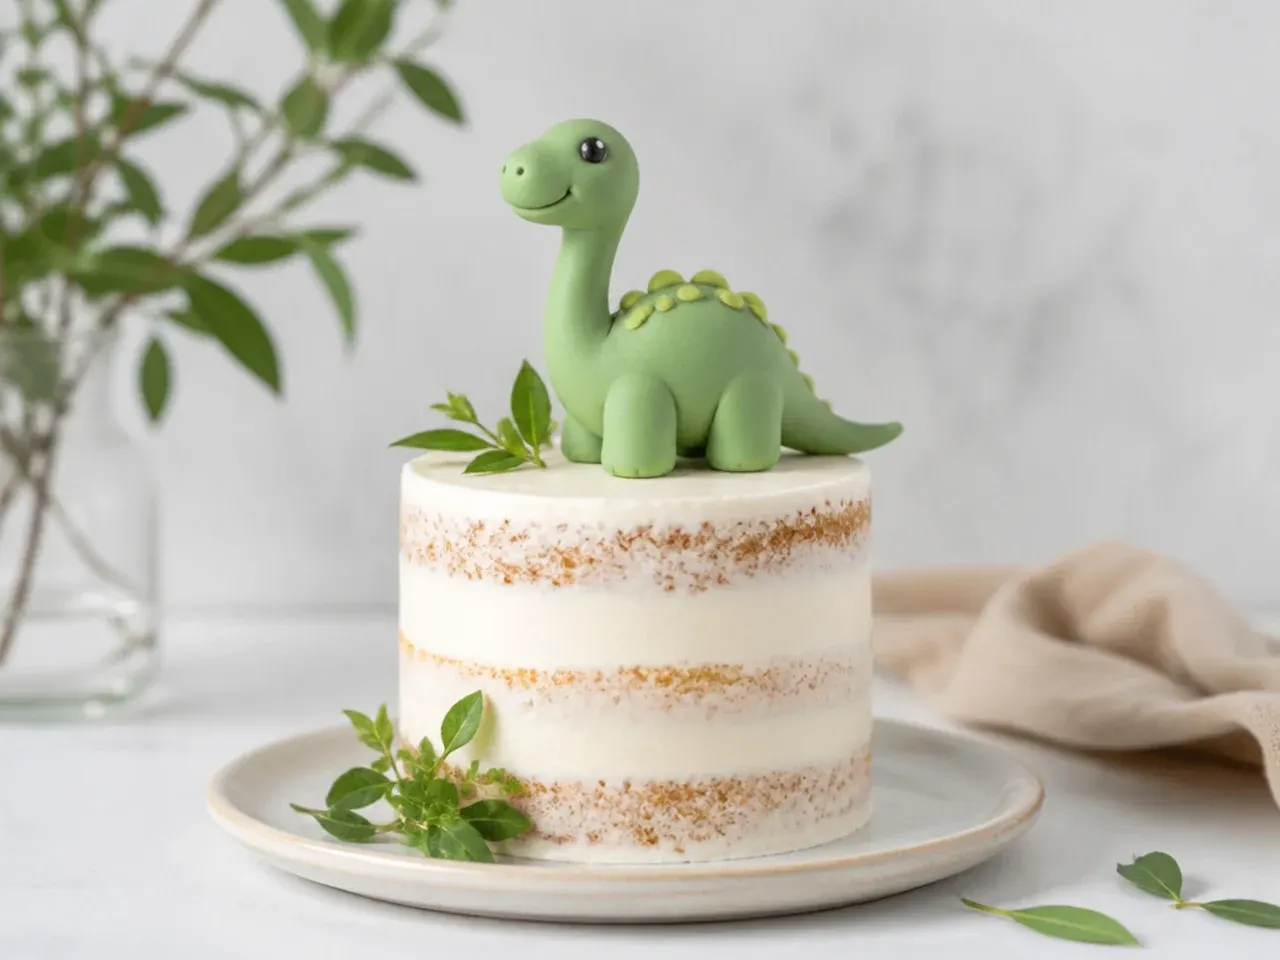
Less really is more here. Fill the layers, then apply a very thin coat of buttercream and immediately scrape most of it off with a cake scraper so the sponge shows through in patches — the semi-naked finish. Place one small fondant or sugar dinosaur slightly off-centre on top with a single tuft of piped grass or a fresh rosemary sprig standing in as a prehistoric fern. Because there is so little frosting, this version is quicker, less sweet, and ideal if your child prefers cake to icing. It also works beautifully with a handwritten name on a small paper flag toothpick.
9. Festive Party-Hat Dinos with a Number Candle
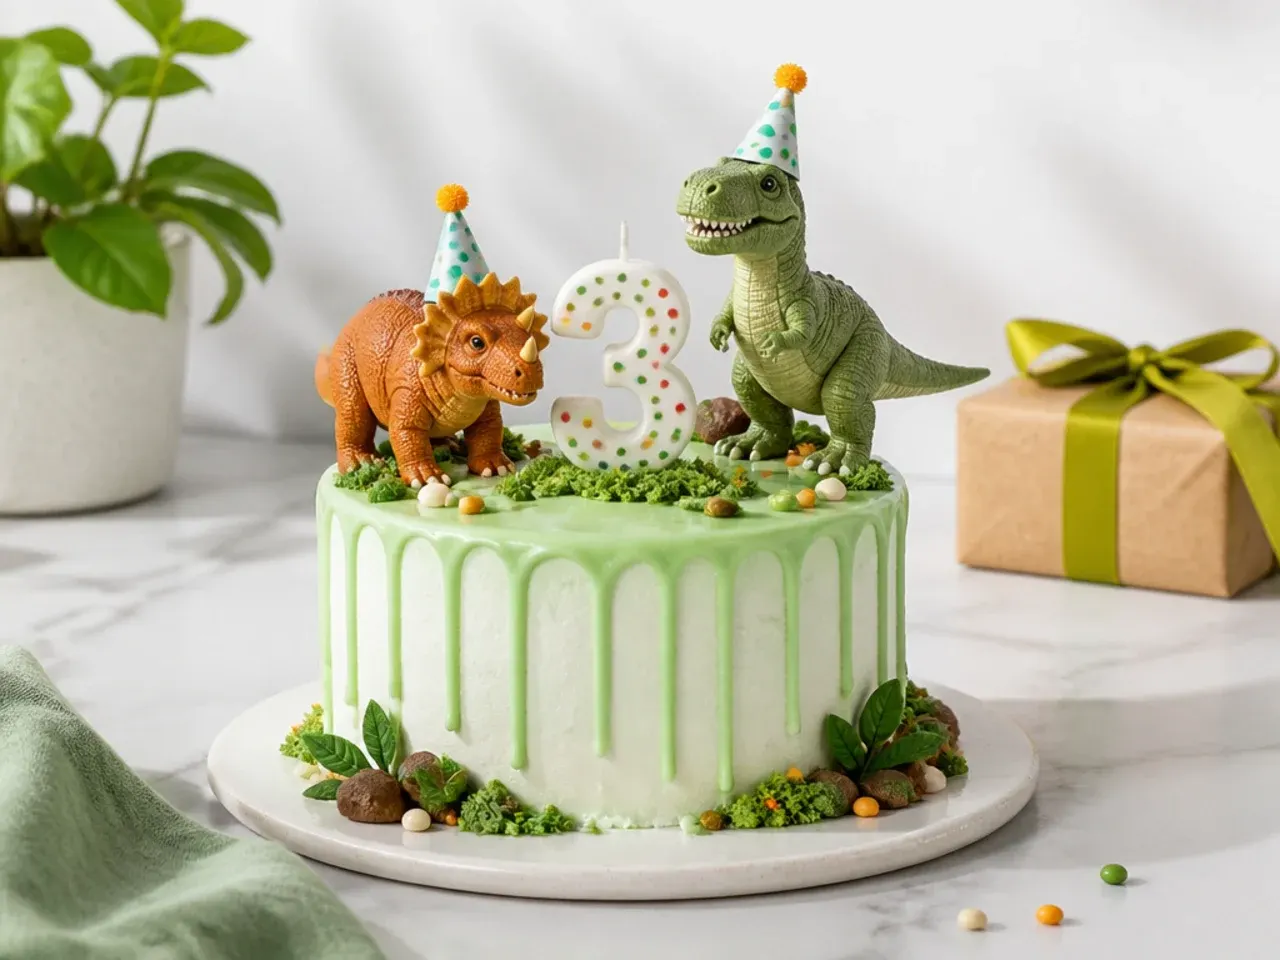
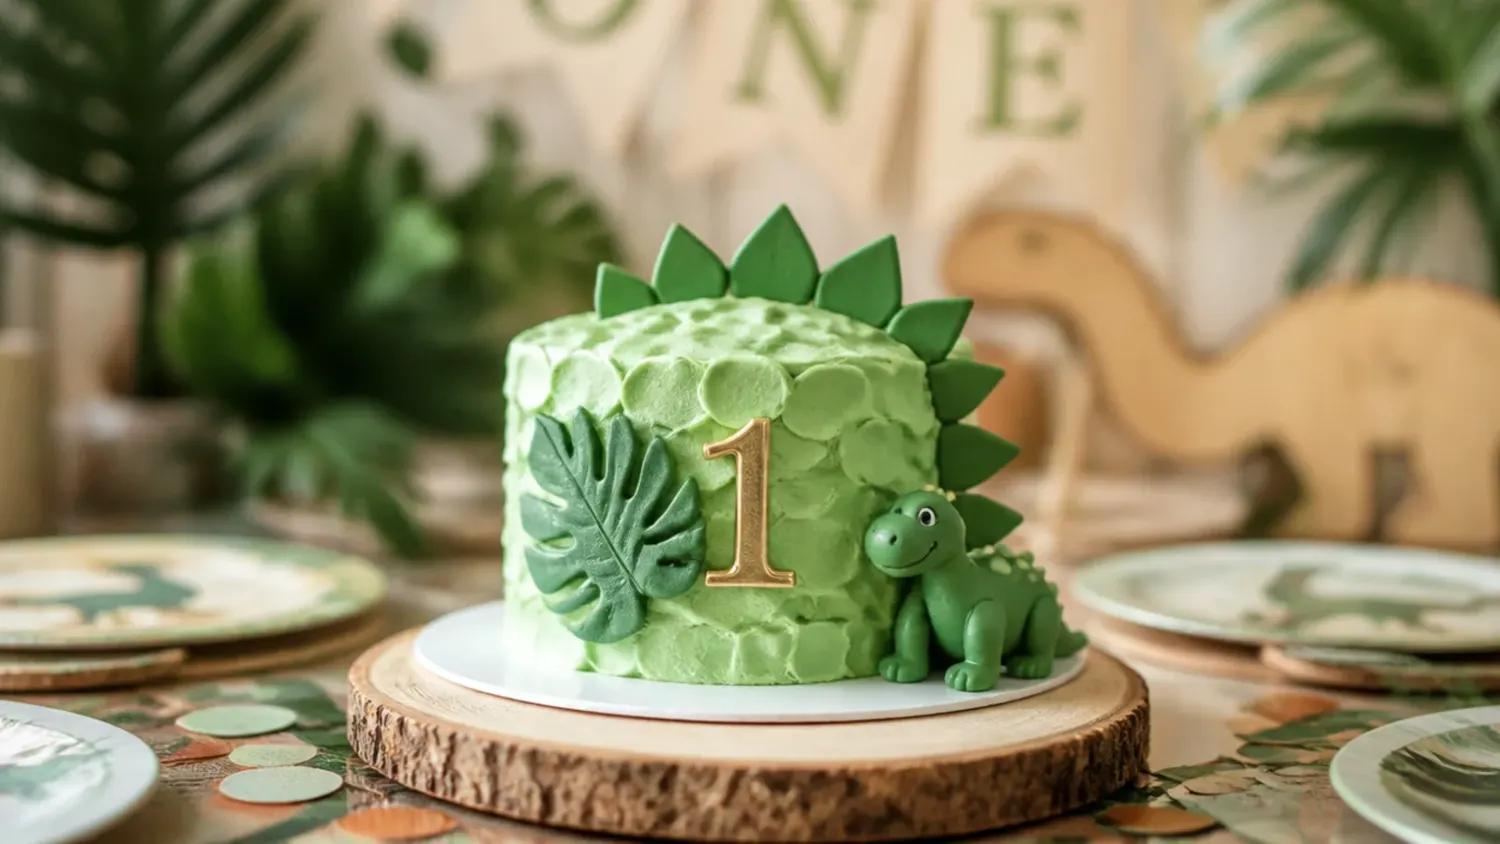
This is the birthday-photo cake. Frost in a cheerful teal or grass green, press confetti sprinkles onto the lower third of the sides, and pipe a swirled border around the top with a Wilton 1M tip. Stand two or three washed toy dinosaurs on top wearing tiny party hats — roll small cones from coloured paper or fondant and fix paper ones with a dab of buttercream. Plant a large number candle in the centre so the age is the hero of the photo. The whole look takes about 25 minutes and screams celebration without any advanced skills.
10. Whimsical Volcano Cake with Candy Lava
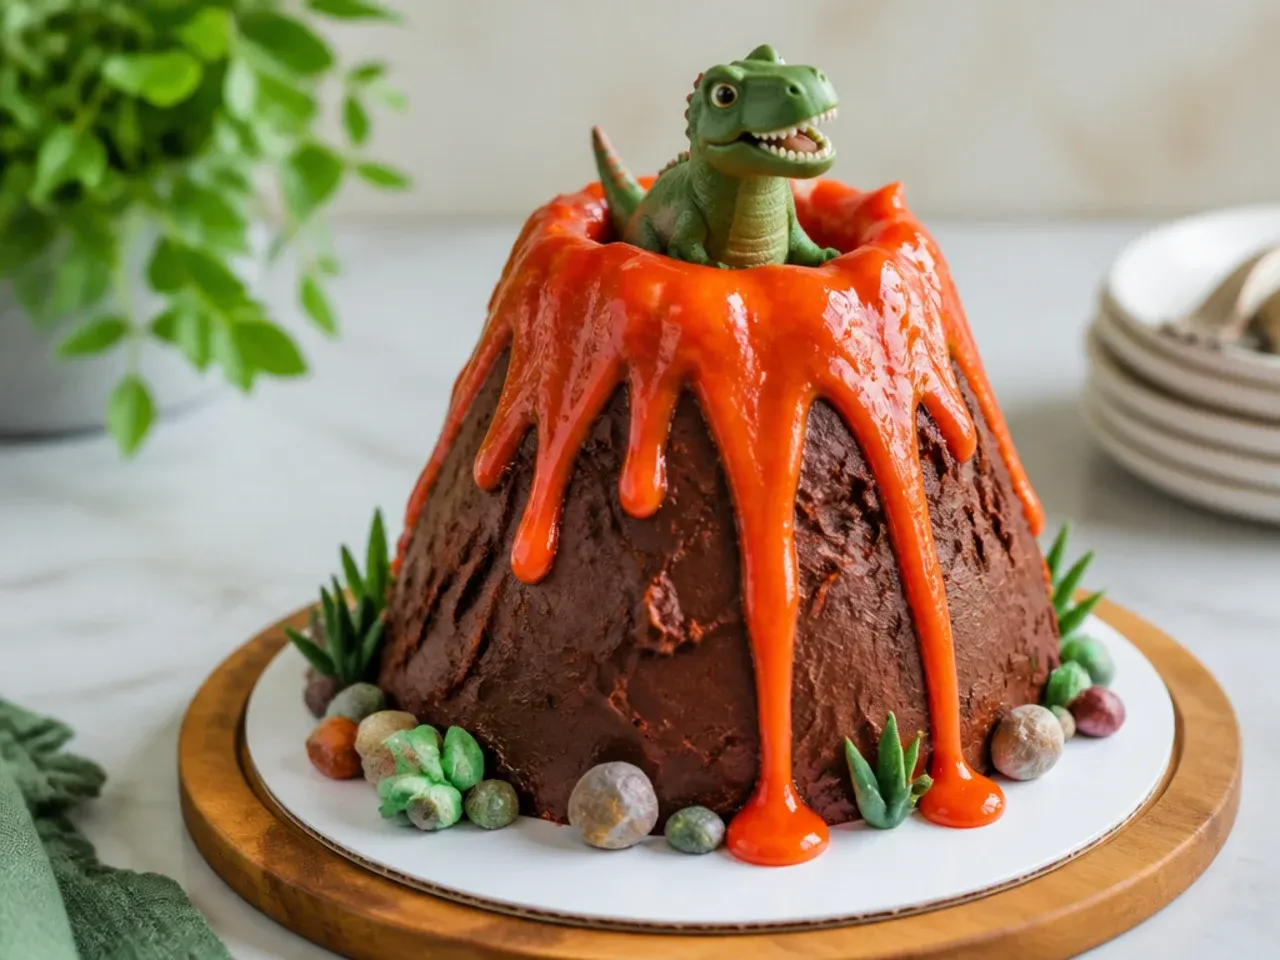
Turn the mini cake into a tiny erupting volcano. Bake a third layer (or save your levelling trimmings), stack all three with buttercream, and carve the sides at an angle with a serrated knife so the cake tapers into a cone. Cover it in chocolate buttercream, dragging the spatula upward for a craggy rock texture. Melt red and orange candy melts, let them cool for 2-3 minutes until thickened, then spoon the lava over the crater so it runs down in slow streams. A toy dinosaur fleeing the eruption at the base, plus a sparkler candle in the crater lit just before singing, makes this the most dramatic reveal of the party.
Save this for later 📌
Pin this article to your Pinterest board so the full list is one tap away when you need it.
Save on Pinterest11. Bold Black Ganache Drip Cake with Neon Dinos
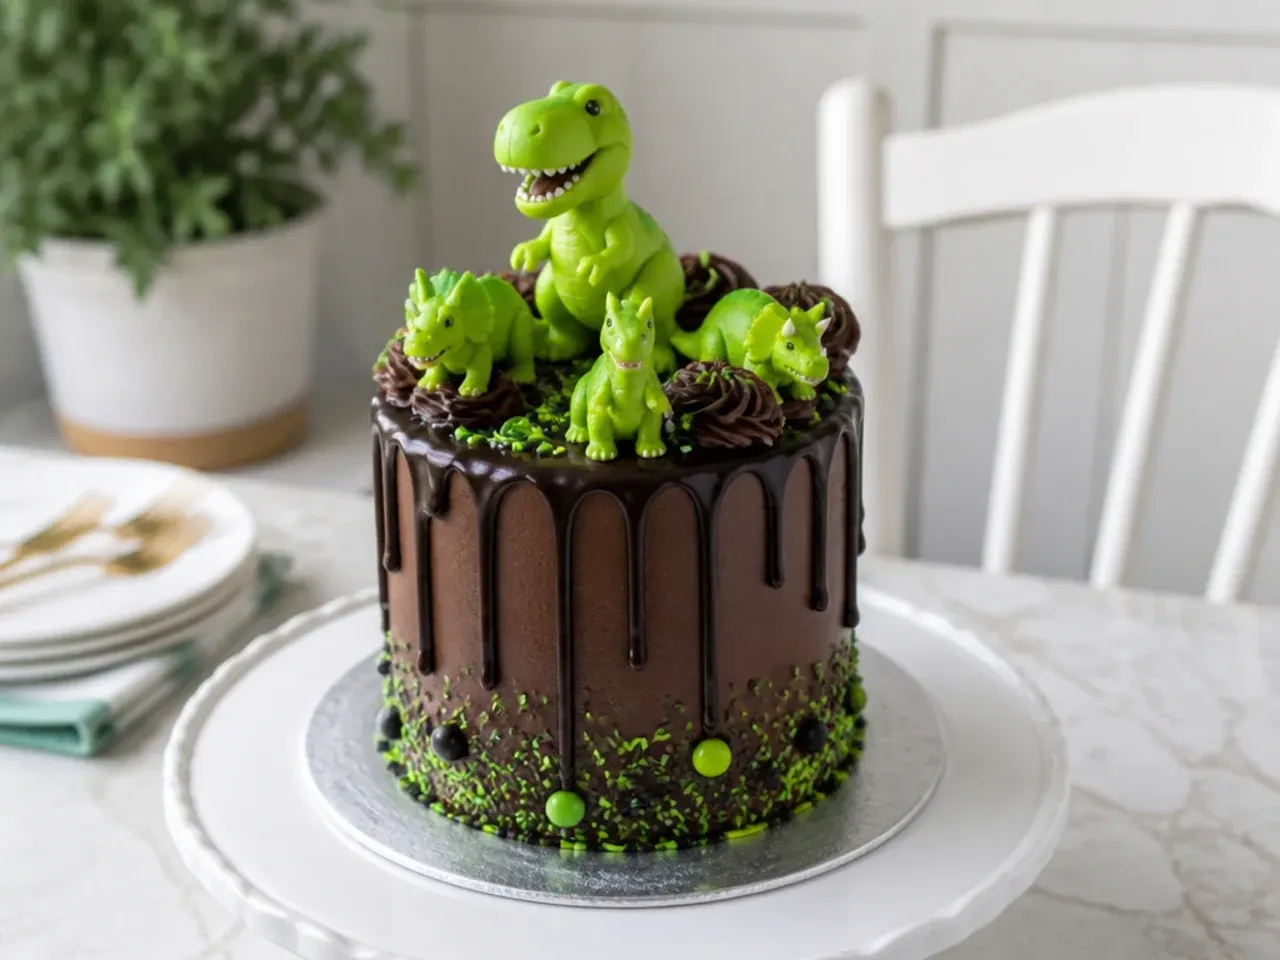
Dark and dramatic, this one suits older dinosaur fans. Frost the cake in deep forest green or black cocoa buttercream, chill until firm, then make a drip by pouring 100ml hot cream over 100g chopped dark chocolate and stirring smooth. Let the ganache cool to about 32°C (90°F) — it should slowly drop off a spoon — then push it over the top edge with a teaspoon so drips run partway down. Top with bright neon-green or orange dinosaurs (toy or fondant) for maximum contrast against the dark base. If the ganache is too hot it will race to the board, so always test one drip on the back of the chilled cake first.
12. Delicate Watercolour Pastel Dino Cake
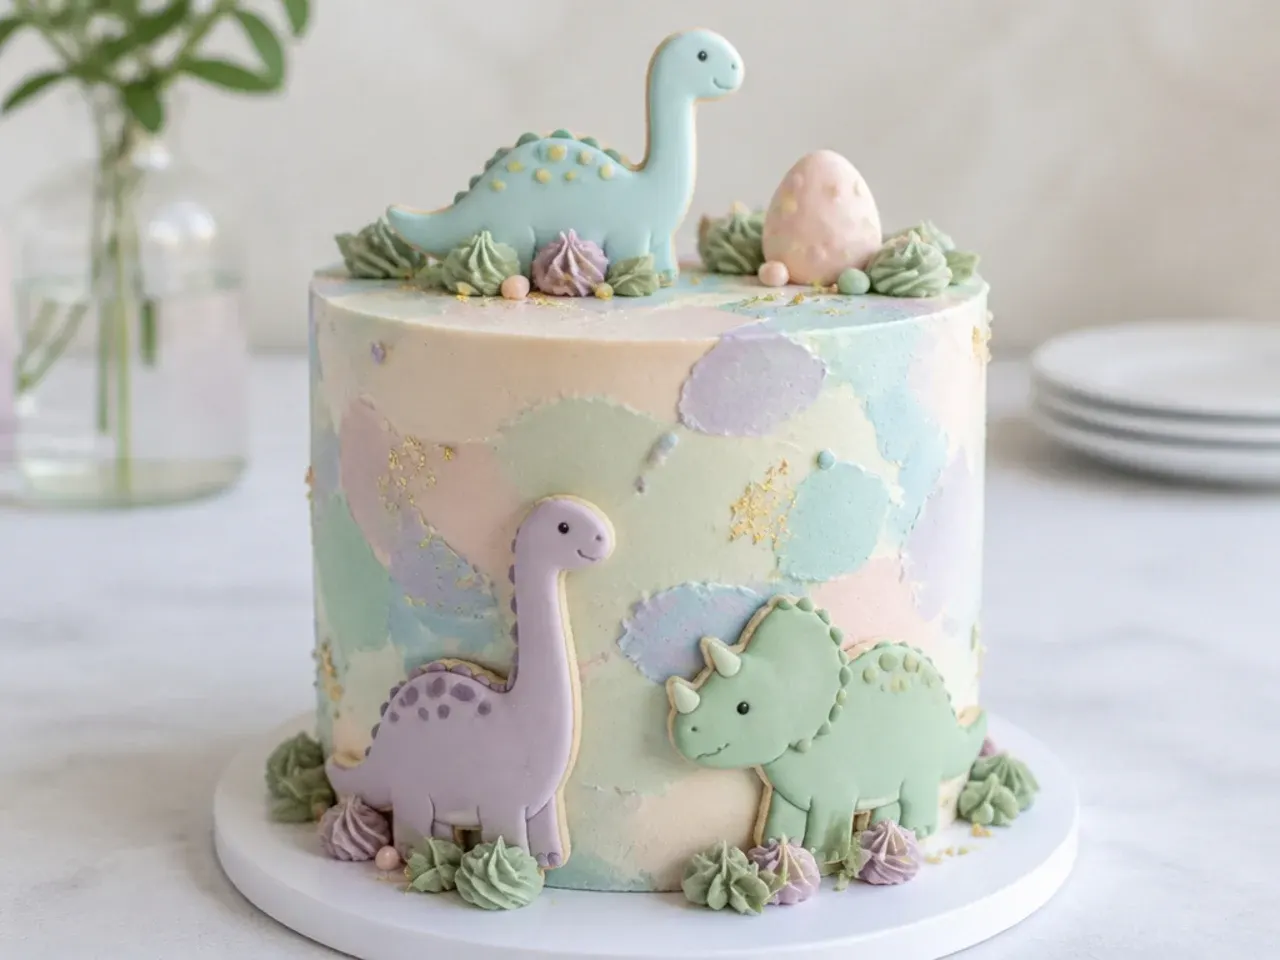
This soft, painterly finish is far easier than it looks. Frost the cake in smooth white buttercream, then dab small, random patches of pastel pink, mint and lilac buttercream over it with the tip of a palette knife. Hold a clean cake scraper against the side and make one single pass around the cake — the colours blur together like watercolour paint, and stopping after one pass is the whole secret. Add a small white or pastel fondant dinosaur and a few piped dot flowers with a Wilton 2 round tip. It is a lovely choice for a first birthday or a dinosaur-loving kid who also loves pink.
13. Vintage Piped Heart Cake with a Dino Twist
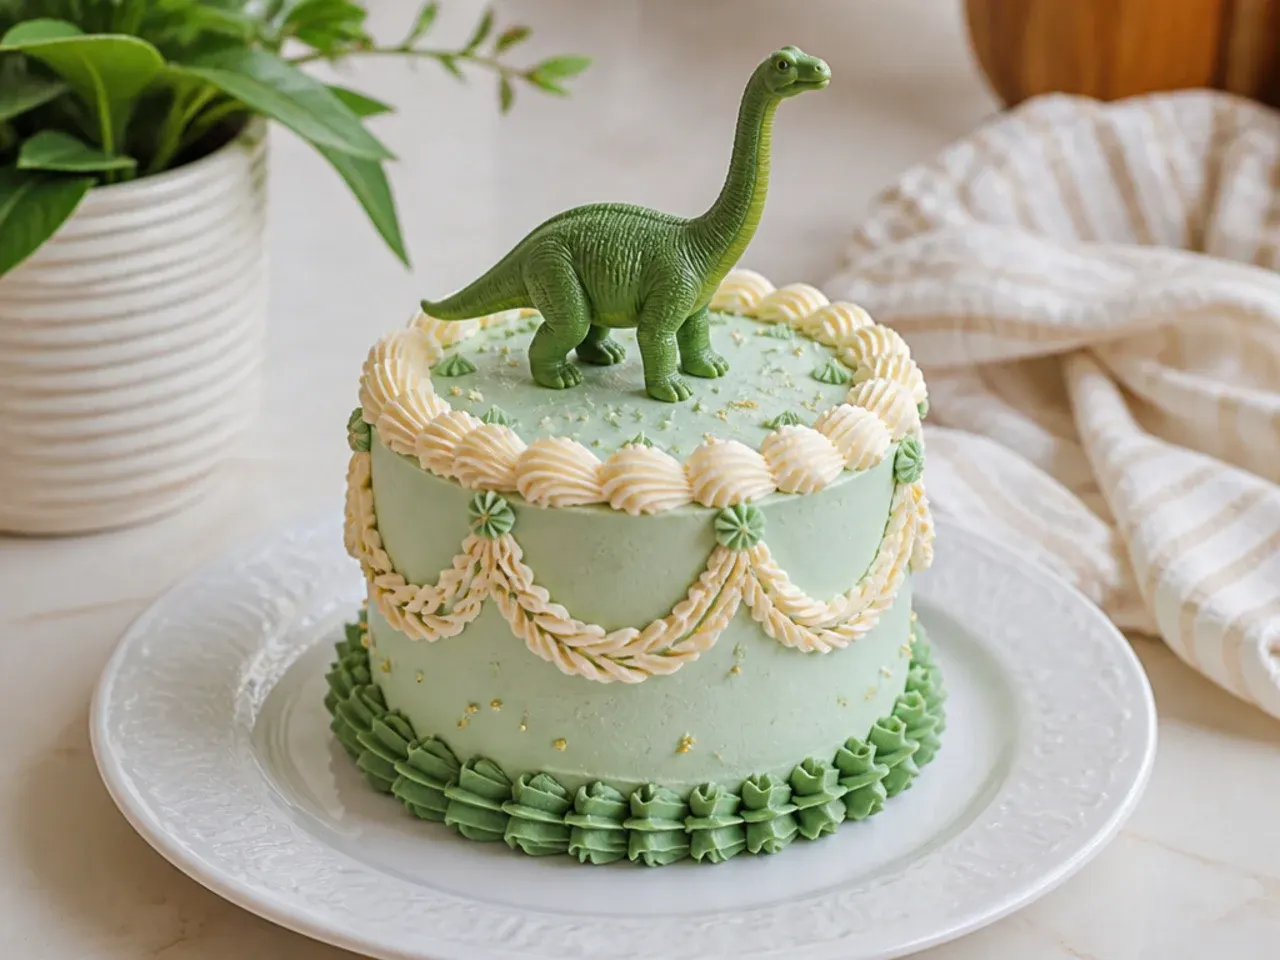
Vintage 'Lambeth-style' cakes are everywhere right now, and no competitor list pairs them with dinosaurs. Frost the cake in retro pistachio green, then pipe shell borders around the top and bottom edges with a Wilton 21 star tip, holding the bag at 45 degrees and using a squeeze-release-pull rhythm. Add draped swags around the sides with a 104 petal tip and finish the top with piped dots and the birthday name in white. The twist: a single small dinosaur — fondant or a washed toy — sitting primly in the centre like royalty. The clash of frilly piping and a T-rex is exactly why this design gets shared.
14. Creative Dino Egg Nest Cake
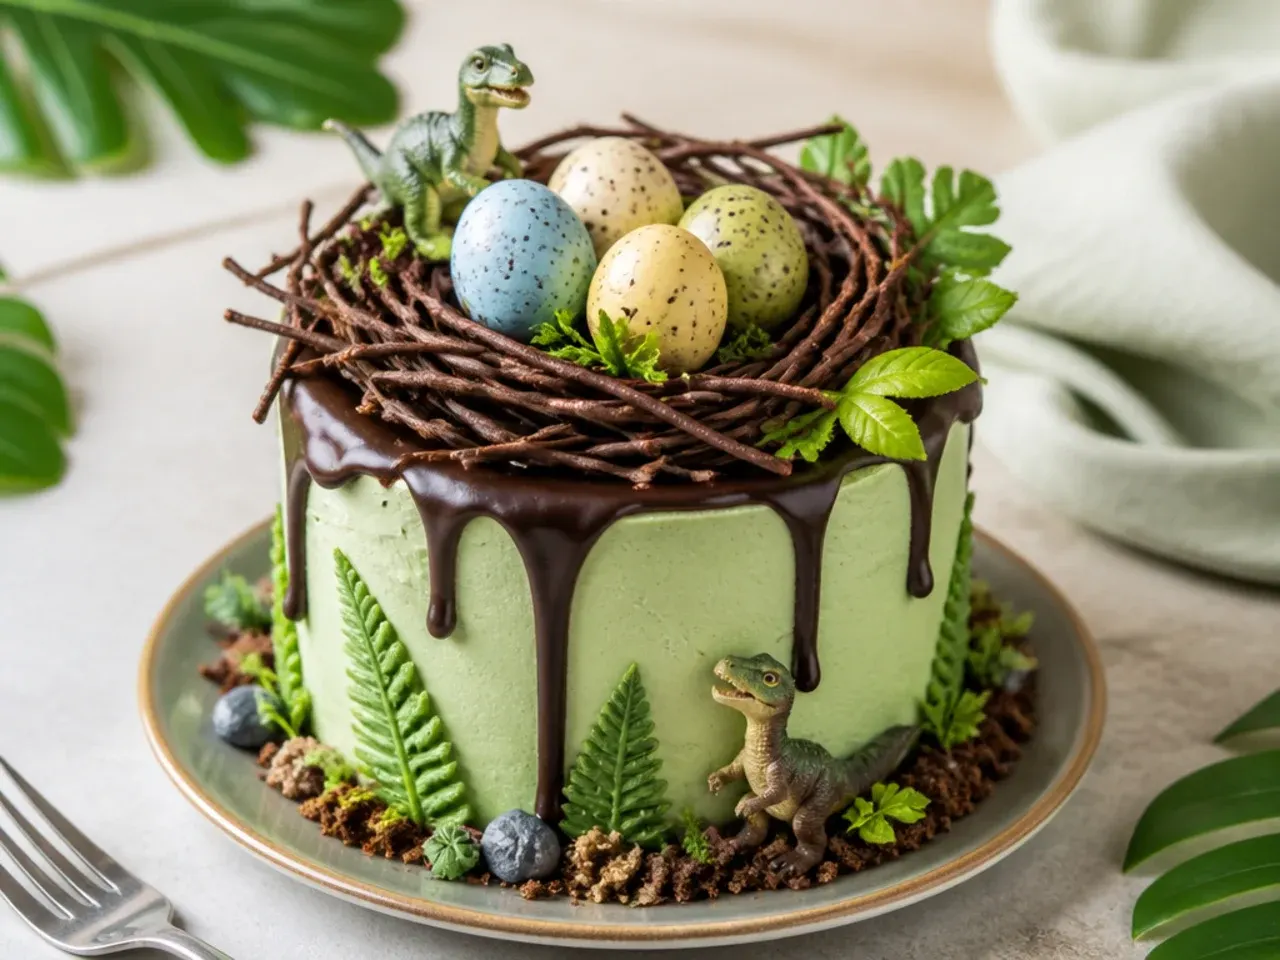
Instead of a dinosaur, this cake features what came first. Frost the cake in light brown or green buttercream, then build a nest ring on top from chocolate buttercream piped in overlapping strands with a Wilton 233 tip, or from chocolate shavings and crushed shredded-wheat cereal bound with a little melted chocolate. Fill the nest with white chocolate mini eggs; for a realistic speckle, mix a drop of brown gel colour with vanilla extract and flick it over the eggs with a clean toothbrush. Position one baby toy dinosaur 'hatching' beside a cracked fondant shell. It is an original centrepiece that still uses only basic techniques.
15. Charming Prehistoric Jungle Scene Cake
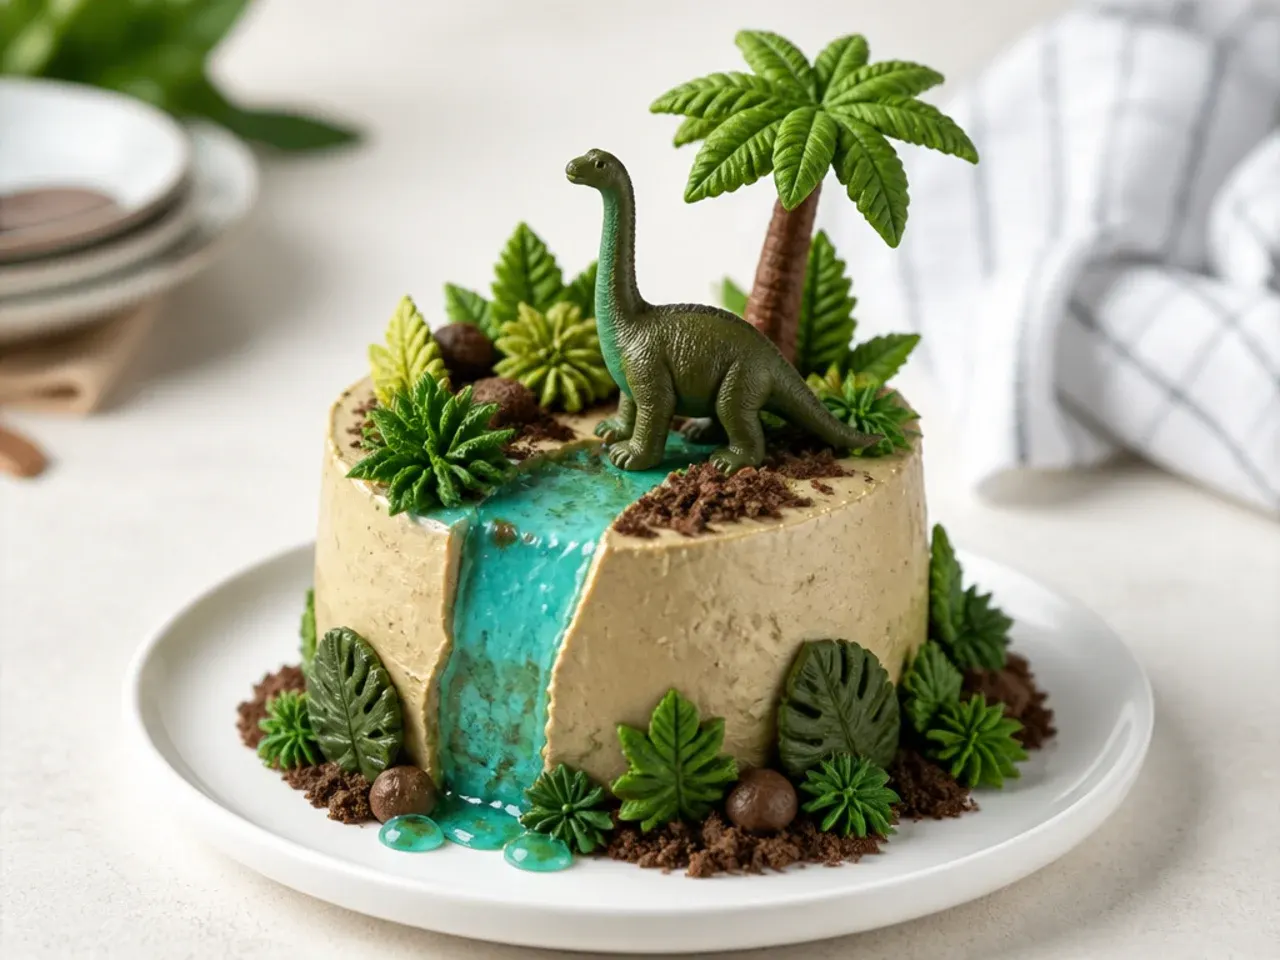
This design packs a whole Jurassic landscape onto a 15cm cake. Cover the cake in grass-green buttercream, then pipe palm fronds down the sides using a Wilton 352 leaf tip in two shades of green — squeeze at the base, pull away and release for each leaf. Add tall grass tufts with a 233 tip, a winding river of pale blue buttercream smoothed with a small spatula across the top, and chocolate rock 'boulders' along its banks. Nestle two or three small toy dinosaurs among the foliage so they peek out rather than stand in the open. The layered greenery makes even wobbly piping look lush and deliberate.
Save this for later 📌
Pin this article to your Pinterest board so the full list is one tap away when you need it.
Save on Pinterest16. Swamp Green Ombre Cake
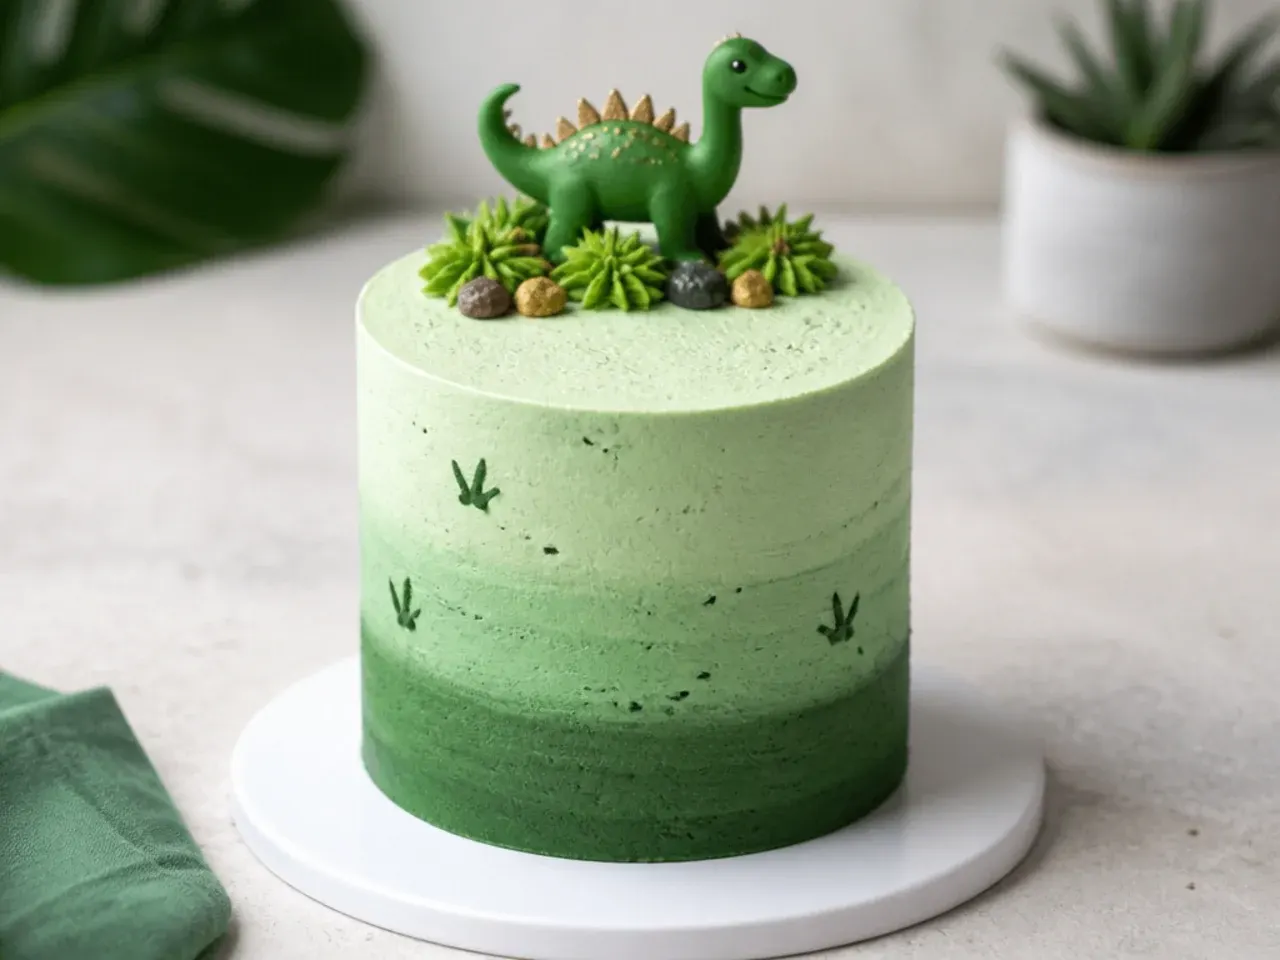
An ombre fade is one of the fastest ways to make a single-colour cake look professional. Split your buttercream into three bowls and tint them dark swamp green, mid green, and the palest mint. Spread the darkest around the bottom third of the cake, the mid tone in the middle, and the light shade on top, then hold a scraper steady and rotate the turntable so the bands blend where they meet. Chill for 20 minutes, then add a toy dinosaur half-submerged look by pressing it into the top with piped grass around its legs. The gradient reads as murky swamp water rising up the cake — simple, moody and very effective.
17. Cutter Mini Dino Cakes from One Sheet Pan
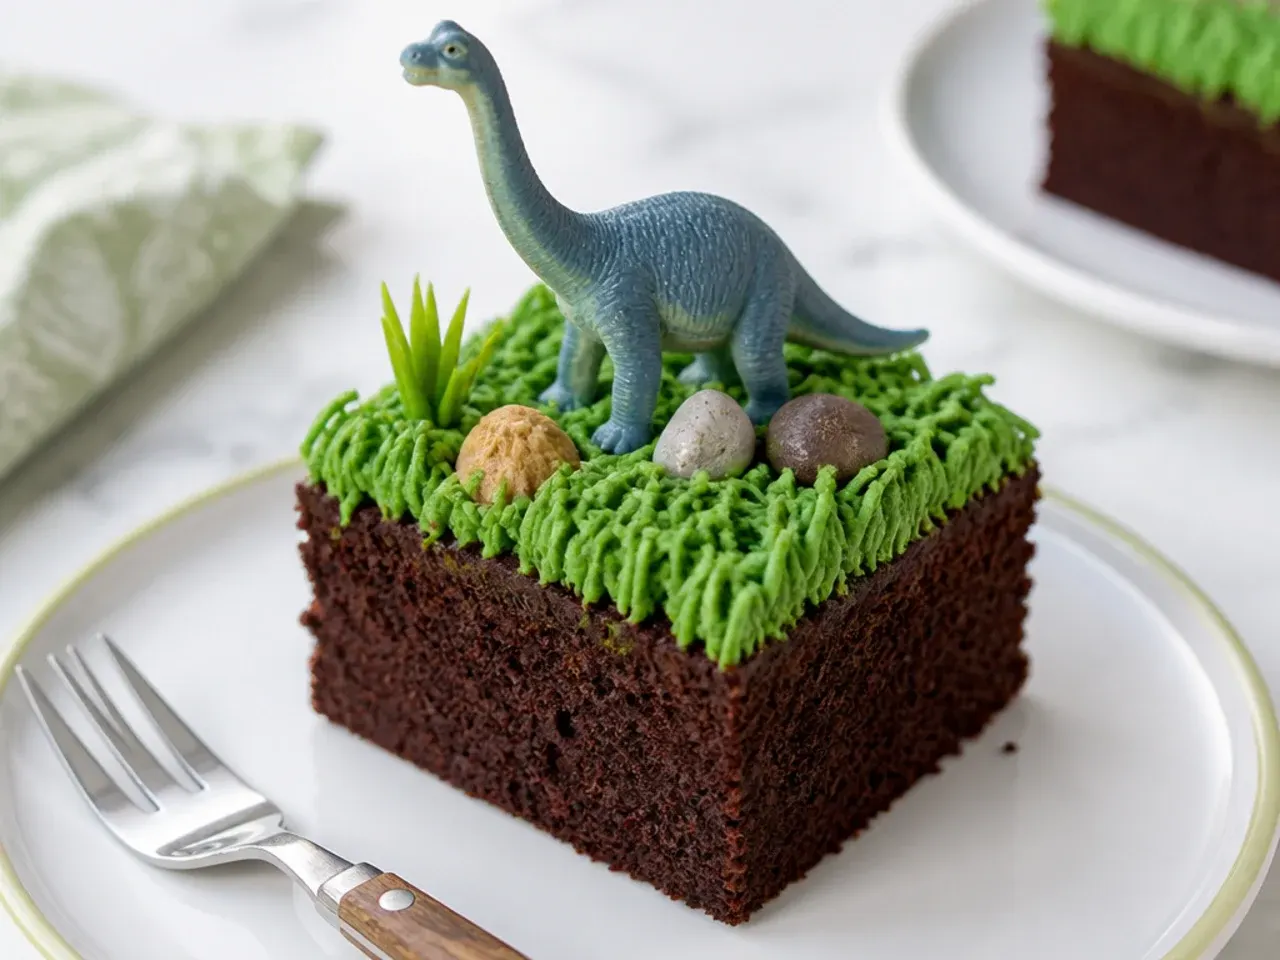
When every child wants their own cake, skip the layer cake entirely. Bake the base batter in a lined 23x33cm (9x13-inch) pan at 180°C (350°F) for 20-22 minutes, cool completely, then chill for 30 minutes and stamp out rounds with a 7cm cutter. Sandwich two rounds with buttercream to make about six individual two-layer minis, then give each a quick coat and a different topper: one grass-piped, one footprint, one with a tiny toy. Freezing the sheet for 20 minutes before cutting gives much cleaner edges. These are easier to serve at a party than slicing a cake in front of impatient four-year-olds.
18. Elegant Sage and Gold Splatter Cake
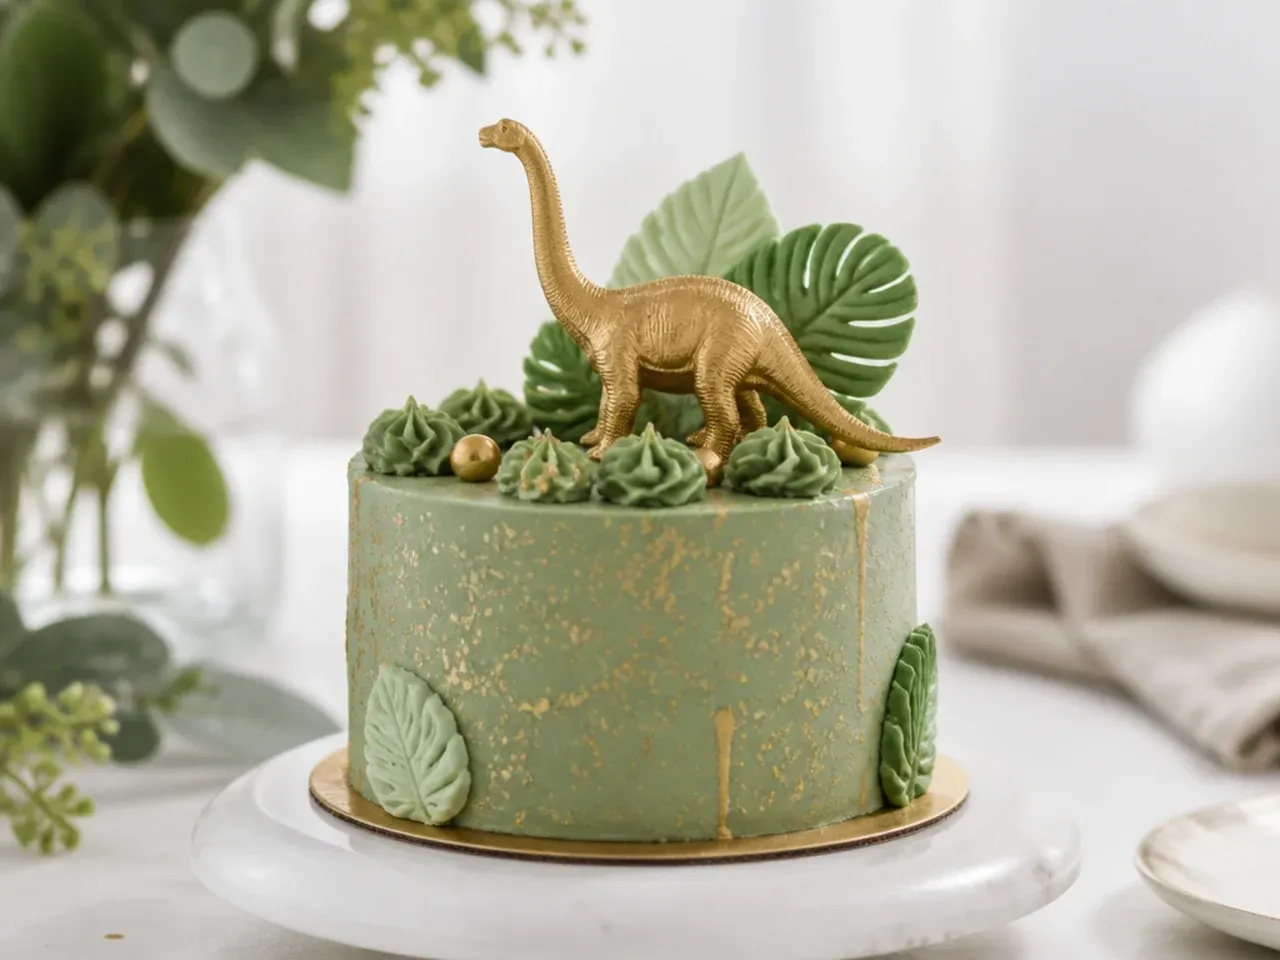
Muted sage green with metallic gold is the palette bakeries charge a premium for. Tint the buttercream with a small amount of avocado or moss green gel plus a single drop of black to grey it down, then frost and smooth the cake and chill until firm. Mix edible gold lustre dust with clear alcohol to a thin paint, load a clean stiff paintbrush, and flick it at the cake from about 20cm away — always test your splatter consistency on kitchen paper first. Paint a small fondant dinosaur entirely gold with the same mixture and perch it on top. The result looks commissioned, not homemade, for the cost of a pot of lustre dust.
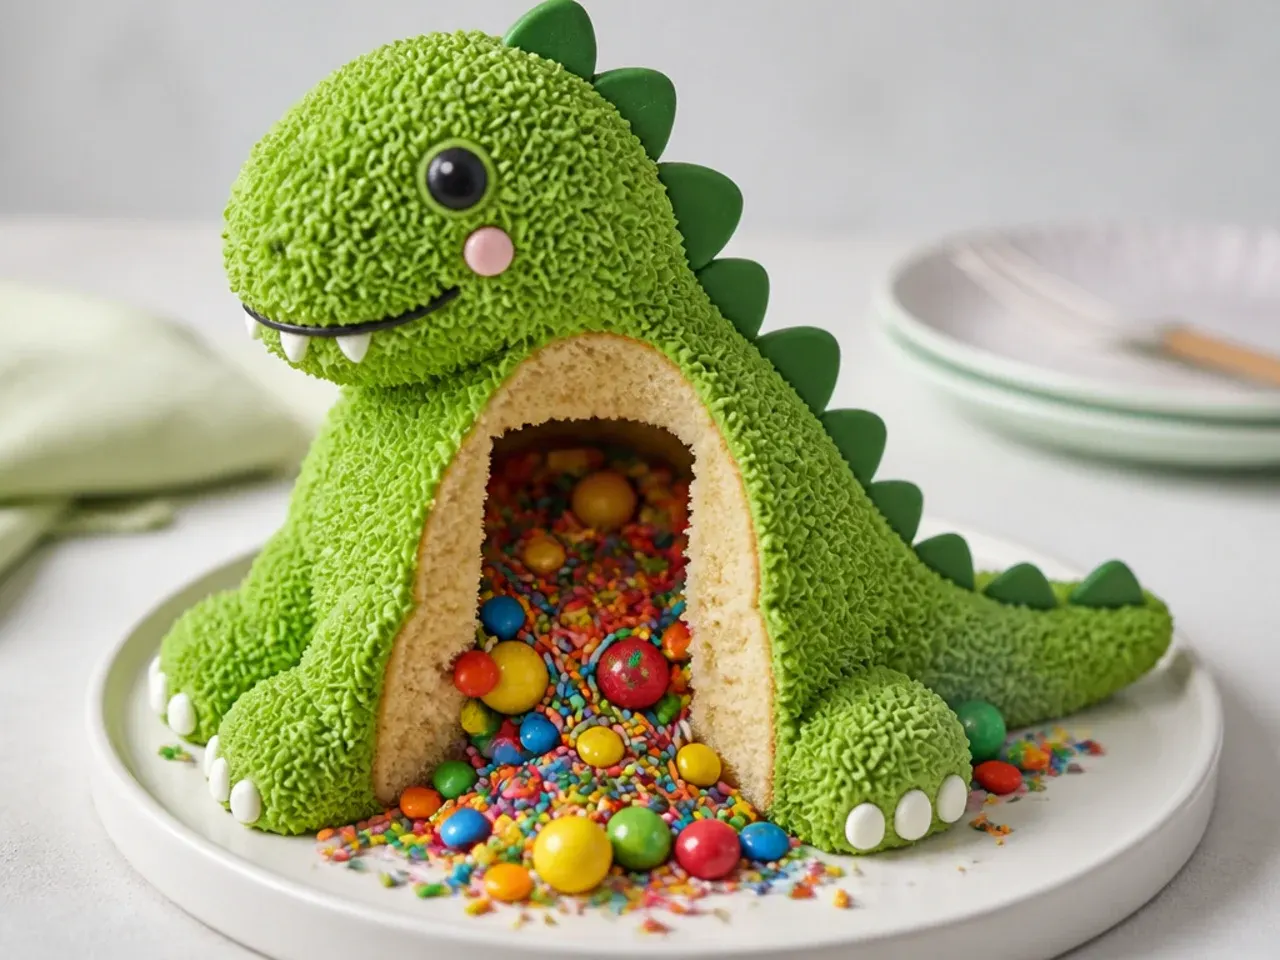
20. Hand-Painted Line-Art Dino Cake
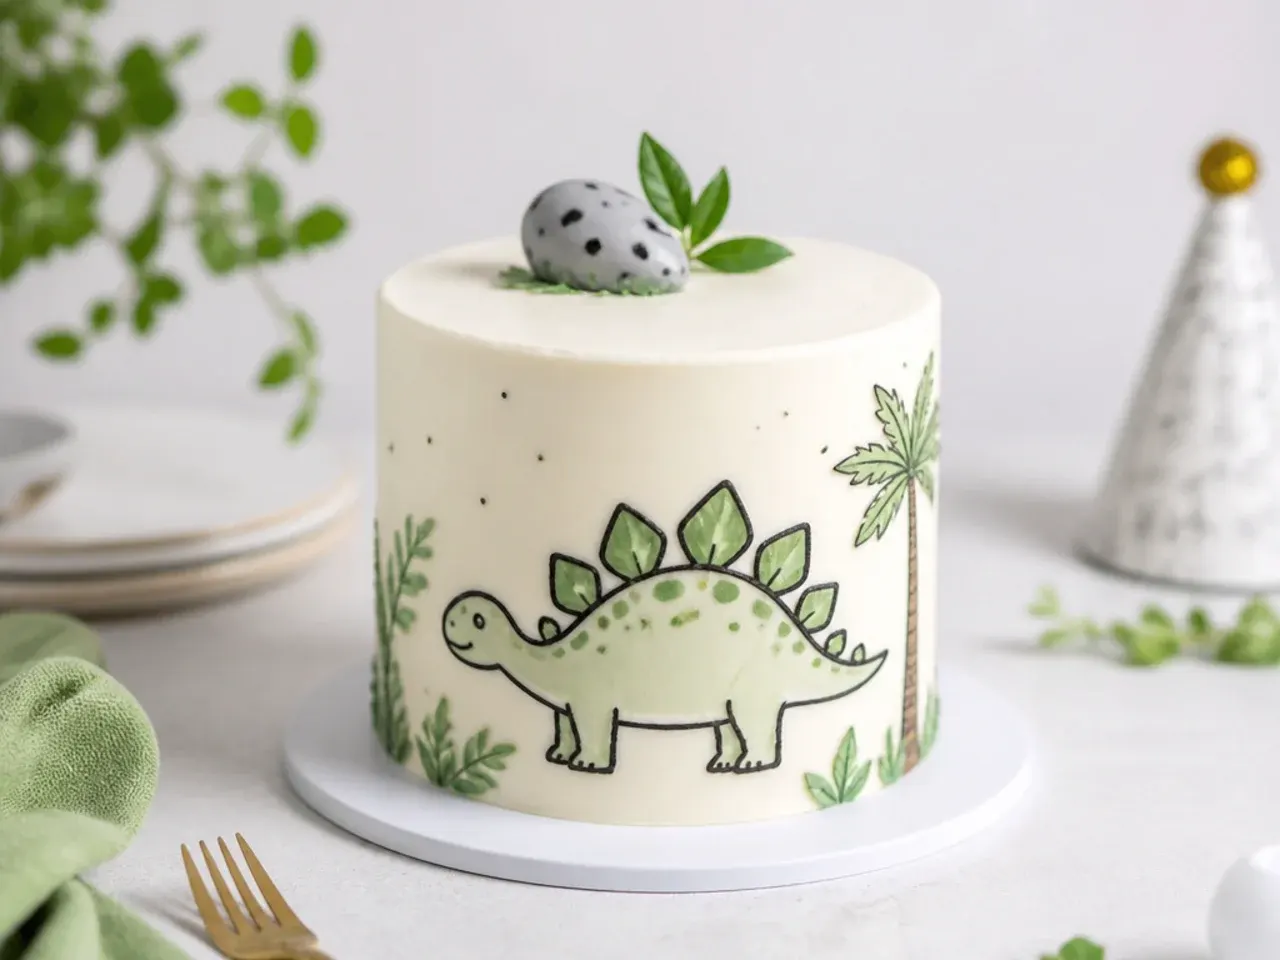
One continuous line drawing of a dinosaur on plain buttercream is the most modern look on this list, and it needs no piping at all. Frost the cake smoothly in white or warm cream, then chill it for 45-60 minutes until the surface is firm enough that a fingertip leaves no mark. Draw a simple one-line dinosaur outline — practise on paper first — using a black edible-ink pen, or paint it with a fine brush dipped in black gel colour thinned with a drop of clear alcohol. Keep the drawing to one side and add a tiny painted heart or star to balance the space. Mistakes wipe off chilled buttercream with a barely damp brush if you catch them quickly.
Tips to Make These Ideas Easier
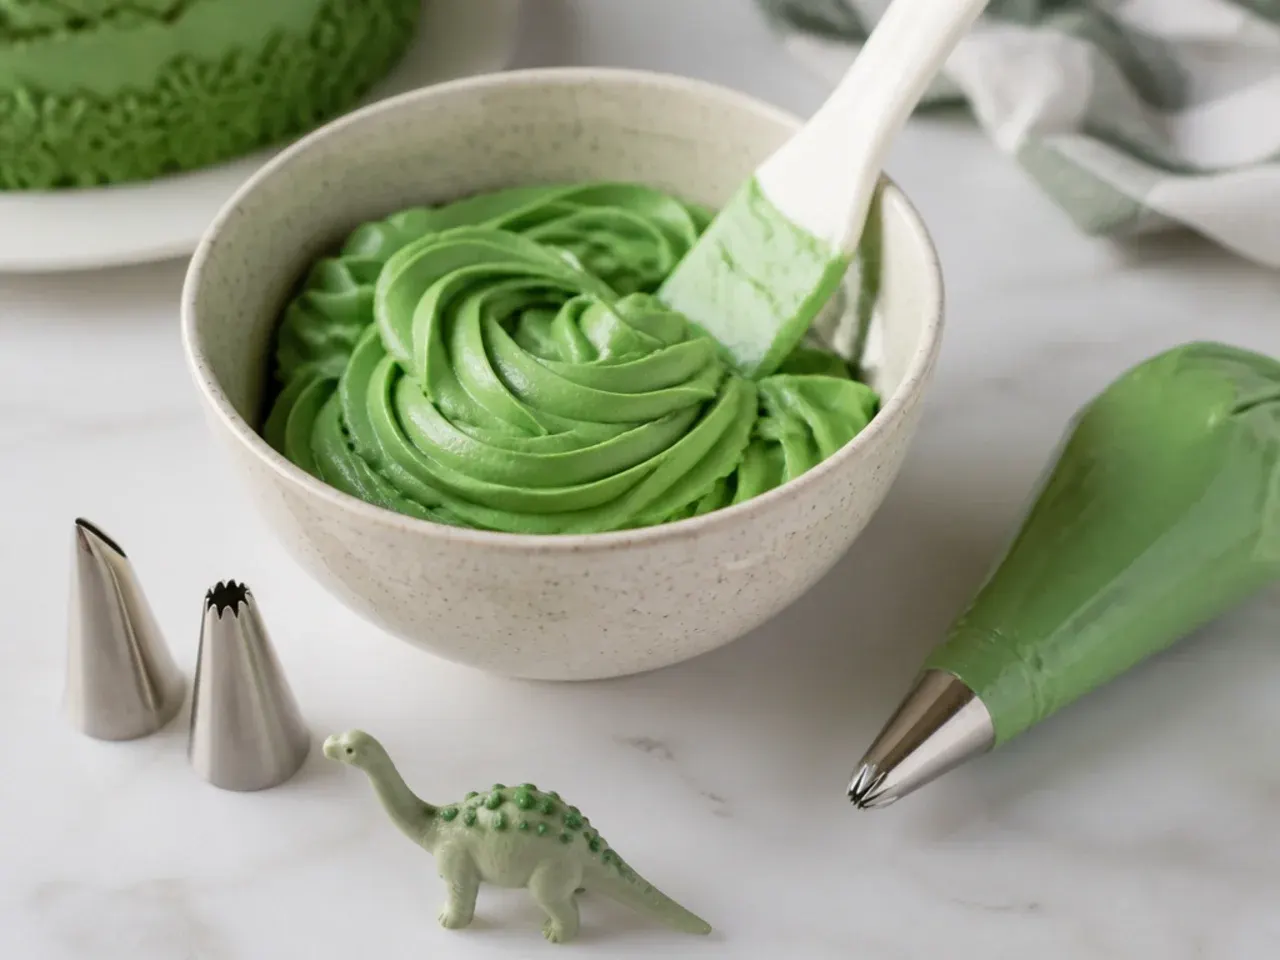
Chill at every stage: 30 minutes in the fridge after crumb coating and before stamping, painting or pressing toys in makes every technique cleaner. Use gel food colouring, never liquid — gels give strong colour without thinning buttercream, and green deepens noticeably after an hour, so tint one shade lighter than your target. Spread the work out: bake and freeze the layers up to a month ahead (double-wrapped in cling film), and keep buttercream in the fridge for up to two weeks, re-beating it before use. No piping bag? Snip the corner off a strong zip-lock bag for borders and grass. Finally, wash any toy dinosaurs in hot soapy water and dry them fully before they touch the cake.
Common Mistakes to Avoid
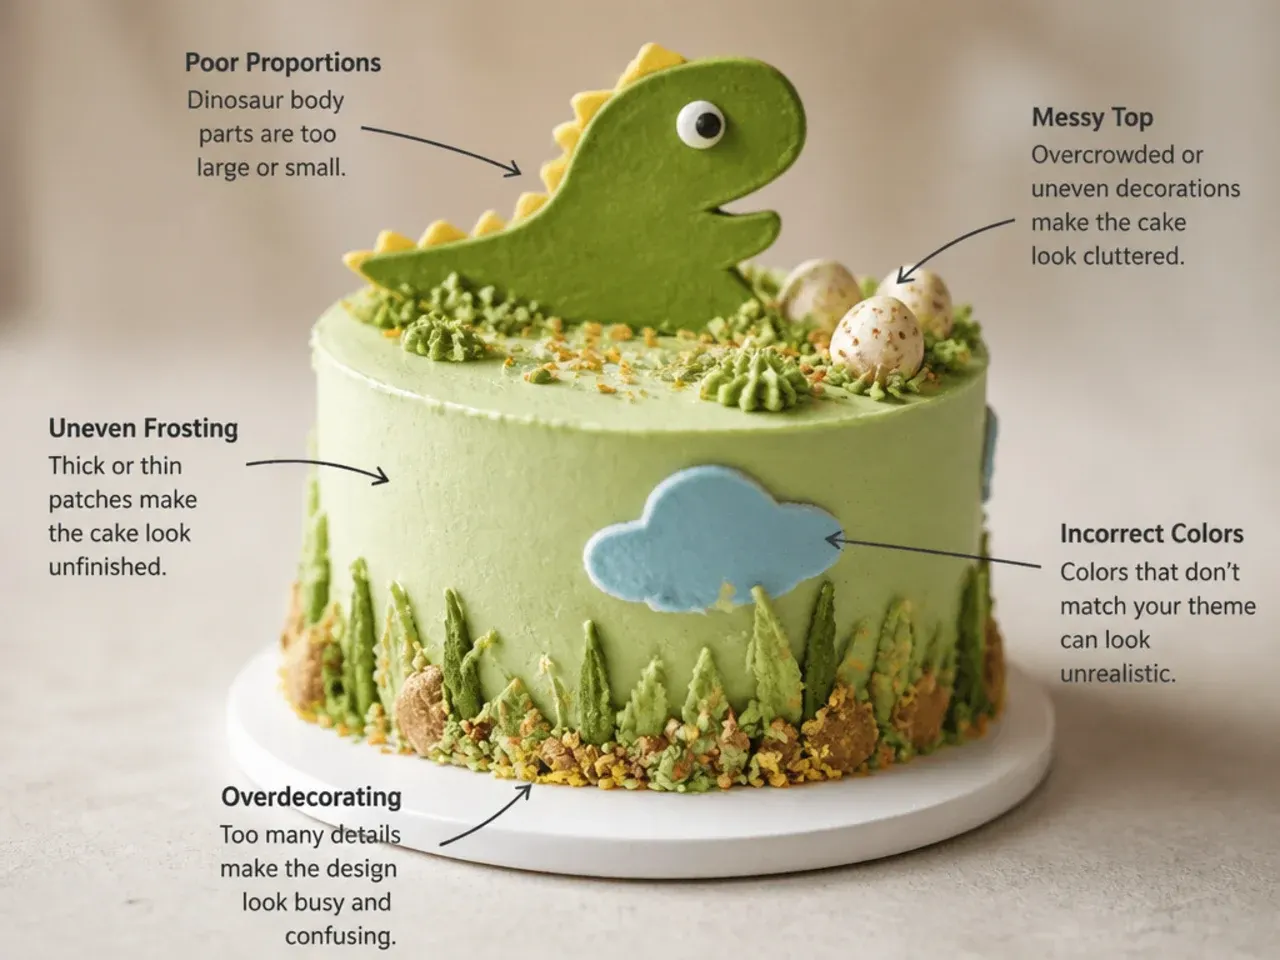
Frosting warm layers is the number one failure — even slightly warm sponge melts buttercream into a sliding mess, so cool completely and chill before you start. Small 15cm layers overbake fast, which makes carving and stacking crumbly; check with a skewer from 20 minutes and pull the tins as soon as it comes out clean. Do not pour ganache drips hotter than about 32°C (90°F), or they will run straight to the board and pool. Skipping the crumb coat means green frosting flecked with cake crumbs, especially on chocolate sponge. And remember to remove toy dinosaurs and paper hats before slicing and serving — small parts and small children are a bad mix.
The Recipe
The Base Recipe — Make Any of These Ideas
40 min
25 min
1 hr 45 min
8
Beginner
Ingredients 8 Person(s)
Directions
Step 1: Prep the tins and oven
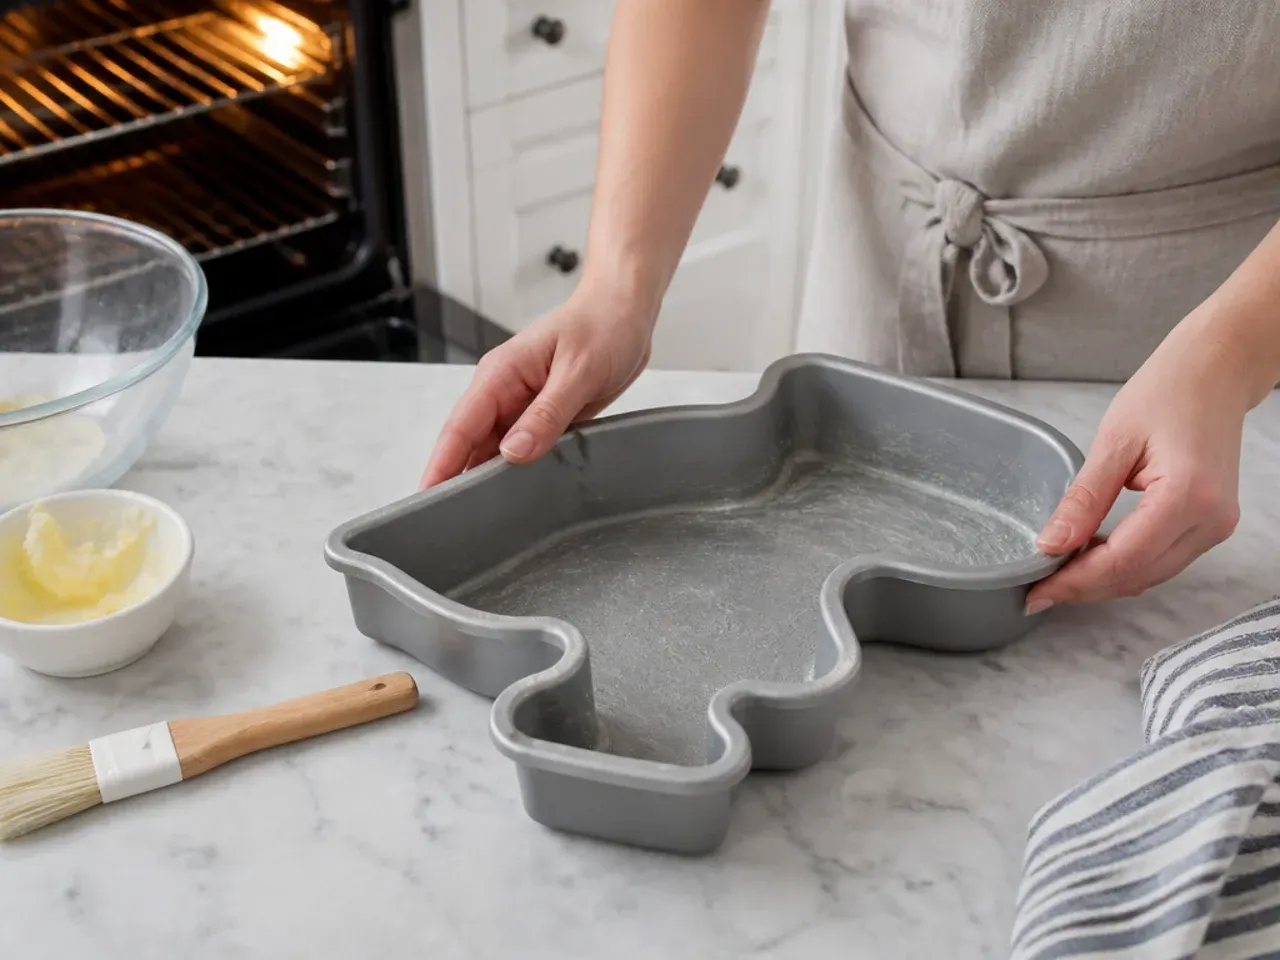
Heat the oven to 180°C (350°F), or 160°C fan / gas mark 4. Grease two 15cm (6-inch) round cake tins, at least 5cm deep, and line the bases with baking paper so the small layers release cleanly.
Step 2: Make the batter
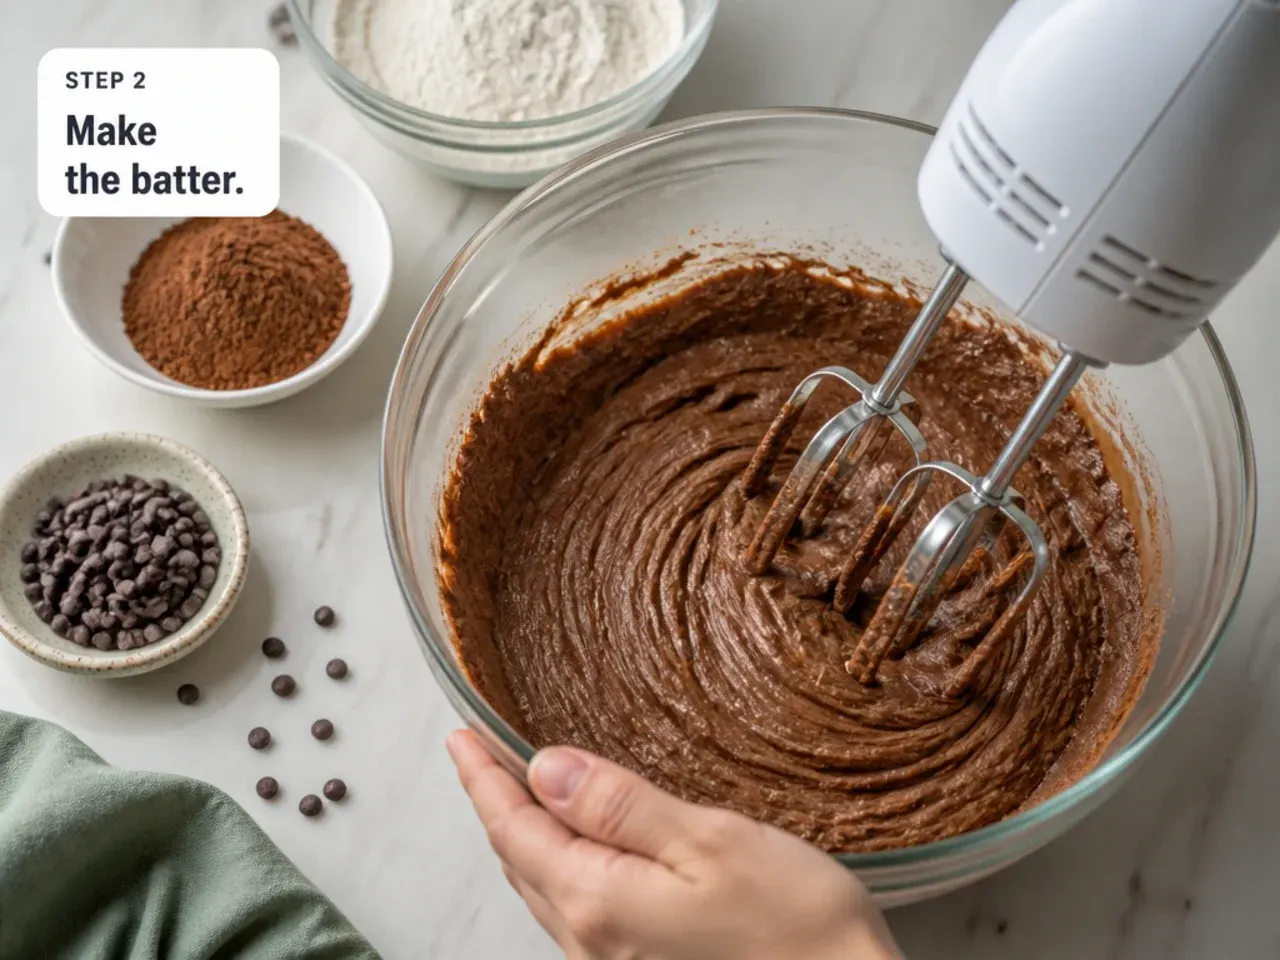
Beat 150g softened butter and 150g caster sugar with an electric mixer for 3-4 minutes until pale and fluffy. Add the 3 eggs one at a time, beating well after each, then mix in 1 teaspoon of the vanilla. Fold in 150g sifted self-raising flour with a spatula until just combined, then stir in 2 tablespoons of milk to loosen the batter to a soft, dropping consistency.
Step 3: Bake the layers
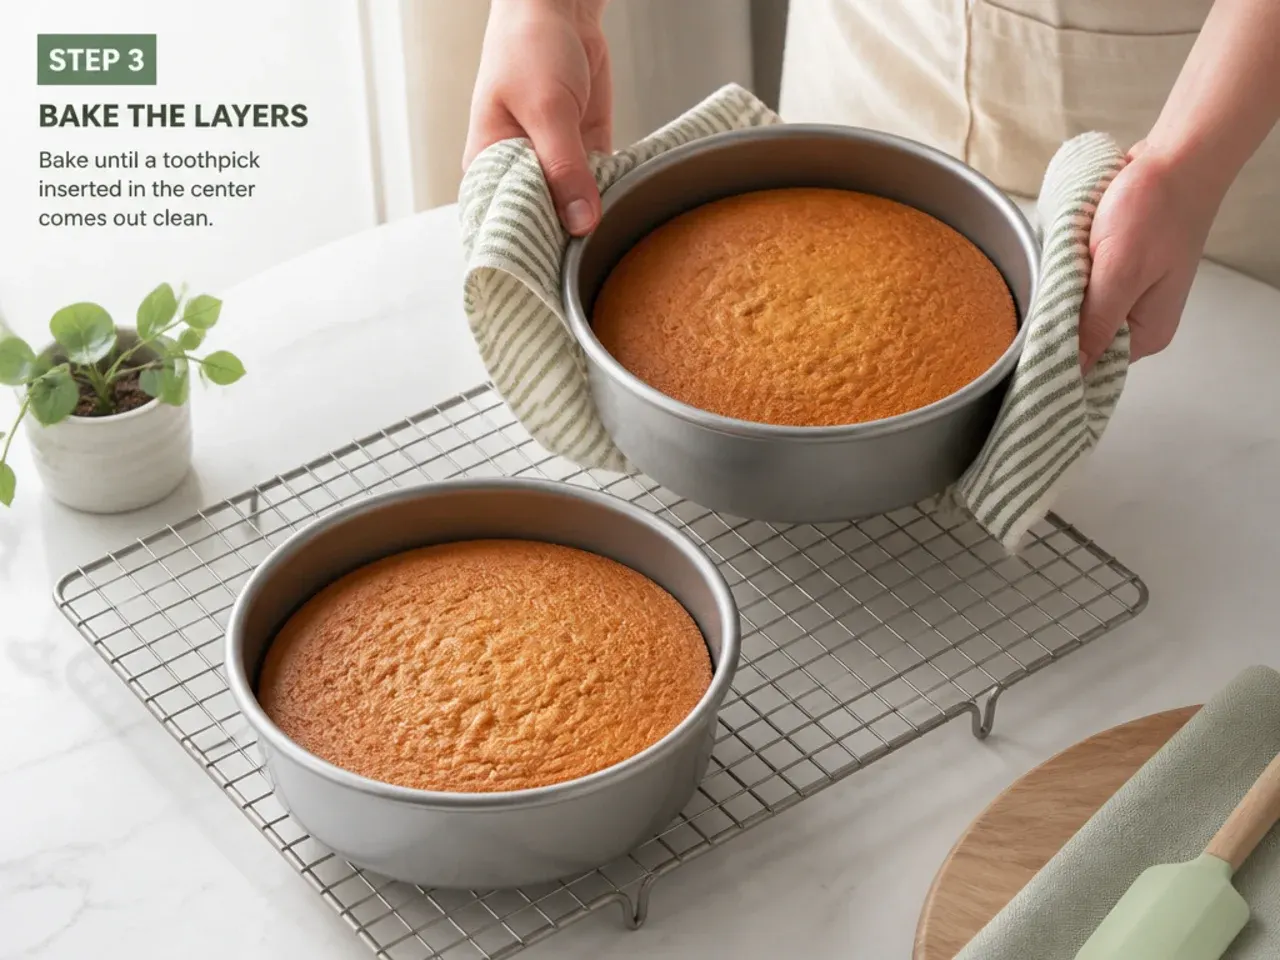
Divide the batter evenly between the two tins (about 300g per tin if you have scales) and level the tops. Bake for 22-26 minutes, checking from 20 minutes — a skewer pushed into the centre should come out clean. Cool in the tins for 10 minutes, then turn out onto a wire rack.
Step 4: Cool, level and chill
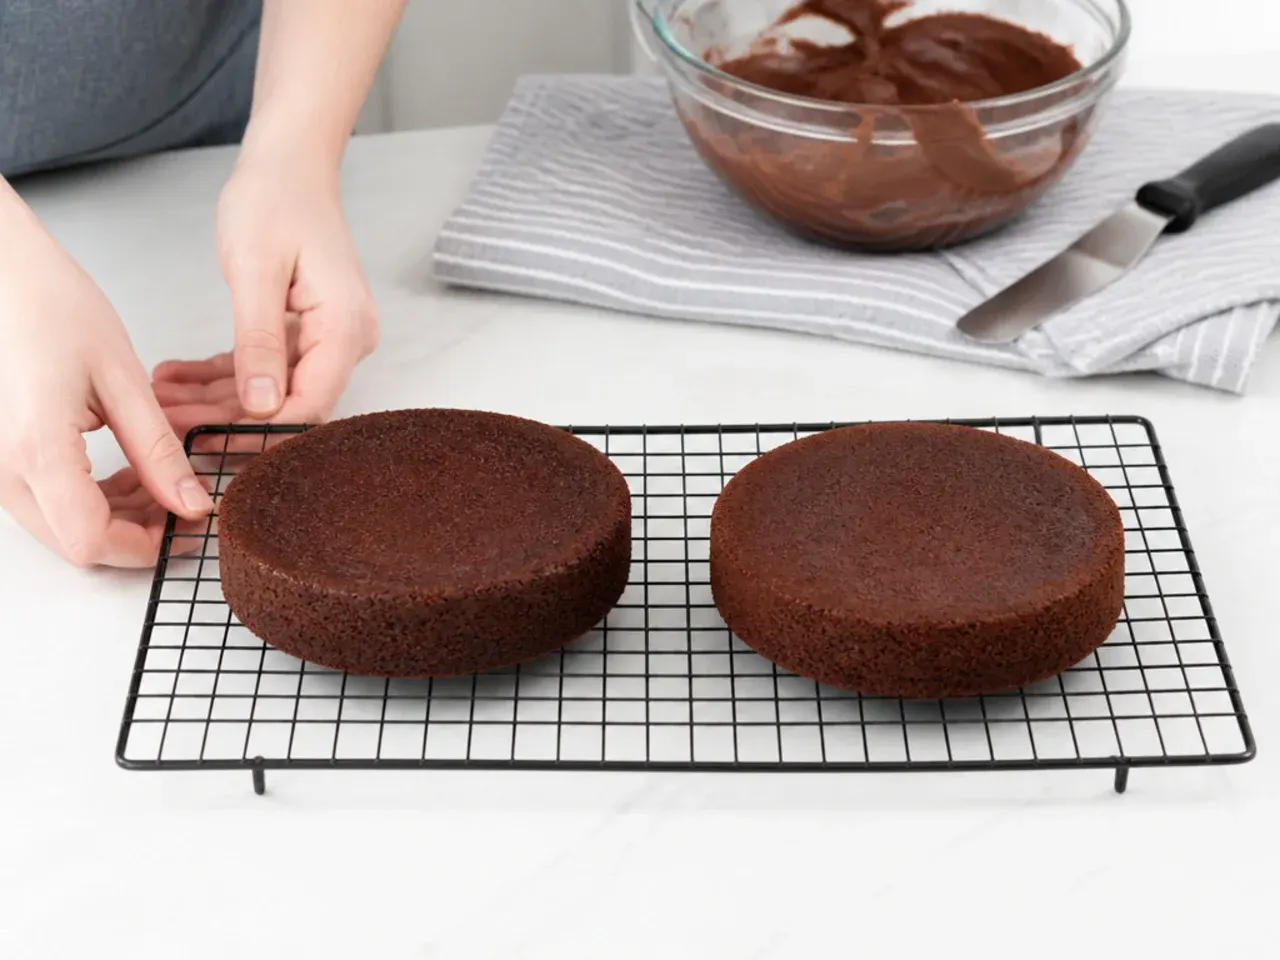
Once the layers are completely cold, slice off any domed tops with a serrated knife so they stack flat. Wrap each layer in cling film and chill for 30 minutes; cold layers are firmer, shed fewer crumbs and are far easier to frost.
Step 5: Make the buttercream
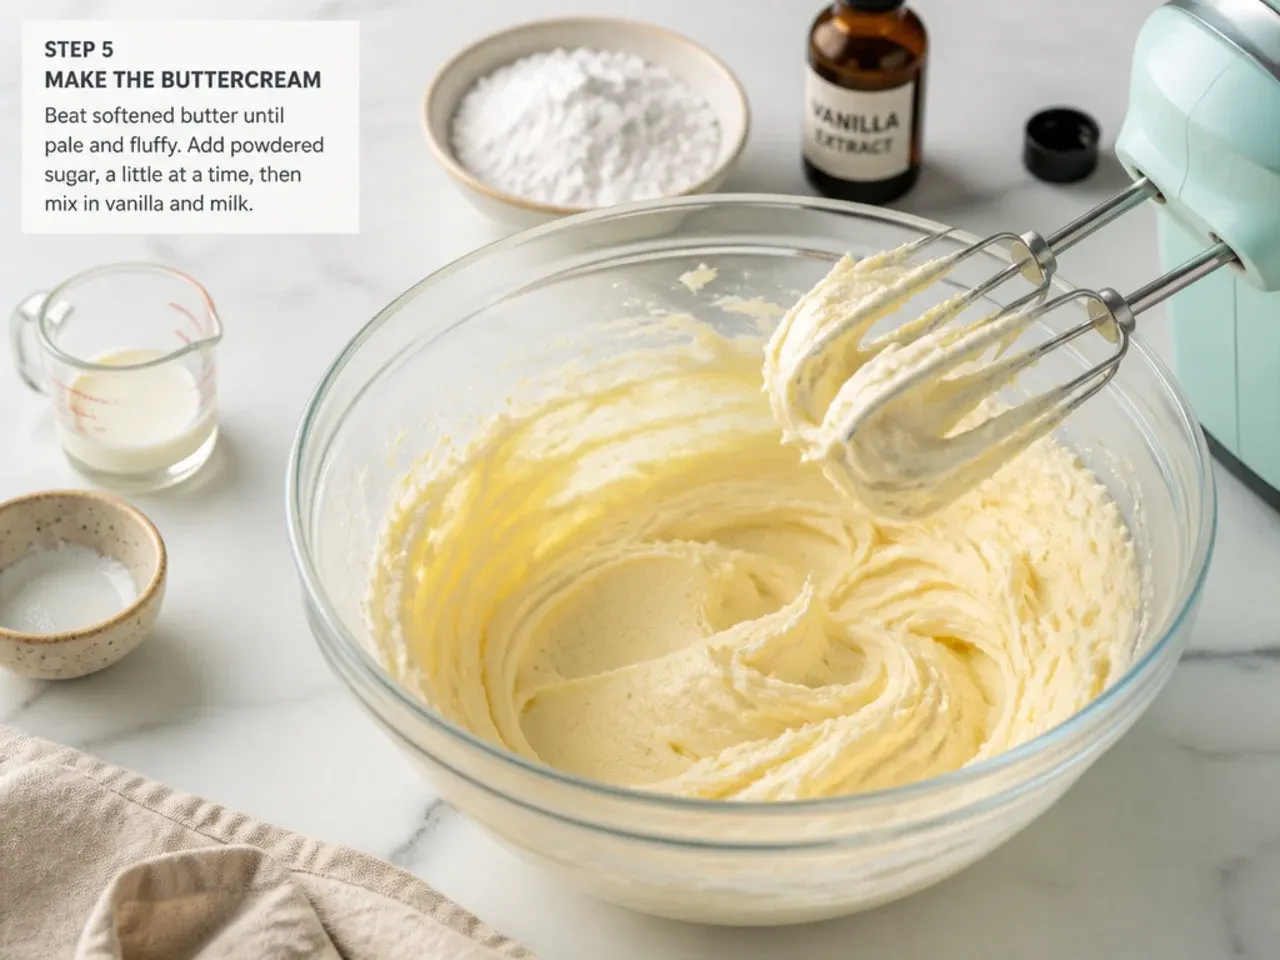
Beat 200g softened butter for 3-5 minutes until very pale. Add 400g sifted icing sugar in two additions, beating on low first so it does not cloud the kitchen, then add the remaining 1 teaspoon vanilla and 1-2 tablespoons of milk and beat until smooth and spreadable. Tint with green gel colour a toothpick-dab at a time until you reach your shade, remembering it deepens as it sits.
Step 6: Fill and crumb coat
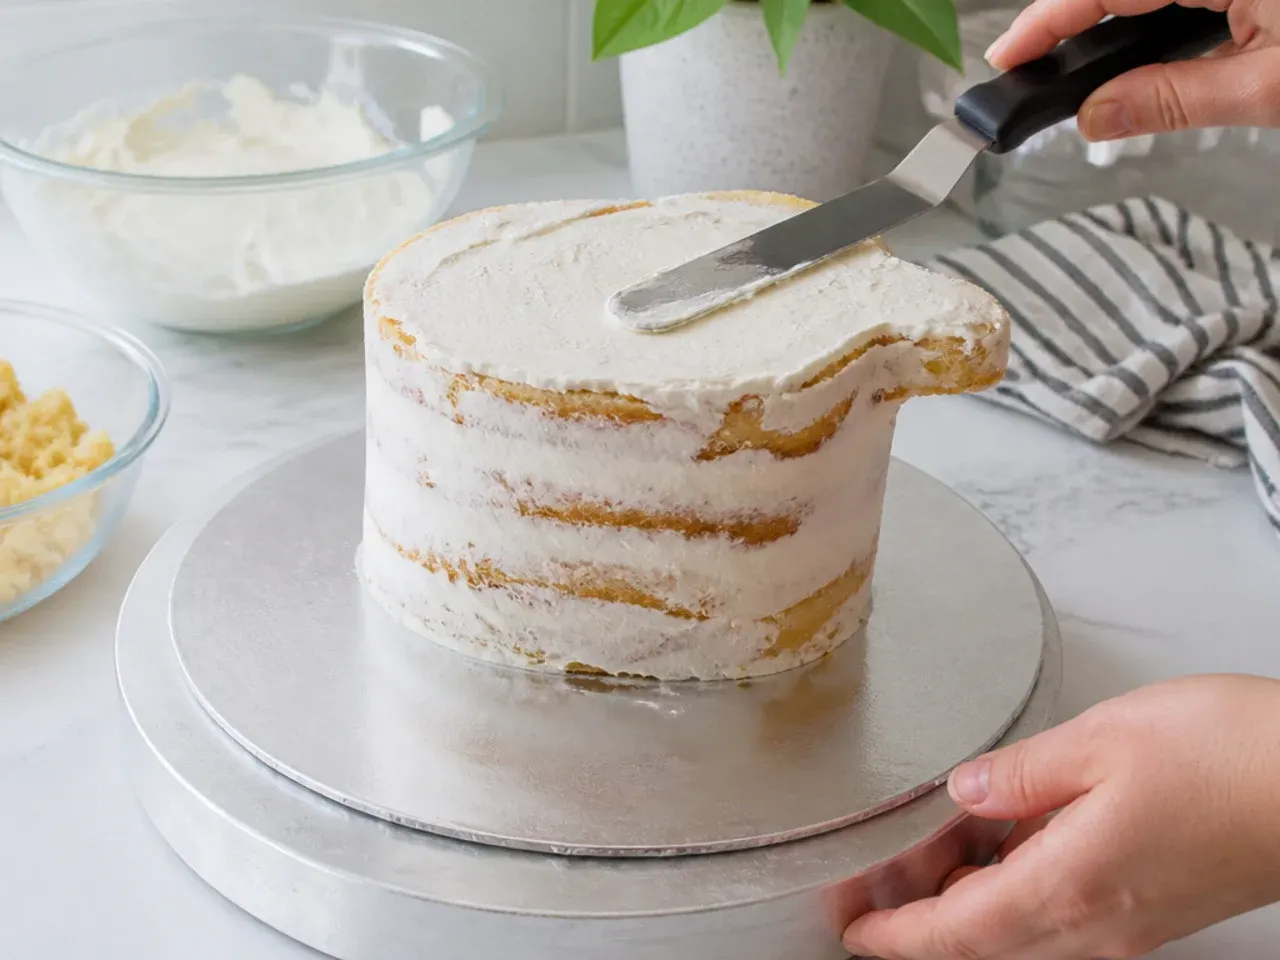
Dab a little buttercream on your cake board and press down the first layer. Spread about 4 tablespoons of buttercream over it, then place the second layer cut-side down for a flat top. Apply a thin crumb coat all over with an offset spatula, scraping it smooth, and refrigerate the cake for 30 minutes until the coat is firm to the touch.
Step 7: Final coat and decorate
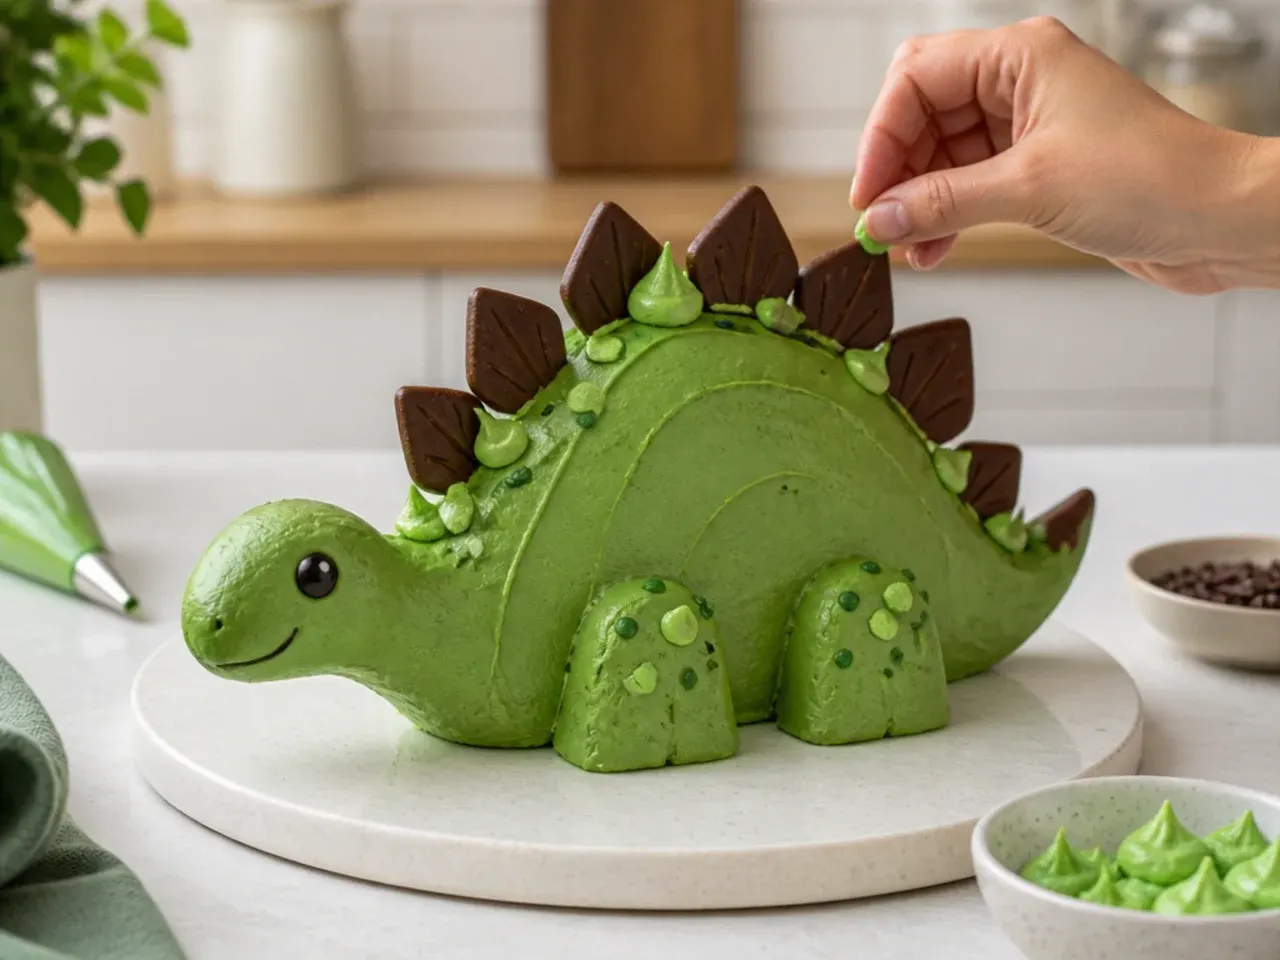
Spread the remaining buttercream over the chilled cake and smooth the sides with a cake scraper, or leave rustic swirls if you prefer. Decorate using whichever mini dinosaur cake idea you have chosen — pipe grass with a Wilton 233 tip, stamp footprints, or press on your washed dinosaur toys — then chill for 15 minutes before adding any candles or final toppers.
Frequently Asked Questions
You can bake the layers up to 2 days ahead (wrapped well at room temperature) or freeze them, double-wrapped in cling film, for up to a month. Buttercream keeps in the fridge for up to 2 weeks — let it come to room temperature and re-beat it before using. A fully decorated buttercream cake is at its best within 2-3 days, so aim to decorate the day before the party.
Save this for later 📌
Pin this article to your Pinterest board so the full list is one tap away when you need it.
Save on Pinterest