20 Easy Hello Kitty Cakes to Make at Home
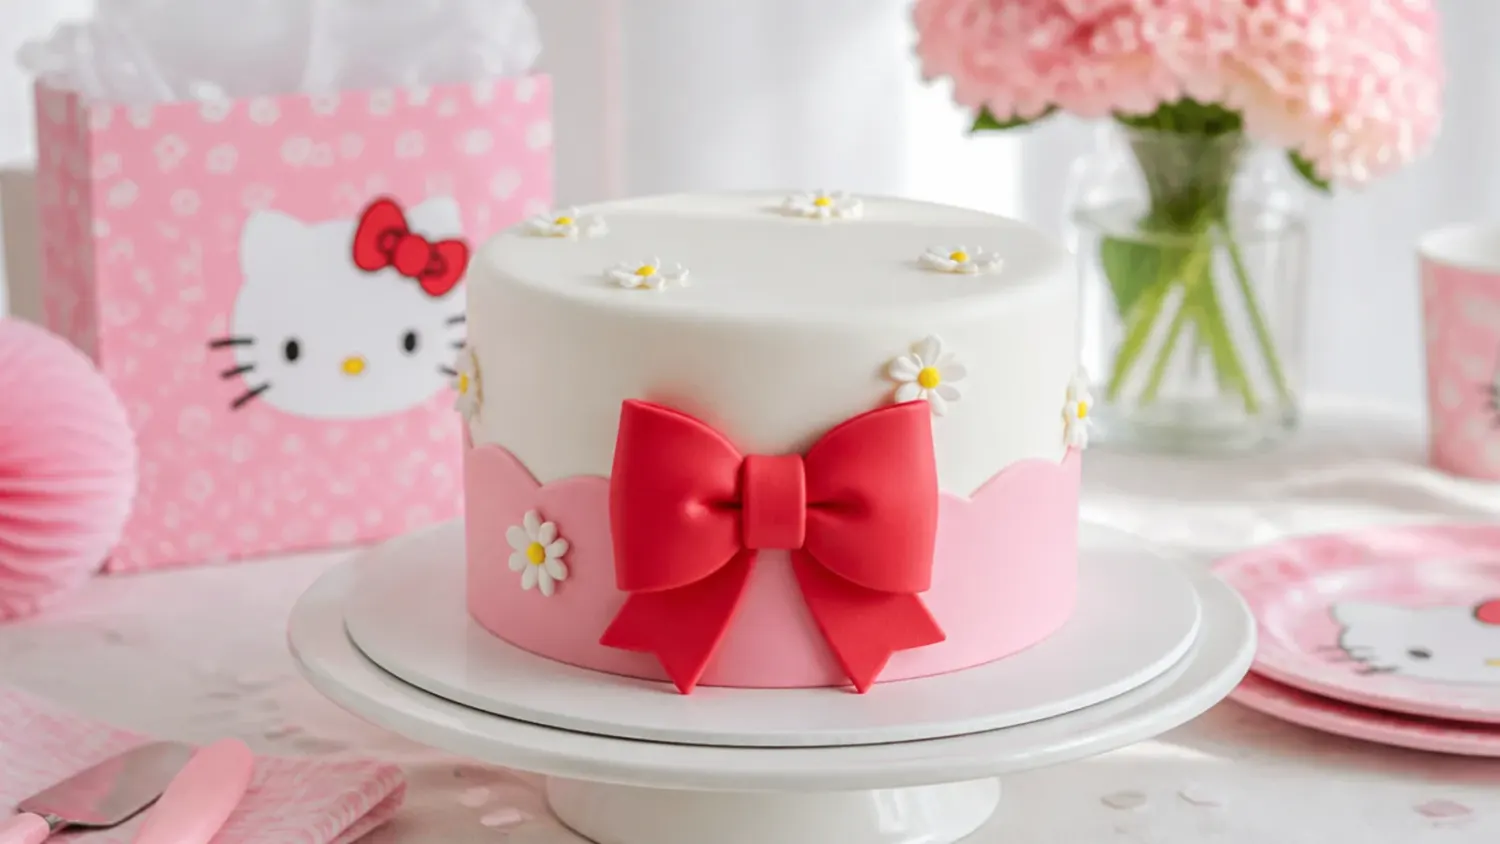
These 20 easy Hello Kitty cake ideas use simple buttercream tricks, basic pans and shop-bought toppers, so any home baker can nail the party cake. If you love hello kitty cake inspiration, start with our Hello Kitty Cake Ideas collection, then browse the full Cake Ideas hub for more.

Save this for later 📌
Pin this article to your Pinterest board so the full list is one tap away when you need it.
Save on PinterestCake Ideas
Beginner
Ideas
20 ideas
Table of Contents
- 1. Classic Pink Bow Celebration Cake
- 2. 30-Minute Sheet Cake with a Shop-Bought Topper
- 3. Pink Rosette Cake with a Wilton 1M
- 4. Pull-Apart Cupcake Bow Cake
- 5. Polka Dot Buttercream Cake
- 6. Pastel Pink Drip Cake
- 7. Pink Ombre Layer Cake
- 8. Heart-Shaped Bow Cake with No Special Pan
- 9. Vintage Lambeth-Style Piping Cake
- 10. Strawberries and Cream Cake
- 11. Giant Cookie Cake with an Icing Bow
- 12. Surprise Rainbow Layer Cake
- 13. Mini Bento Cake
- 14. Sprinkle-Coated Party Cake
- 15. Simple Two-Tier Party Cake
- 16. Chocolate Fudge Version with a Pink Drip
- 17. No-Bake Icebox Cake
- 18. Number Cake with Cream Puffs and Bows
- 19. Quilted Fondant Cake with Pearl Details
- 20. Gluten-Free Vanilla Party Cake
- Tips to Make These Ideas Easier
- Common Mistakes to Avoid
- The Base Recipe — Make Any of These Ideas
1. Classic Pink Bow Celebration Cake
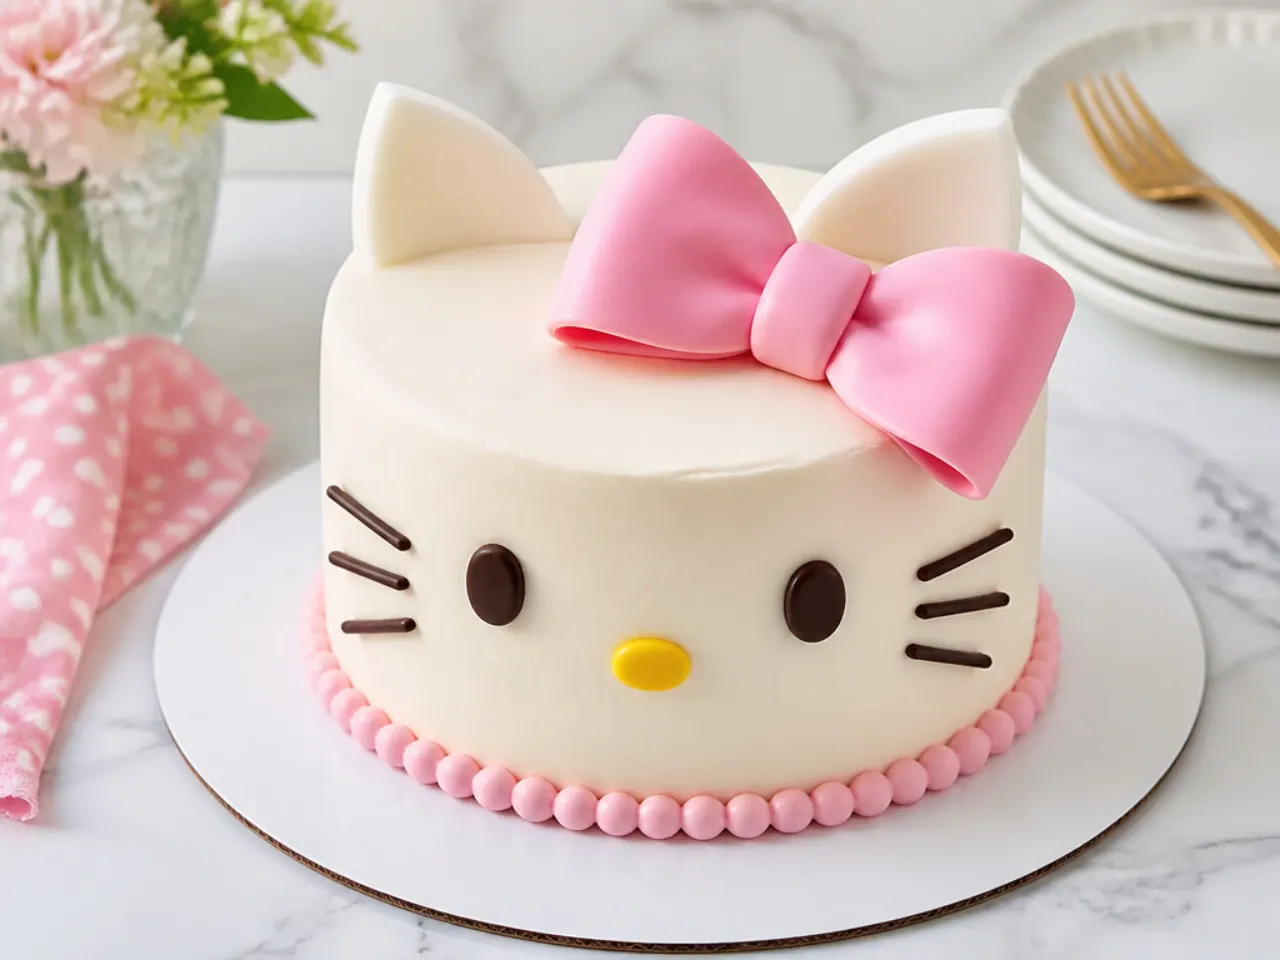
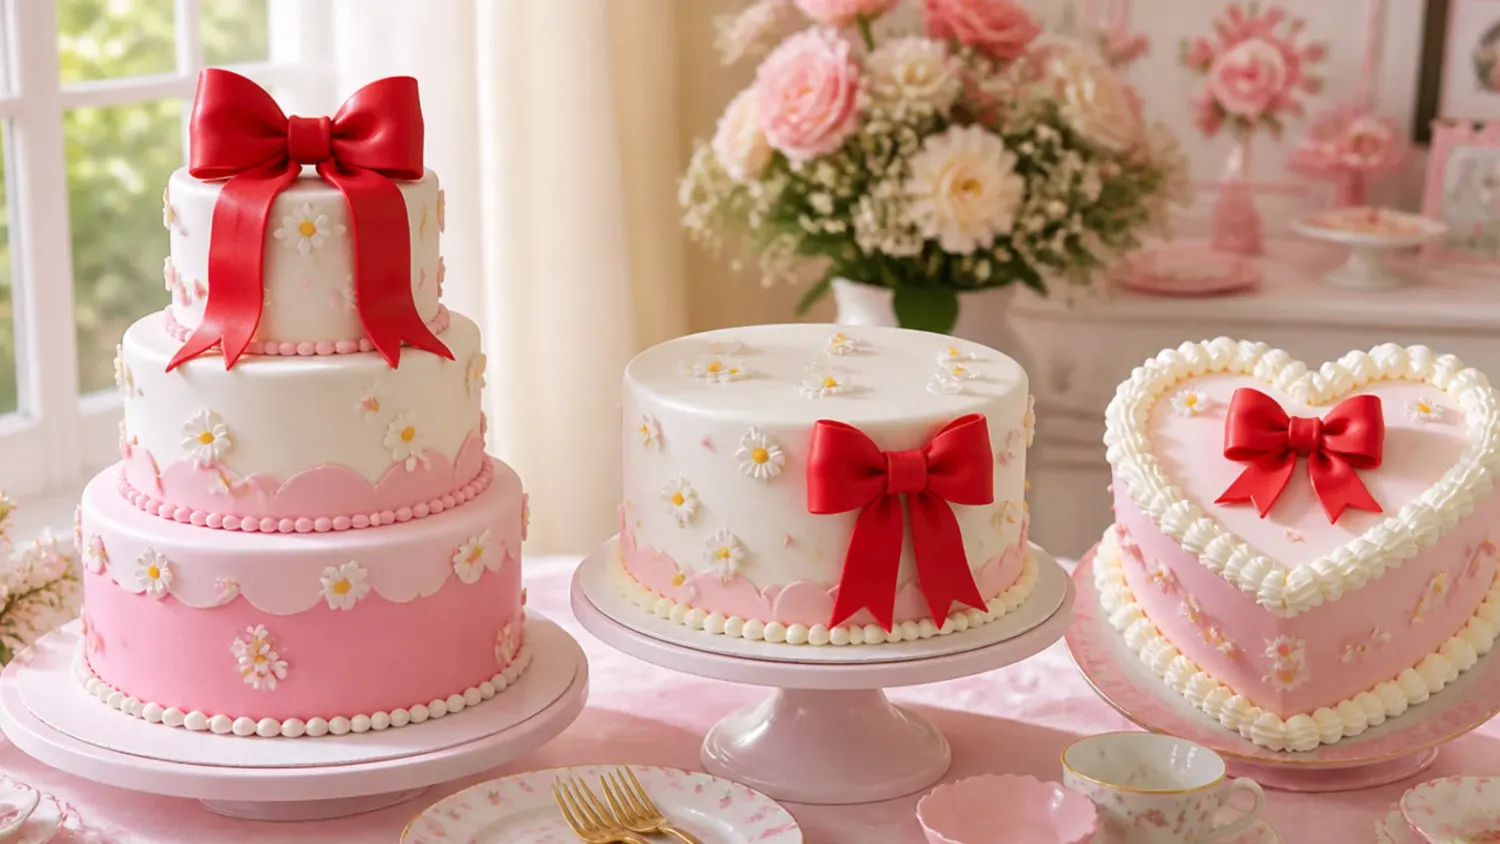
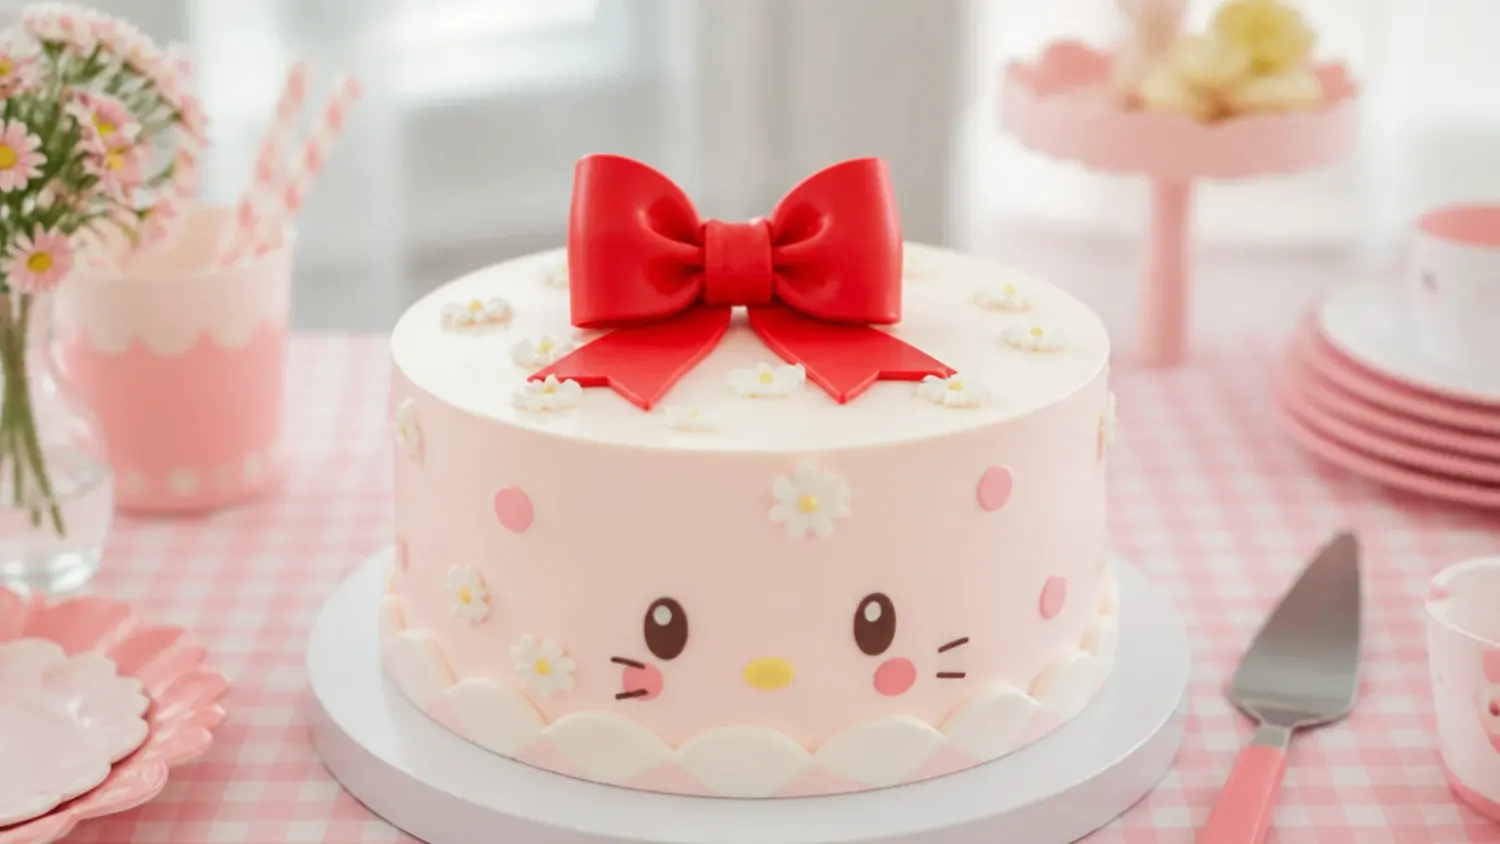
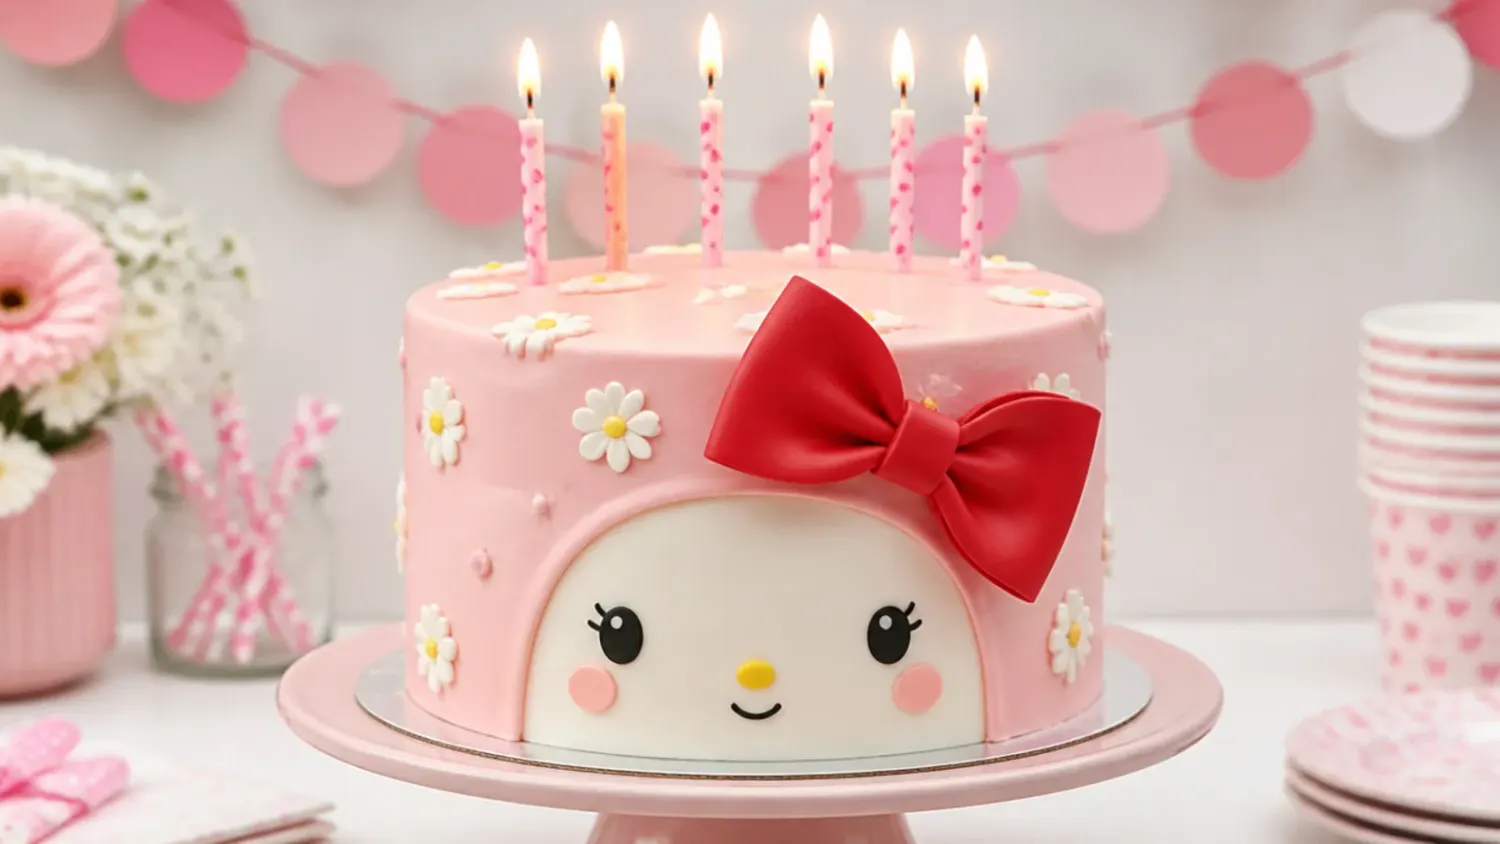
This is the design most parents picture first: two 20cm (8 inch) vanilla layers covered in smooth white buttercream with one oversized pink bow perched on the top edge. The bow does all the work, so make it from 100g of pink fondant the night before by folding two rectangles into loops and letting them dry over a rolled-up paper towel so they hold their shape. Smooth the buttercream with a bench scraper held at a 45 degree angle while slowly turning the cake on a turntable or upturned plate. Finish with a thin red ribbon pressed around the base board. It reads instantly on-theme without any tricky character work.
2. 30-Minute Sheet Cake with a Shop-Bought Topper
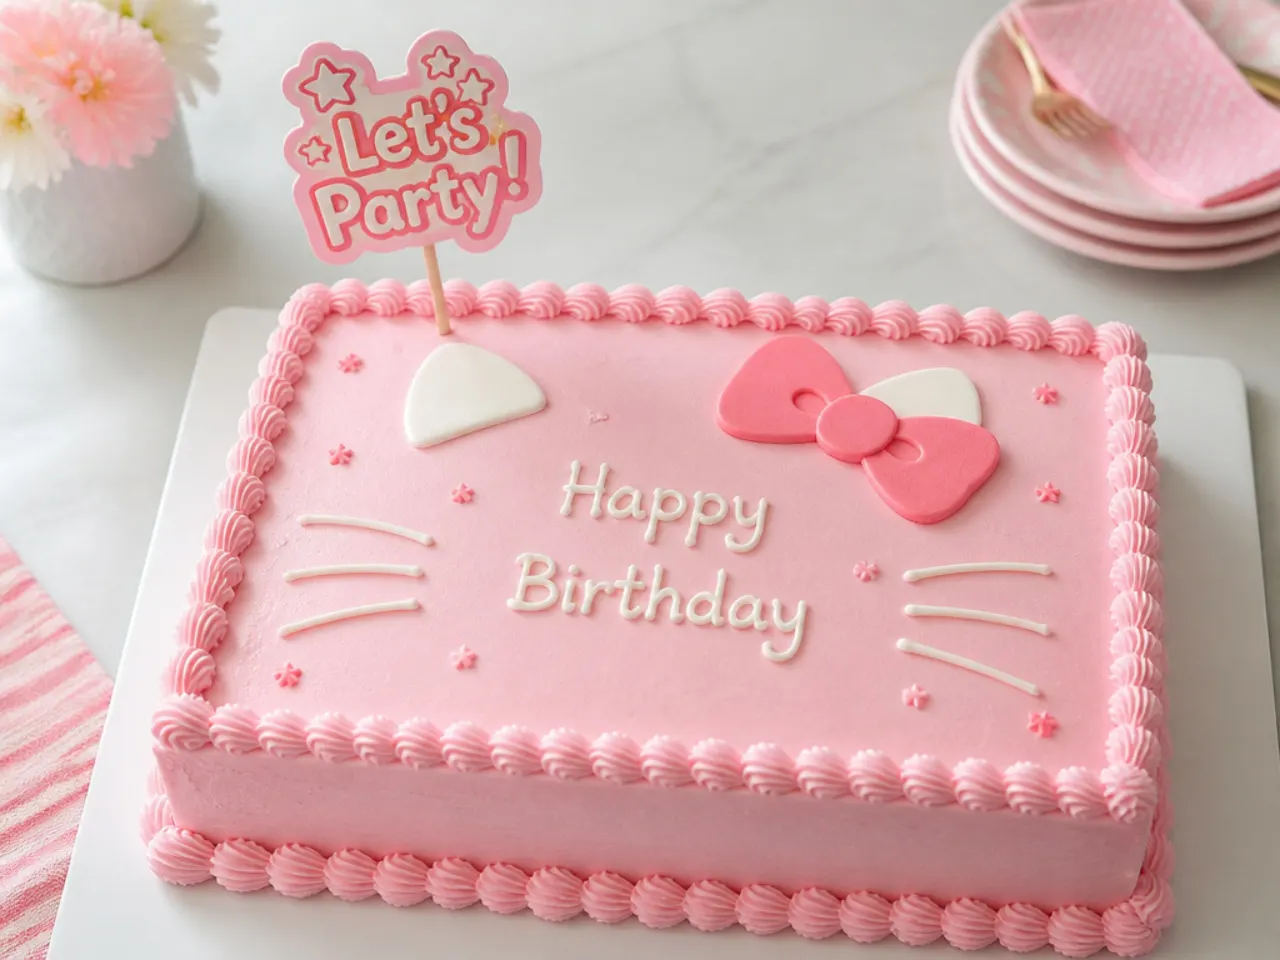
If the party is tomorrow, bake the base recipe below in a single 23x33cm (9x13 inch) pan at 180C/350F for 30 to 35 minutes and decorate it right in the tin. Spread pink buttercream over the top with an offset spatula, pipe a shell border around the edge with a Wilton 21 star tip, and press a licensed plastic or cardstock topper into the centre. A handful of white and red sprinkles scattered inside the border fills the space in seconds. No stacking, no levelling, no carving, and it serves 20 kids straight from the pan.
3. Pink Rosette Cake with a Wilton 1M
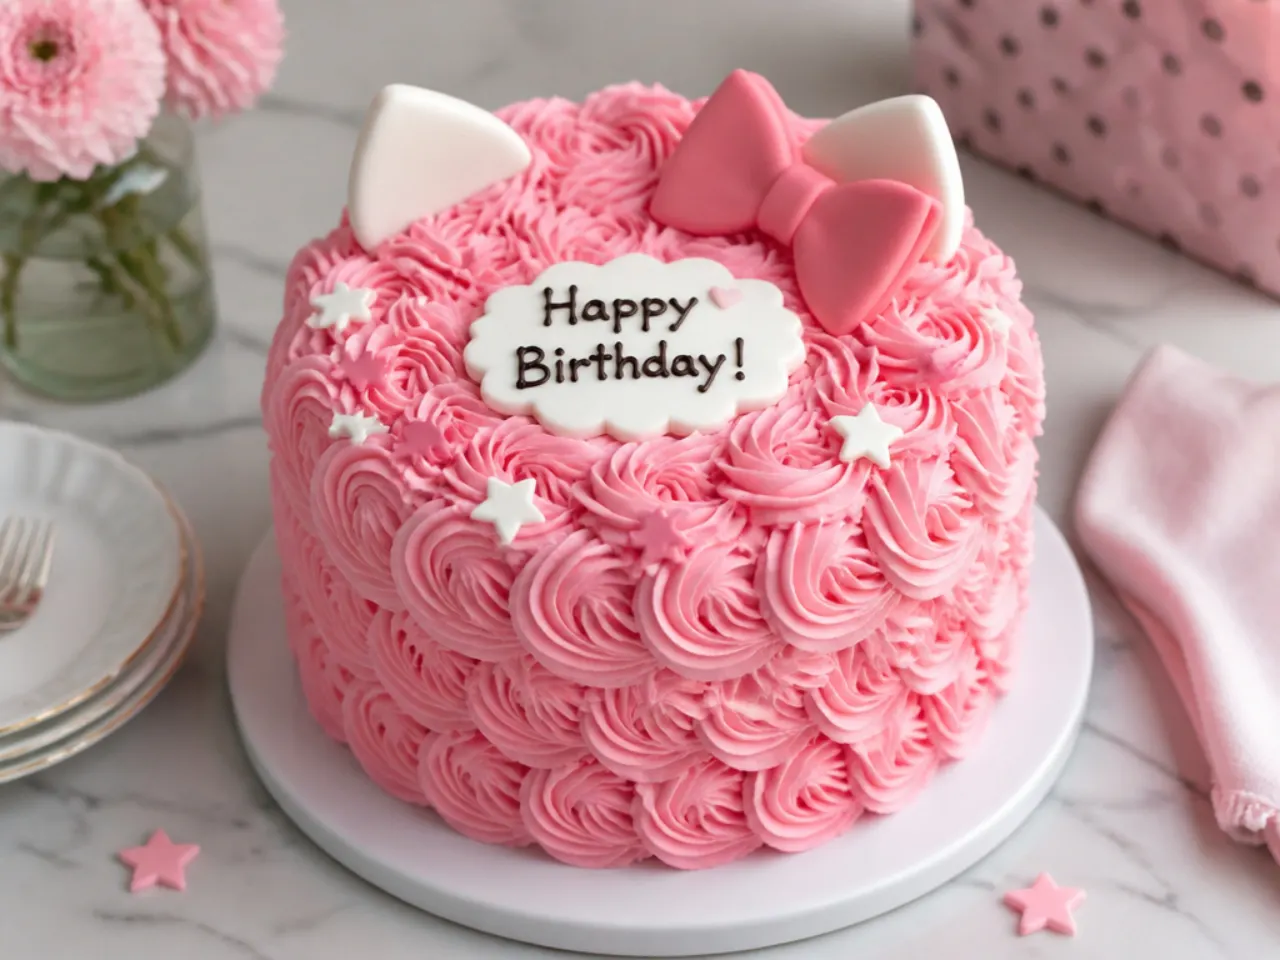
Rosettes cover an entire cake in about 15 minutes and hide every crumb and wobble underneath, which is why bakeries love them. Fit a large piping bag with a Wilton 1M star tip, fill it with soft pink buttercream, and pipe each swirl starting from the centre and circling outward once, working in rows from the bottom of the cake up. You will need roughly one and a half batches of the buttercream in the recipe below to cover a two-layer 20cm cake this way. Practise three or four rosettes on a sheet of baking paper first, then scrape that buttercream back into the bag. Add a small fondant bow or a white chocolate heart between a few rosettes to tie it to the theme.
4. Pull-Apart Cupcake Bow Cake
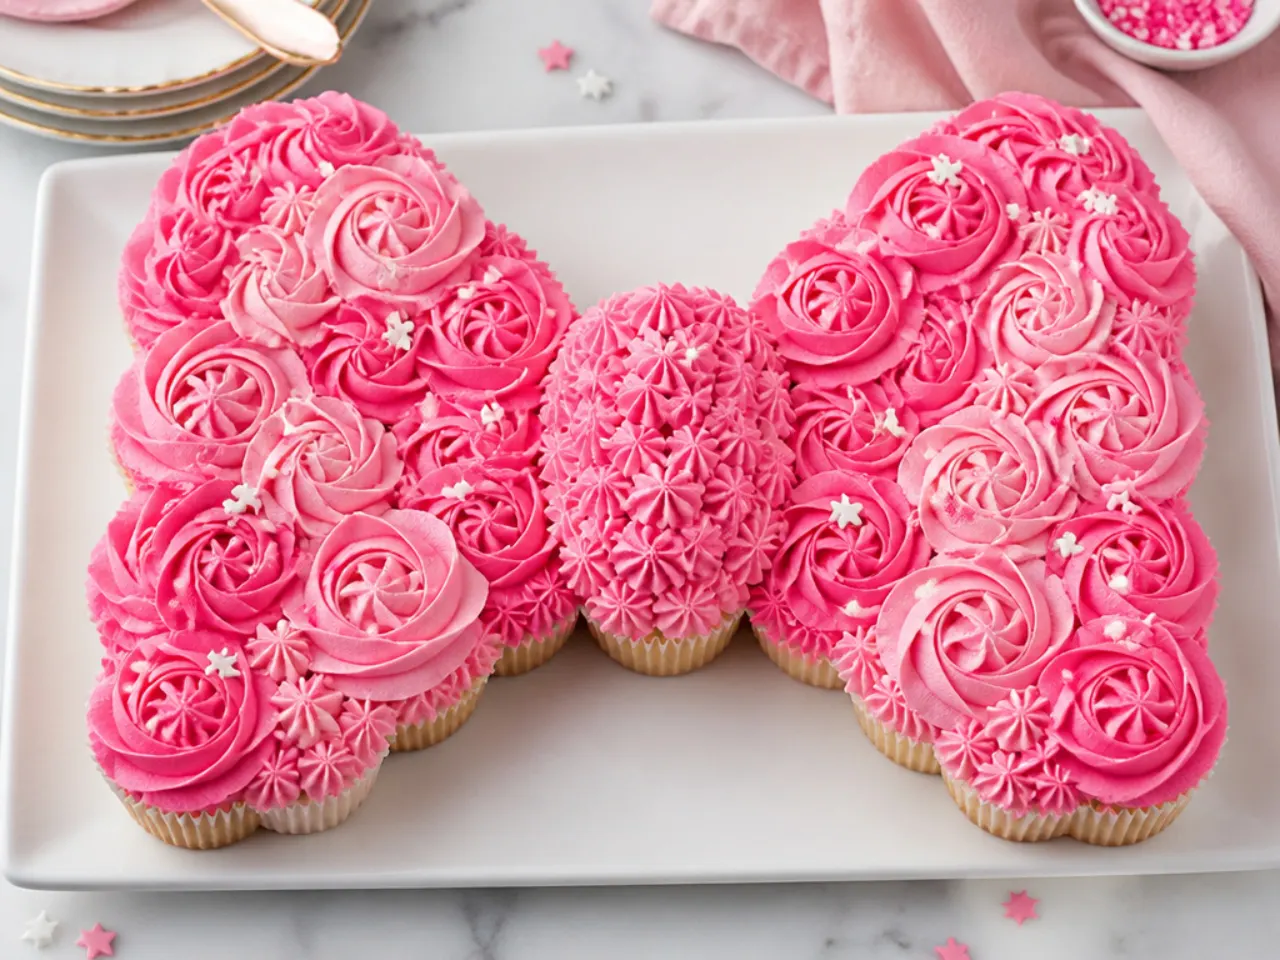
Arrange 24 cupcakes tightly on a large board in the outline of a big bow, then pipe over the whole arrangement as if it were one cake. Use a Wilton 1M to cover the two loops in deep pink swirls and the centre knot in red or white so the shape reads clearly from above. Bake the base recipe as cupcakes at 180C/350F for 18 to 20 minutes, until the tops spring back when pressed. The huge advantage for a kids' party is serving: every child pulls off their own cupcake, so you never touch a knife. Chill the finished board for 30 minutes so the swirls firm up before travel.
5. Polka Dot Buttercream Cake
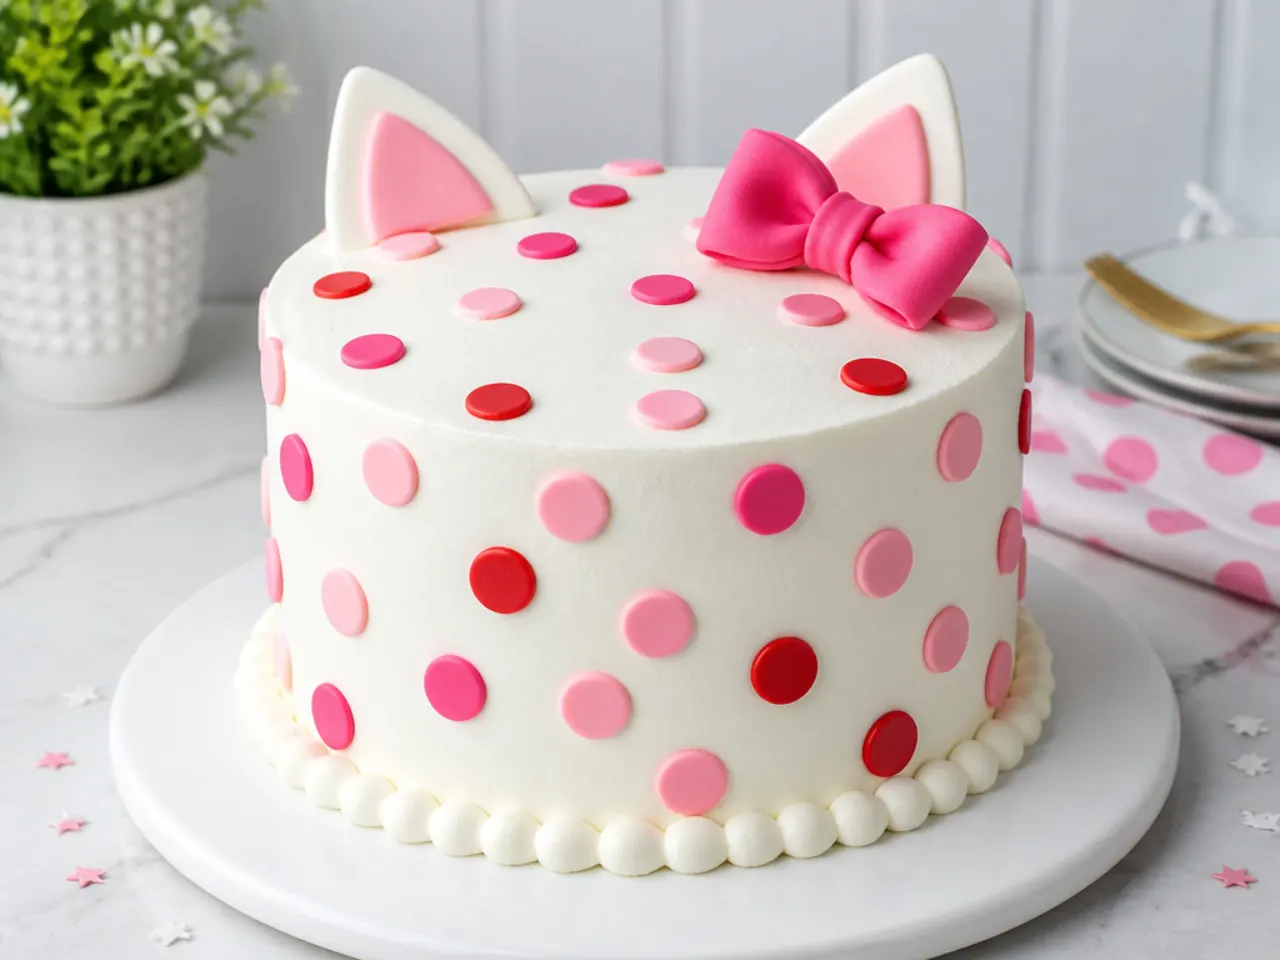
Polka dots are the fastest way to signal the theme without any character drawing at all. Frost the cake in white buttercream, chill it for 30 minutes at this stage so the surface is firm, then pipe evenly spaced dots of pink and red buttercream using a Wilton 12 round tip. Flatten each dot gently with the back of a teaspoon warmed in hot water and wiped dry, which gives you crisp, bakery-flat circles. Keep the dots to two colours and roughly 2cm apart so the pattern stays clean. A pink bow on top finishes it.
Save this for later 📌
Pin this article to your Pinterest board so the full list is one tap away when you need it.
Save on Pinterest6. Pastel Pink Drip Cake
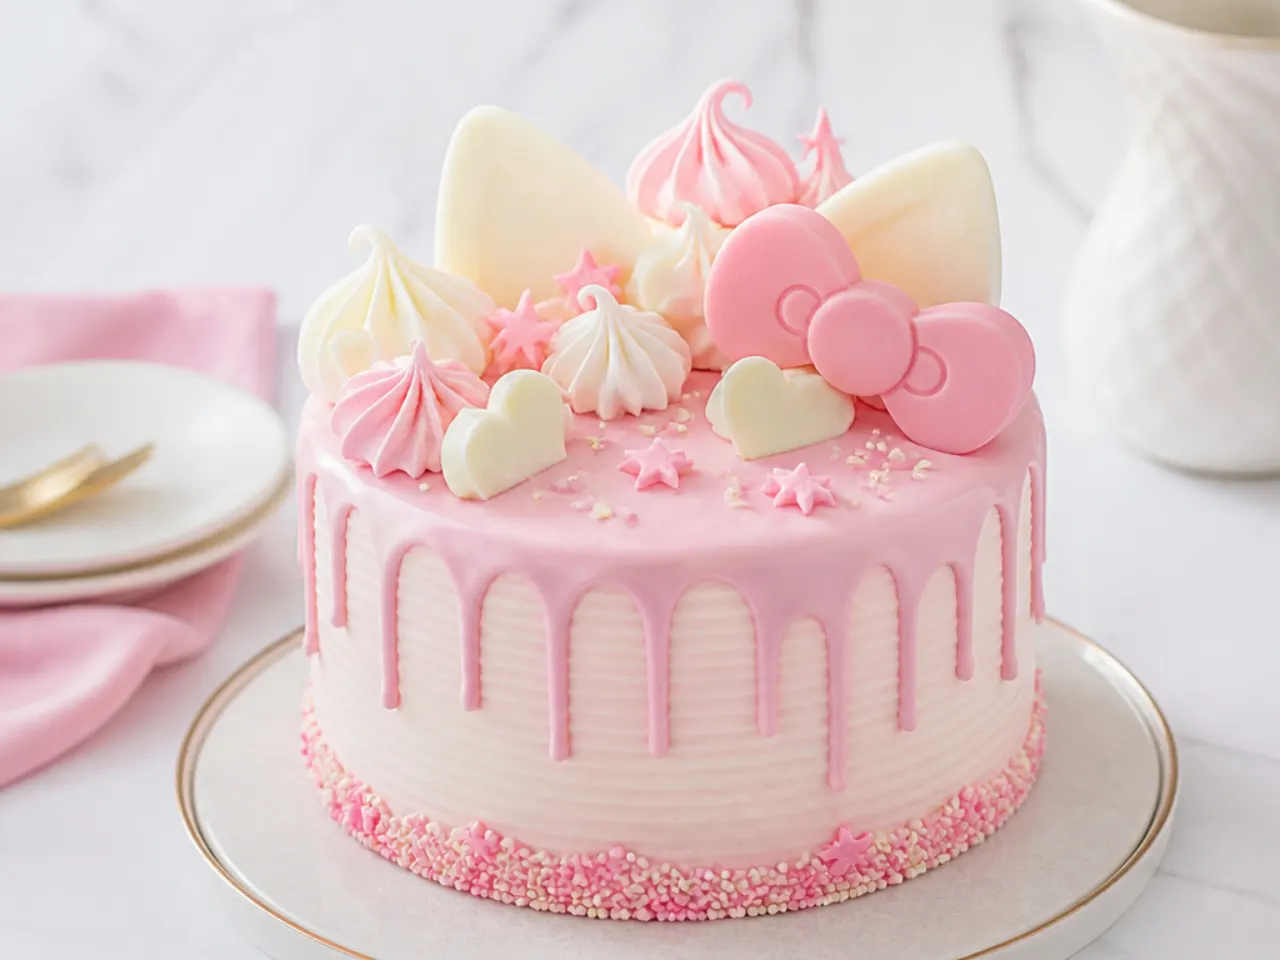
A drip cake looks professional but only needs one extra component: pink white-chocolate ganache. Melt 100g white chocolate with 40ml hot double (heavy) cream, stir until smooth, and tint it with a drop of pink gel colour. Chill your frosted cake for at least 30 minutes first, then test one drip on the back of the cake; if it runs to the board the ganache is too warm, so wait 5 minutes and test again. Spoon drips around the top edge, flood the centre, and pile on pink meringue kisses, white chocolate hearts and a shop-bought topper. The cold cake stops the drips mid-fall, which is exactly the look you want.
7. Pink Ombre Layer Cake
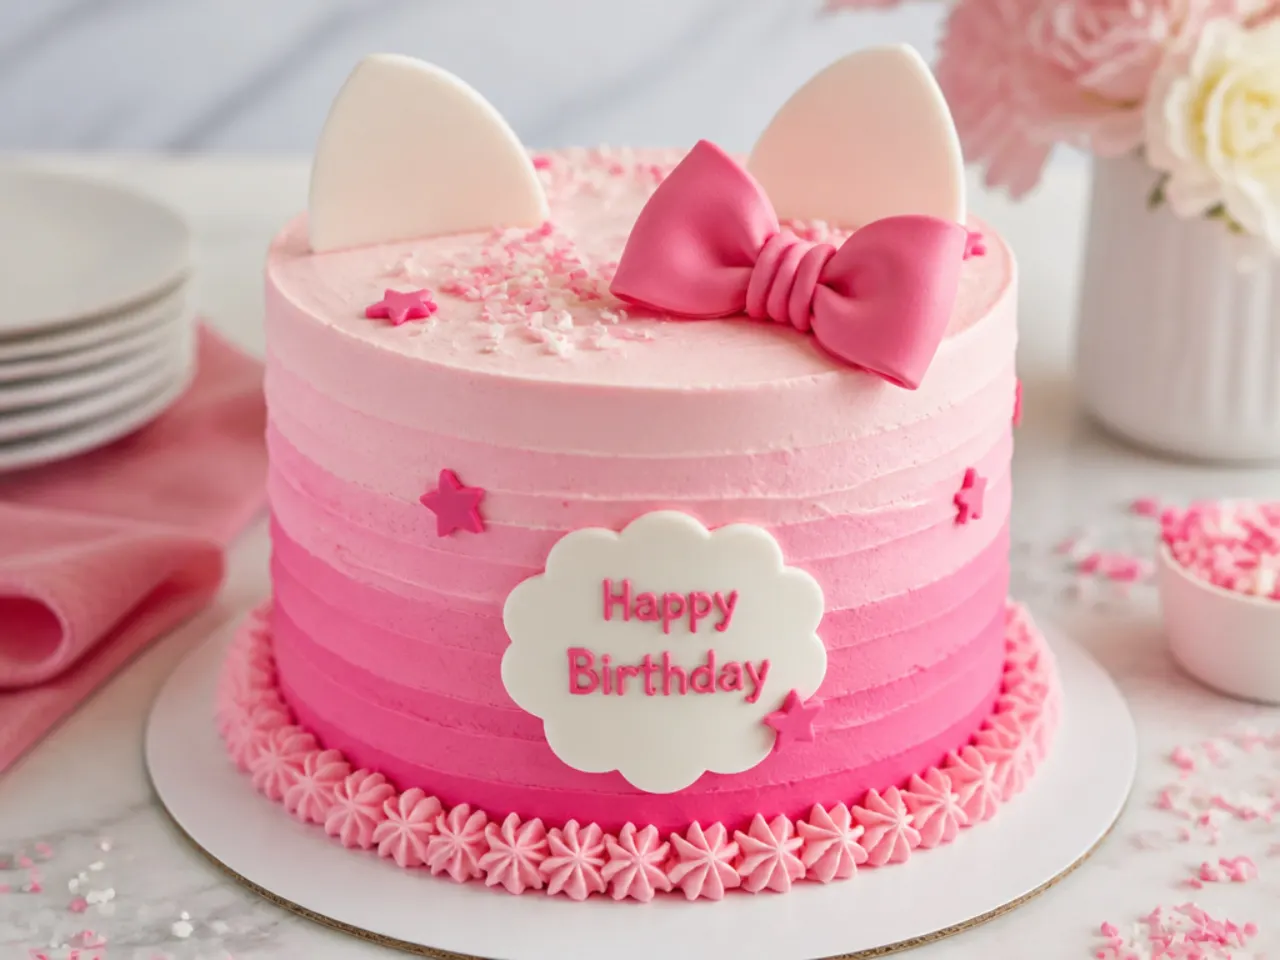
Divide one batch of buttercream into three bowls and tint them pale pink, mid pink and deep rose with gel colour. Spread the darkest shade around the bottom third of the cake, the middle shade around the centre and the palest on top, then hold a bench scraper against the side and rotate the cake so the bands blur into a gradient. Any streaks where the colours meet are a feature, not a flaw, so this is very forgiving for a first attempt. For an ombre interior too, tint the sponge batter the same three shades and bake in three 15cm (6 inch) tins for 22 to 25 minutes at 180C/350F. Top with white polka dots or a single bow.
8. Heart-Shaped Bow Cake with No Special Pan
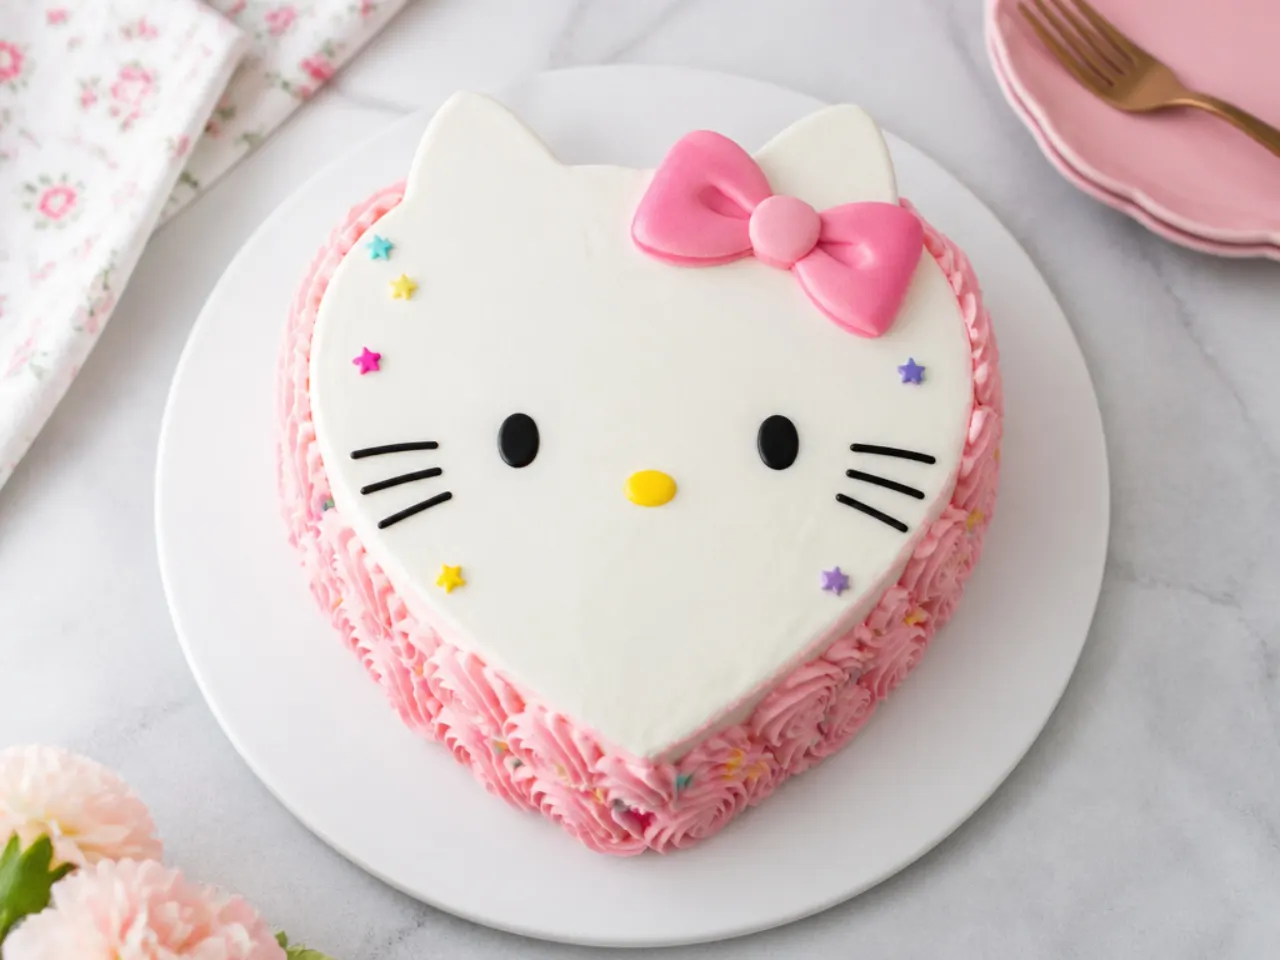
You can build a heart-shaped cake from pans you already own: bake one 20cm (8 inch) square and one 20cm round, cut the round in half, and place the two half-circles against two adjacent sides of the square turned like a diamond. Trim the joins level, then crumb coat generously so the seams disappear. Cover it in blush pink buttercream and pipe a white shell border with a Wilton 21 tip around the edge. A heart already matches the pink-and-red palette, so a small bow and a few sugar pearls are all it needs. This trick saves buying a shaped tin you will use once.
9. Vintage Lambeth-Style Piping Cake
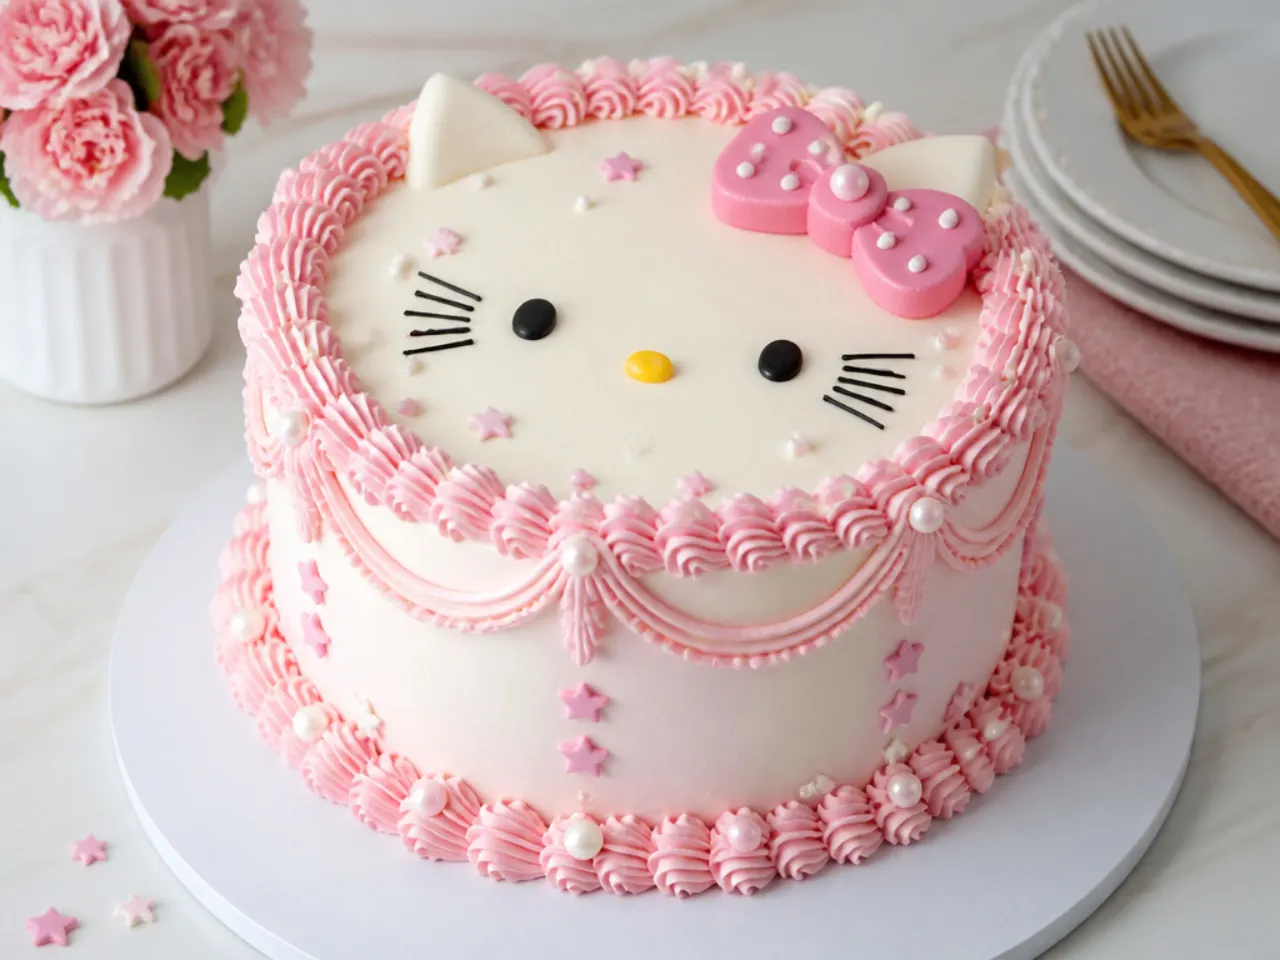
The vintage heart-cake trend is a perfect match for this theme because it is all pastel pink, ruffles and pearls. Frost the cake in pale pink, chill it for 30 minutes, then overpipe borders in layers: shells with a Wilton 4B along the top and bottom edges, then ruffled garlands on the sides with a Wilton 104 petal tip held narrow-end out. Pipe one pass, chill 15 minutes, then pipe the next pass on top so the layers stay sharp. Write the birthday name in the centre with a Wilton 2 round tip in deep rose. Silver or pearl dragees pressed into the shell border make it look straight out of a retro bakery case.
10. Strawberries and Cream Cake
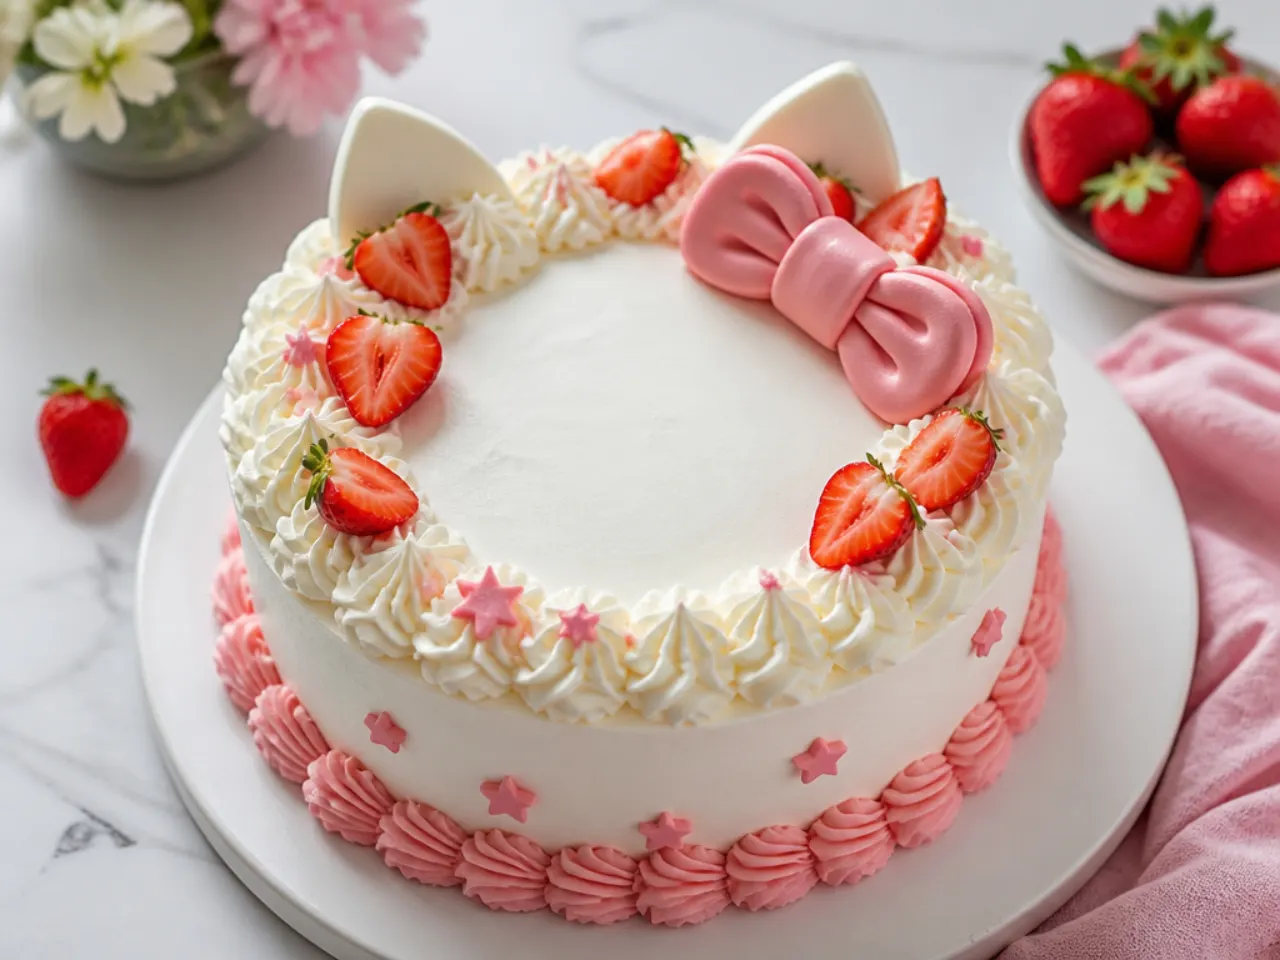
Fresh strawberries land naturally in the red-and-white palette, so this version needs almost no decorating skill. Whip 300ml double (heavy) cream with 100g mascarpone and 40g icing sugar until it holds firm peaks; the mascarpone stabilises the cream so it survives a party table for a few hours. Fill the layers with cream and sliced strawberries, coat the outside simply, and arrange halved berries cut-side out in a ring on top. Add one pink bow in the centre of the ring. Keep this cake refrigerated and assemble it no more than a day ahead, because fresh cream is less forgiving than buttercream.
Save this for later 📌
Pin this article to your Pinterest board so the full list is one tap away when you need it.
Save on Pinterest11. Giant Cookie Cake with an Icing Bow
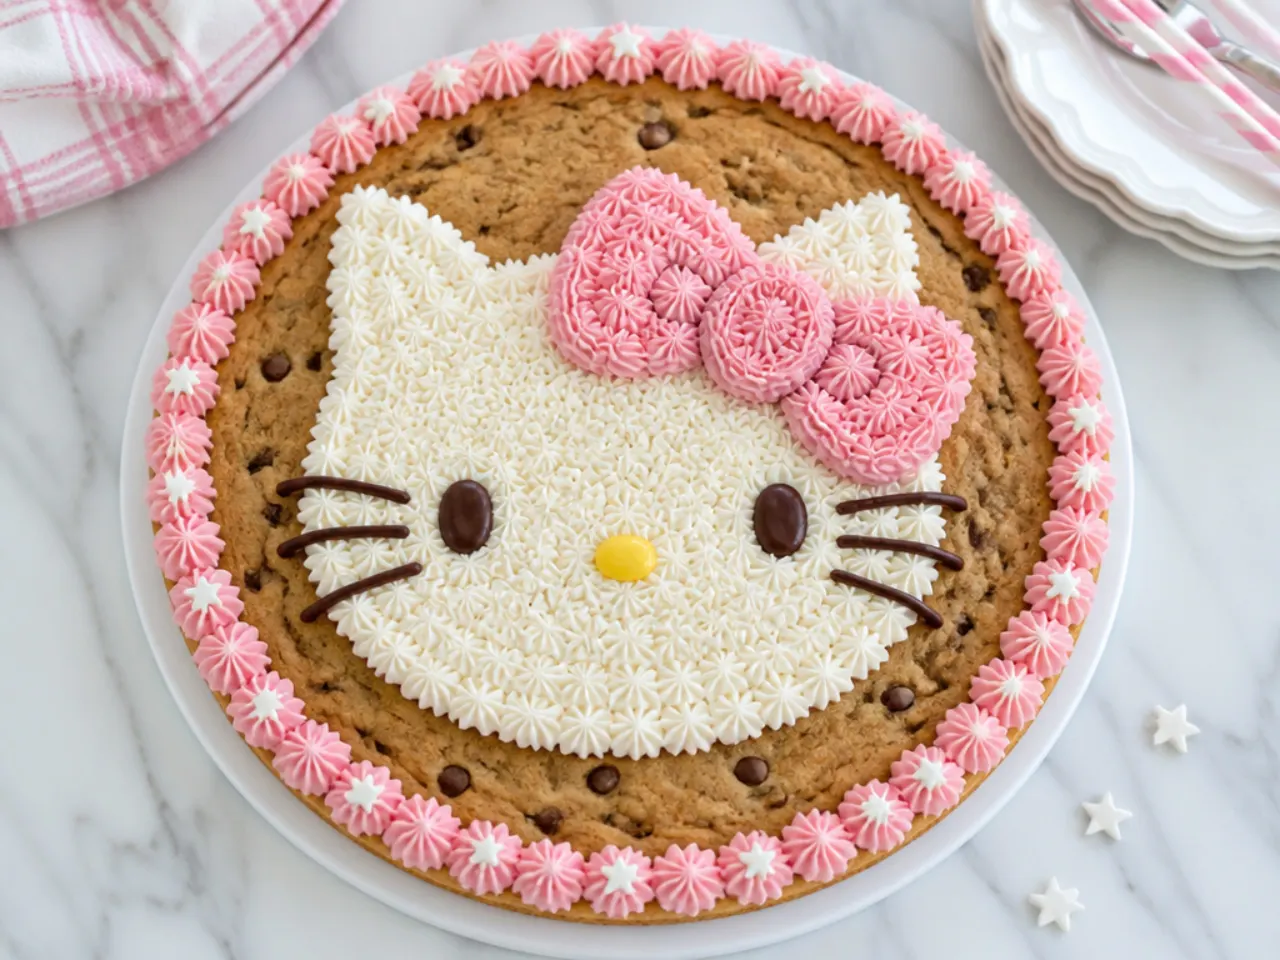
For kids who prefer cookies, press chocolate chip cookie dough into a 30cm (12 inch) pizza pan and bake at 180C/350F for 18 to 20 minutes, until the edges are golden but the centre still looks slightly soft. Cool it completely in the pan, because a warm cookie cake will crack when moved. Pipe a pink buttercream border with a Wilton 1M around the edge and a simple two-loop bow shape in the centre using a Wilton 12 round tip. Scatter white and red sprinkles over the border. It slices into wedges like pizza, which children find genuinely exciting.
12. Surprise Rainbow Layer Cake
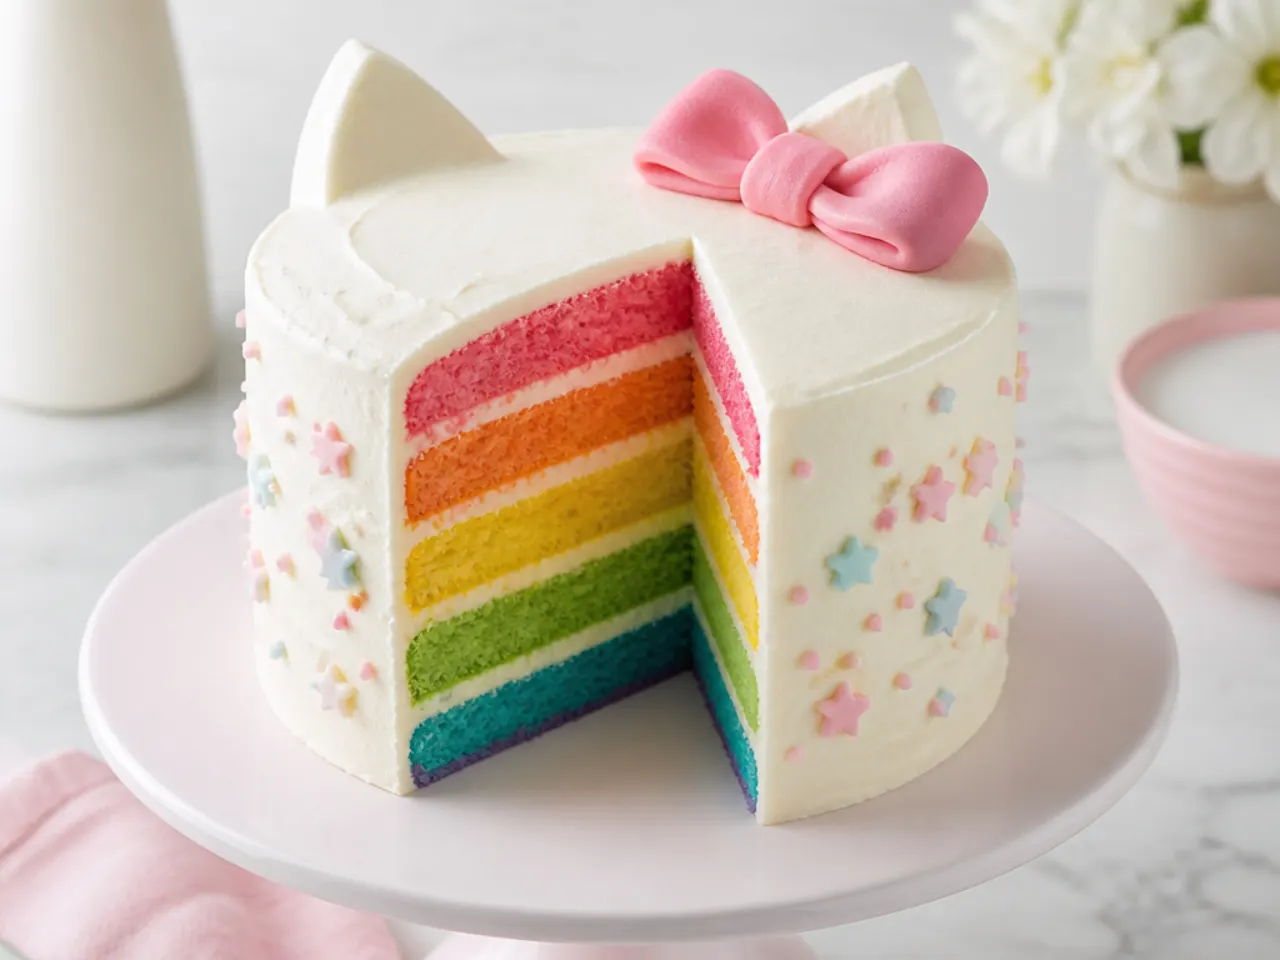
A plain white exterior with polka dots hides a rainbow inside, and the reveal at cutting time is the whole show. Split the base recipe batter evenly into five bowls, tint each with gel colour (pink, orange, yellow, green, purple), and bake in 20cm pans for 15 to 18 minutes per thin layer at 180C/350F. Gel colours are essential here because liquid colouring would thin the batter and the layers would bake unevenly. Stack with a thin layer of buttercream between each colour and keep the outside simple white with a pink bow. Weigh the batter into the bowls with kitchen scales so every stripe bakes to the same thickness.
13. Mini Bento Cake
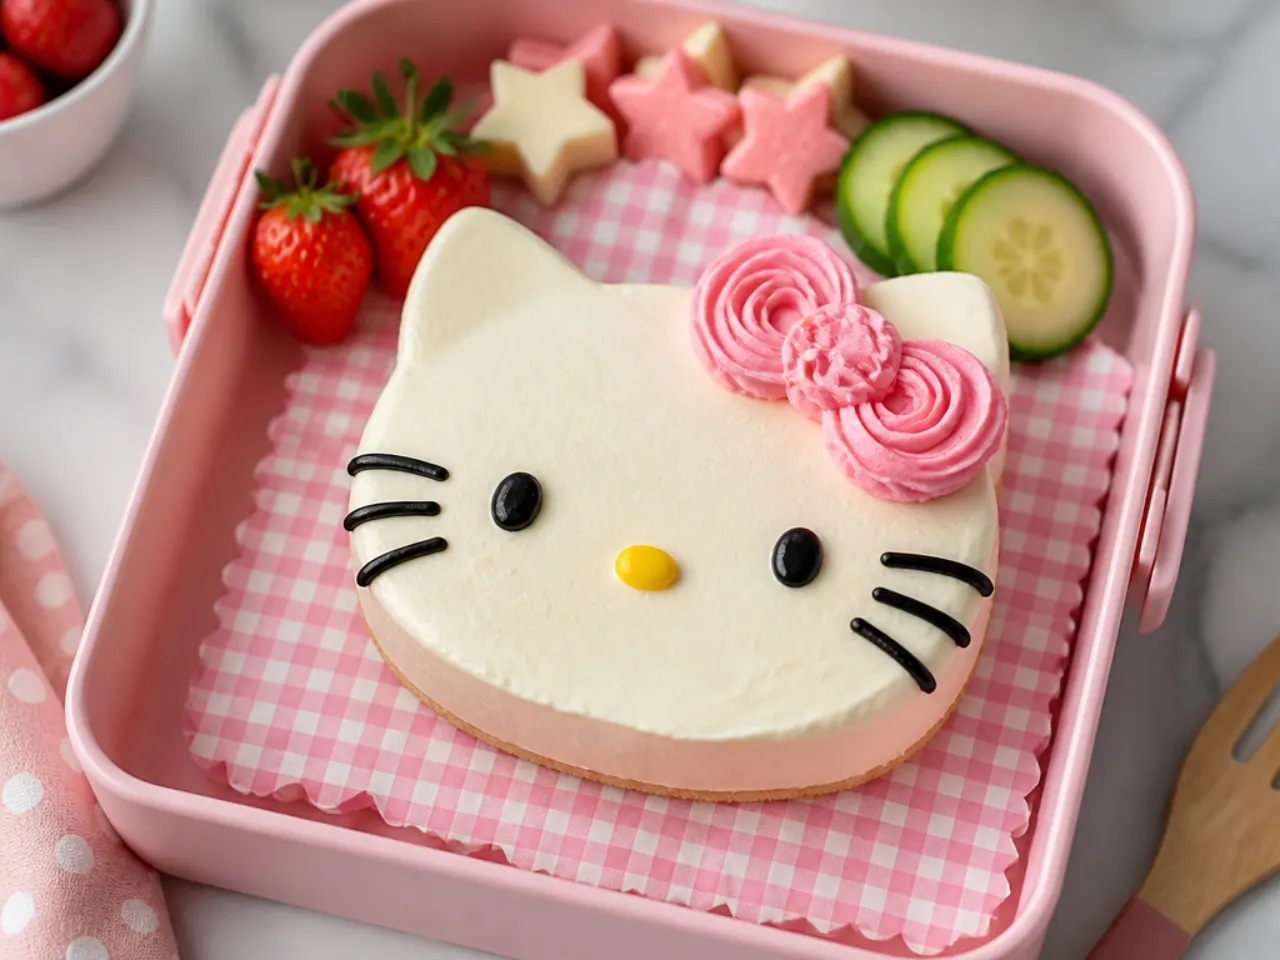
Bento cakes, the palm-sized lunchbox cakes all over Pinterest, are the easiest entry point because mistakes are tiny too. One batch of the base recipe makes three or four 10cm (4 inch) cakes; either bake in 10cm tins for 20 to 22 minutes at 180C/350F or stamp circles out of a sheet cake with a cutter or clean tin can. Frost each little cake in pastel pink, pipe a small bow and three dots with a Wilton 2 round tip, and write a short message like a name or age. Pack each one in a takeaway-style clamshell box with a wooden spoon. They double as party favours, which competitors' round-up lists never mention.
14. Sprinkle-Coated Party Cake
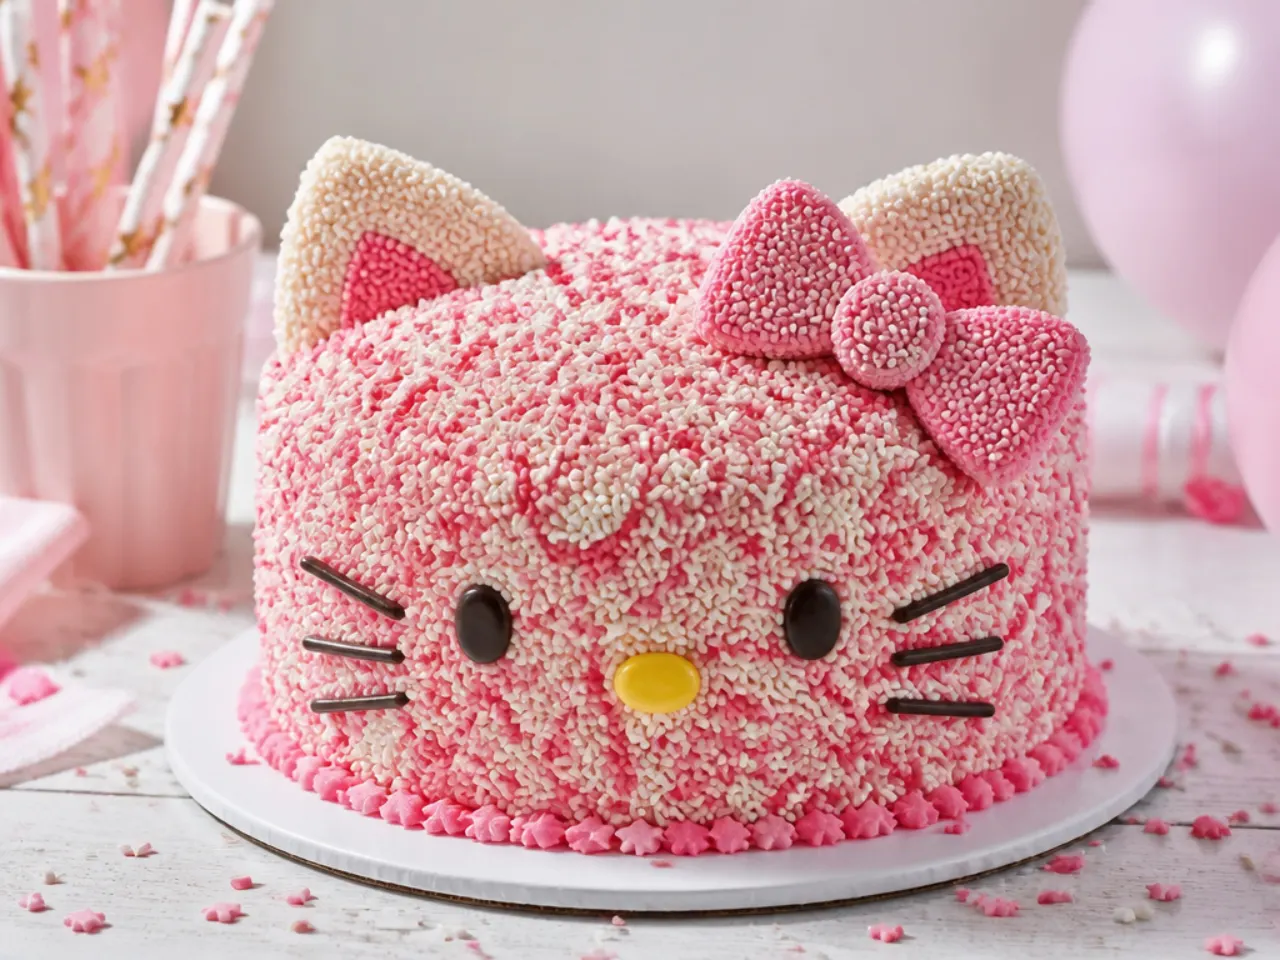
If your frosting sides never come out smooth, cover them completely in sprinkles and nobody will ever know. Frost the cake and, while the buttercream is still soft, hold the cake over a rimmed baking tray and press handfuls of a pink, white and red sprinkle mix into the sides with a cupped palm, rotating as you go. Work over the tray so the fallen sprinkles can be scooped up and reused. Leave the top plain white and add a single fondant bow or topper so the design has a focal point. Total decorating time is under 20 minutes, and the result photographs brilliantly.
15. Simple Two-Tier Party Cake
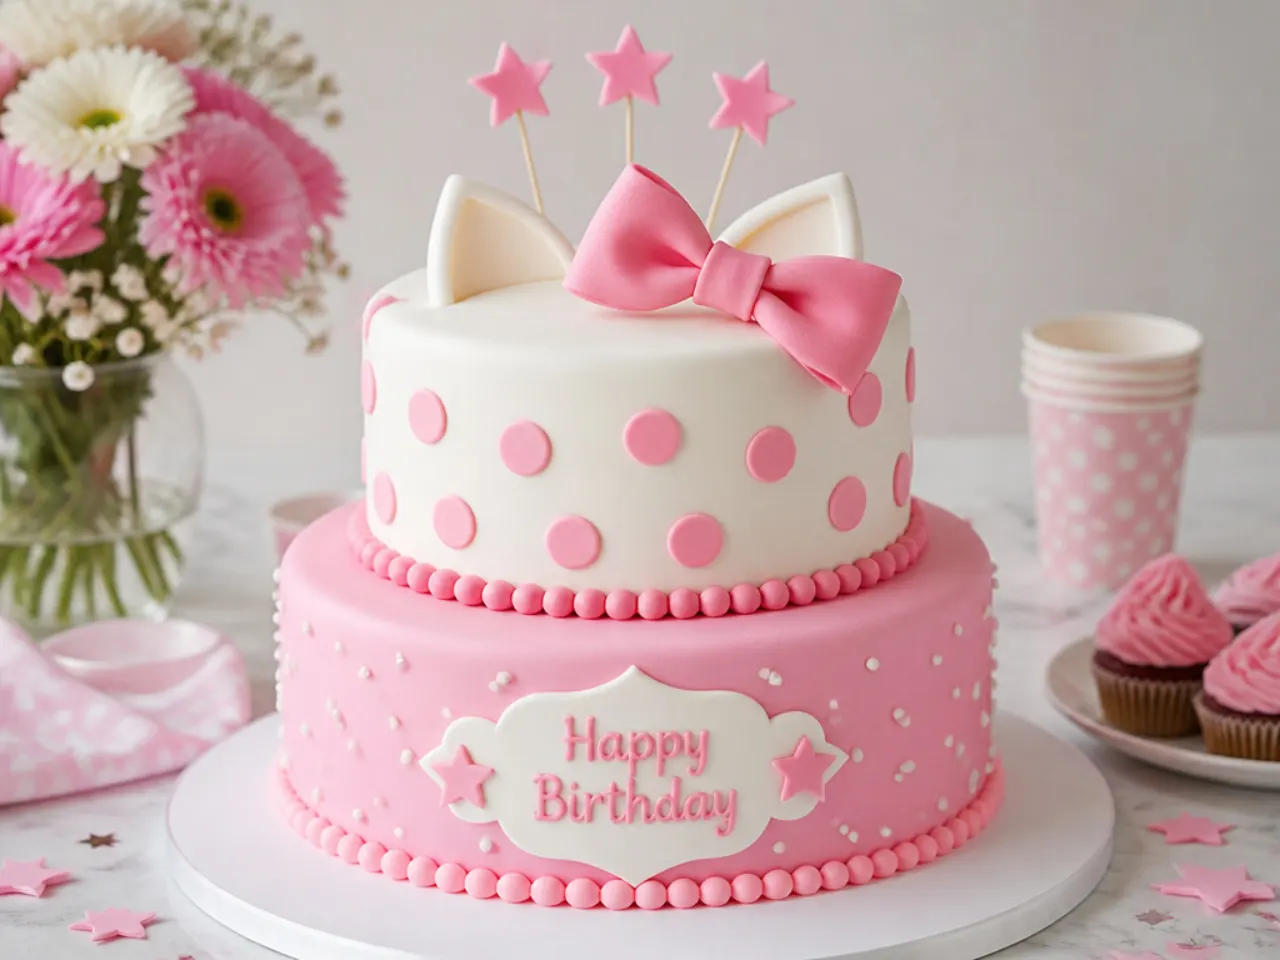
Two tiers sound advanced but only require one extra rule: support. Bake a 20cm (8 inch) bottom tier and a 15cm (6 inch) top tier, frost both, then push four bubble tea straws or wooden dowels into the bottom tier in a square, trim them flush with the frosting, and sit the top tier on a thin cake card resting on the straws. Frost the bottom tier deep pink and the top tier white with pink polka dots, and wrap ribbon around each base to hide the join. This serves around 30 people, so it suits a bigger family party. Assemble on the day or transport the tiers separately and stack at the venue.
Save this for later 📌
Pin this article to your Pinterest board so the full list is one tap away when you need it.
Save on Pinterest16. Chocolate Fudge Version with a Pink Drip
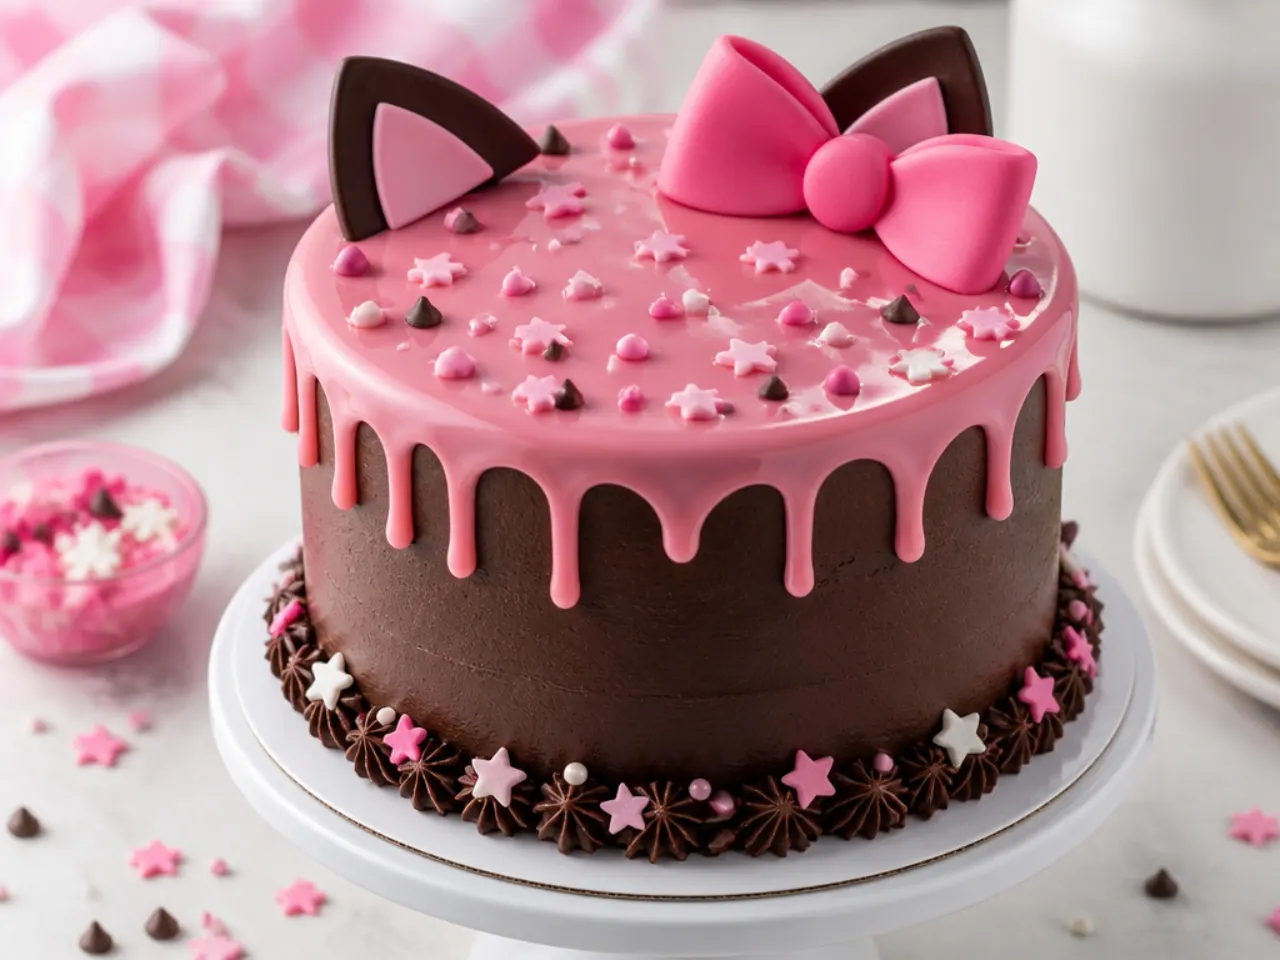
Plenty of birthday kids simply want chocolate, and the pink theme still works on a dark base. Adapt the base recipe by swapping 40g of the flour for 40g of cocoa powder and adding an extra tablespoon of milk, then bake as directed. Frost with chocolate buttercream (add 60g melted and cooled dark chocolate to one batch of the buttercream below), then add the pink white-chocolate drip from idea 6 for contrast. The dark-brown-and-pink combination looks striking and slightly grown-up, so it also suits teen birthdays. Finish with pink meringues and a bow topper.
17. No-Bake Icebox Cake
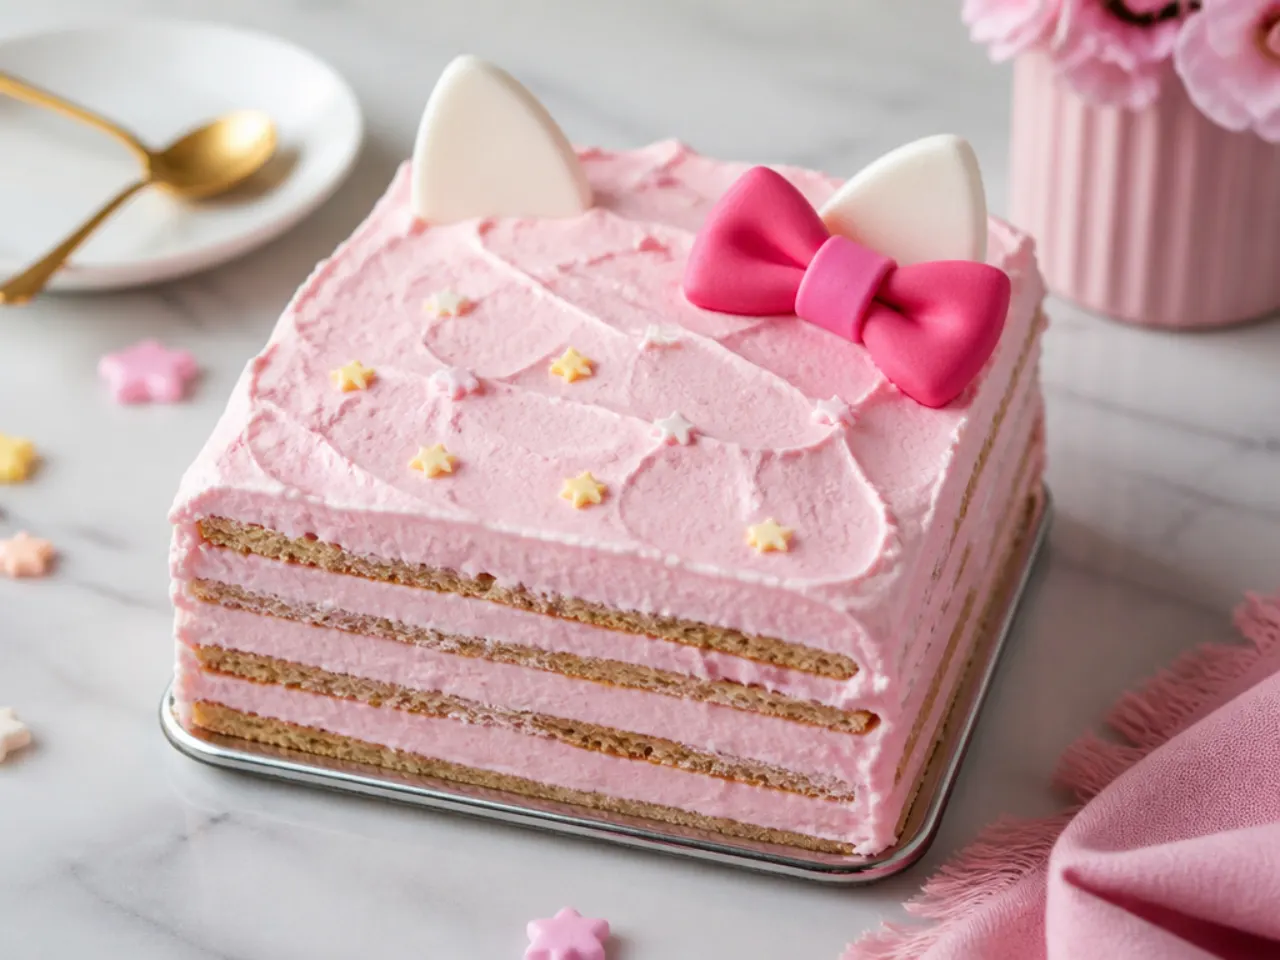
For hot weather or an oven-free kitchen, layer digestive biscuits or graham crackers with pink whipped cream in a 20cm springform tin: cream, biscuits, cream, repeating four or five times. Whip 600ml double (heavy) cream with 60g icing sugar, a teaspoon of vanilla and a drop of pink gel until it holds medium peaks. Refrigerate the assembled cake for at least 6 hours, ideally overnight, so the biscuits soften into tender cake-like layers. Release the springform, smooth the sides, and top with white chocolate curls and a fondant bow. It slices cleanly straight from the fridge and no one believes it was never baked.
18. Number Cake with Cream Puffs and Bows
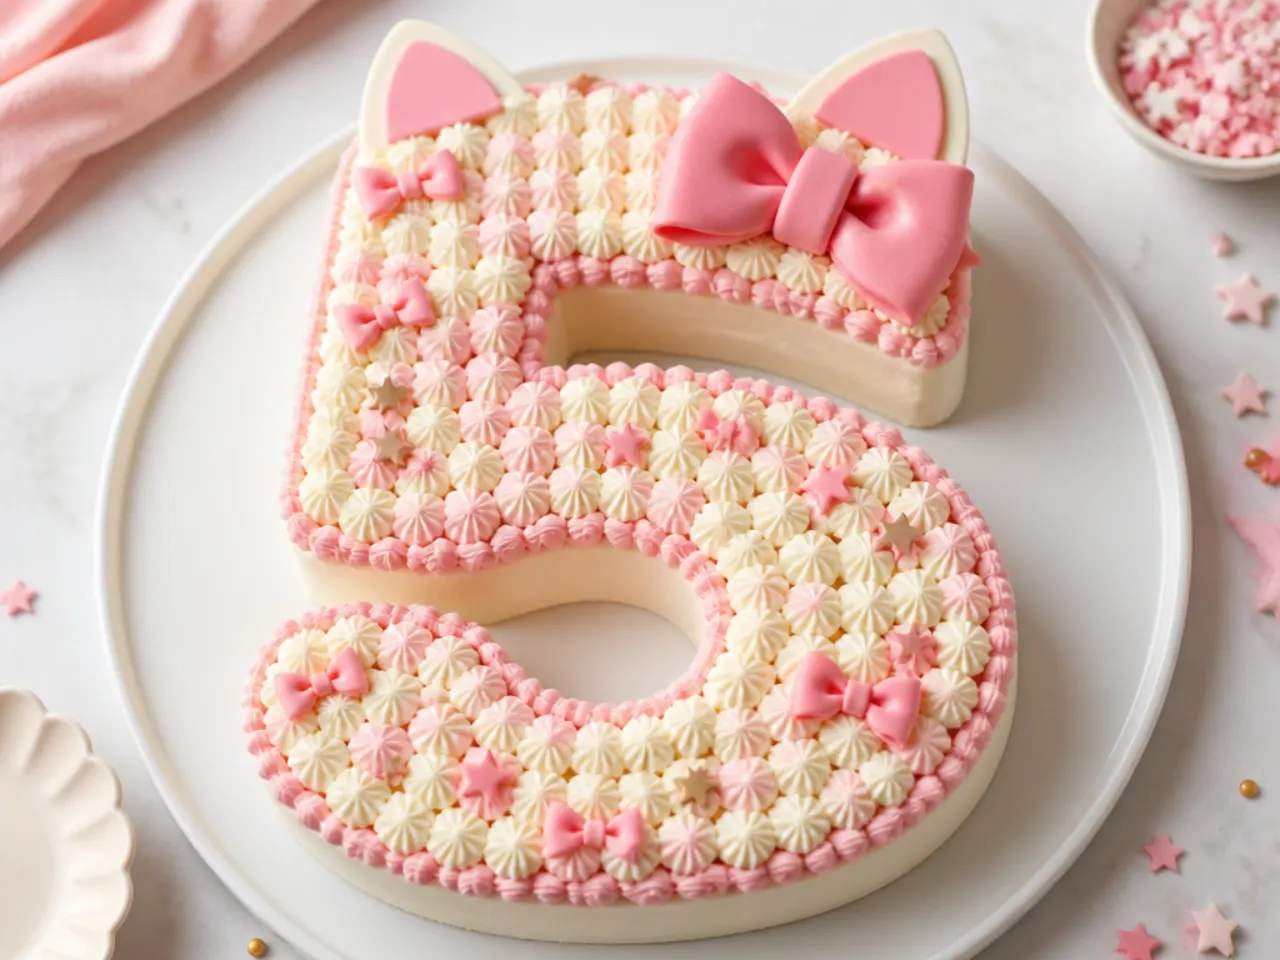
Cut the child's age numeral from two sheet-cake layers using a printed paper template, then pipe fat blobs of buttercream over the whole surface with a Wilton 1A large round tip. The dotted piping needs zero smoothing skill and any uneven blobs disappear under the toppings. Decorate the top with mini fondant bows, fresh raspberries, pink meringue kisses and a few white chocolate hearts scattered between the blobs. Two layers of piped sponge sandwiched together make it tall enough to feel special. This is a huge Pinterest trend that most cake round-up articles skip entirely.
19. Quilted Fondant Cake with Pearl Details
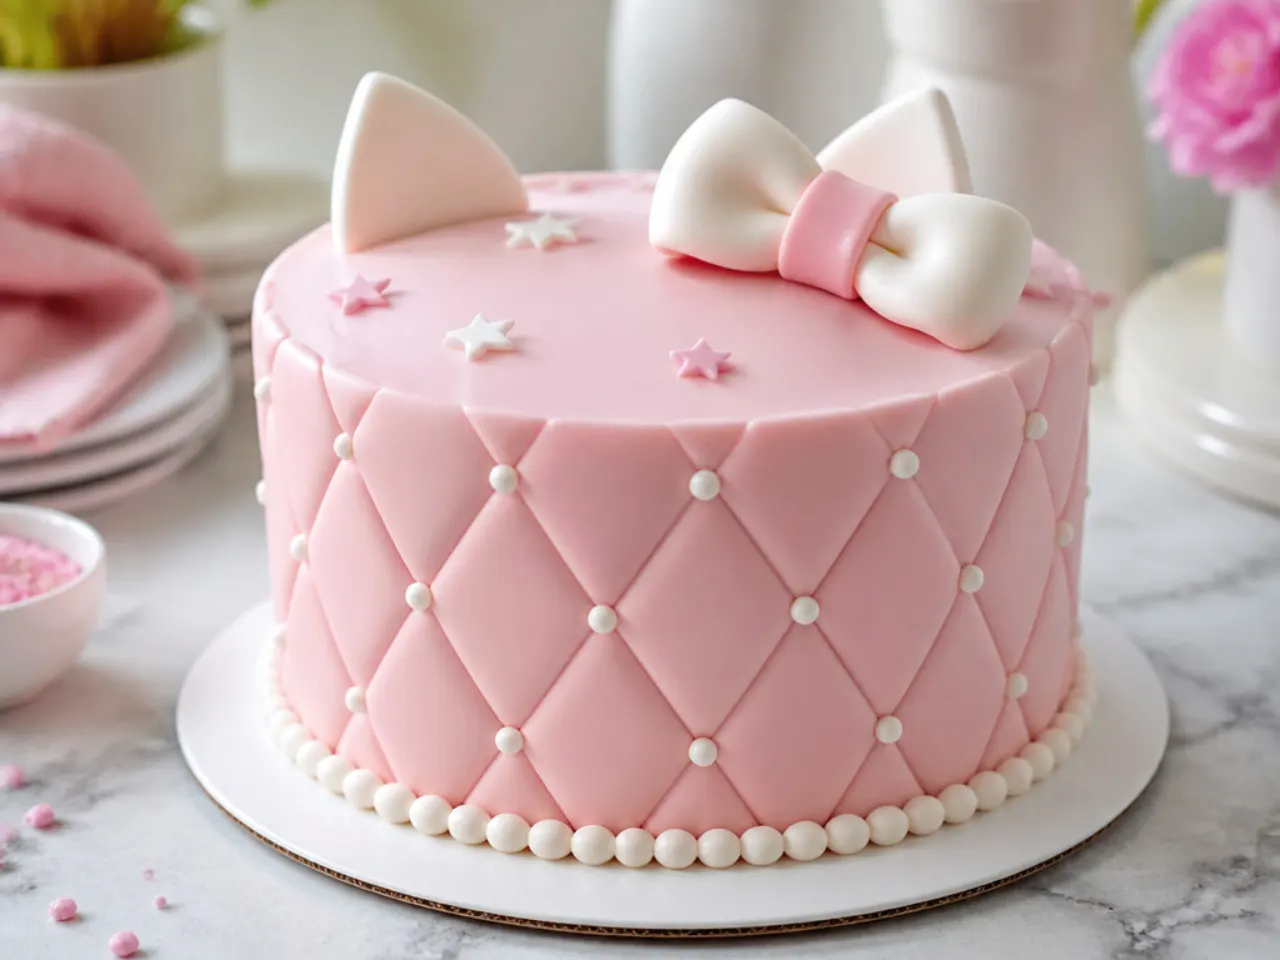
For an elegant version, cover a chilled, buttercream-coated cake with pale pink fondant rolled to about 4mm thick. Press a diamond quilting pattern into the fondant within 10 minutes of covering, while it is still soft, using a quilting embosser or the clean edge of a ruler held at 45 degrees in both directions. Push a sugar pearl gently into each intersection with a dab of edible glue or water. Top with a white fondant bow so the palette stays pink, white and pearl. Because the pattern covers everything, small fondant tears or fingerprints vanish into the texture.
20. Gluten-Free Vanilla Party Cake
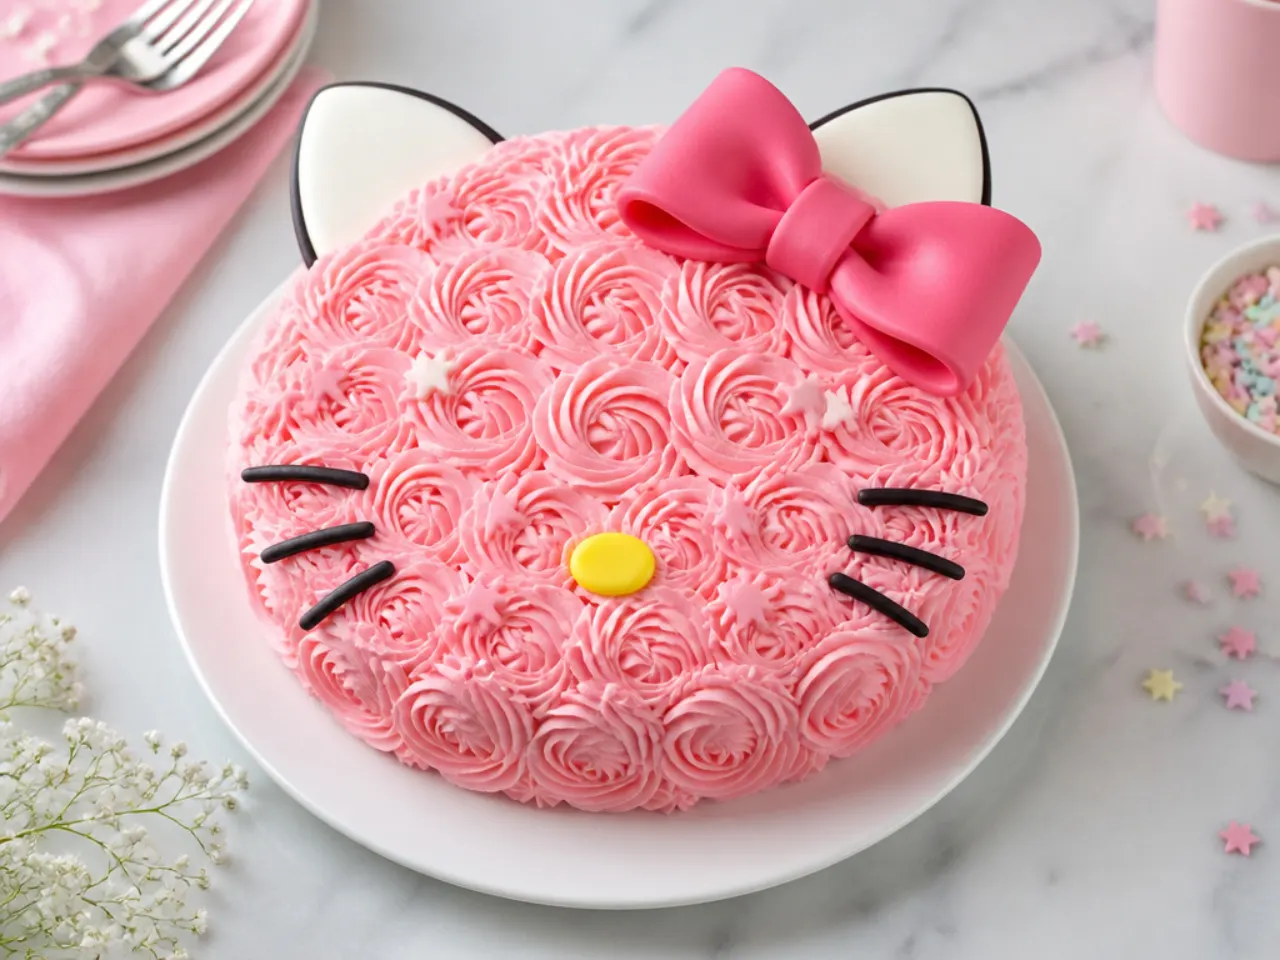
No child should skip the birthday cake, and the base recipe converts cleanly: replace the self-raising flour with a gluten-free self-raising blend (or a 1:1 blend plus 2 teaspoons baking powder) and add an extra tablespoon of milk, since gluten-free flours absorb more liquid. Let the batter rest for 10 minutes before baking to soften the flour, then bake as directed, checking from 25 minutes. The buttercream, gel colours, sprinkles and fondant in the other ideas are naturally gluten-free, but always check sprinkle labels for wheat starch. Decorate using any design in this list; the rosette cake in idea 3 is the most forgiving because gluten-free sponges can look slightly rustic at the edges.
Tips to Make These Ideas Easier
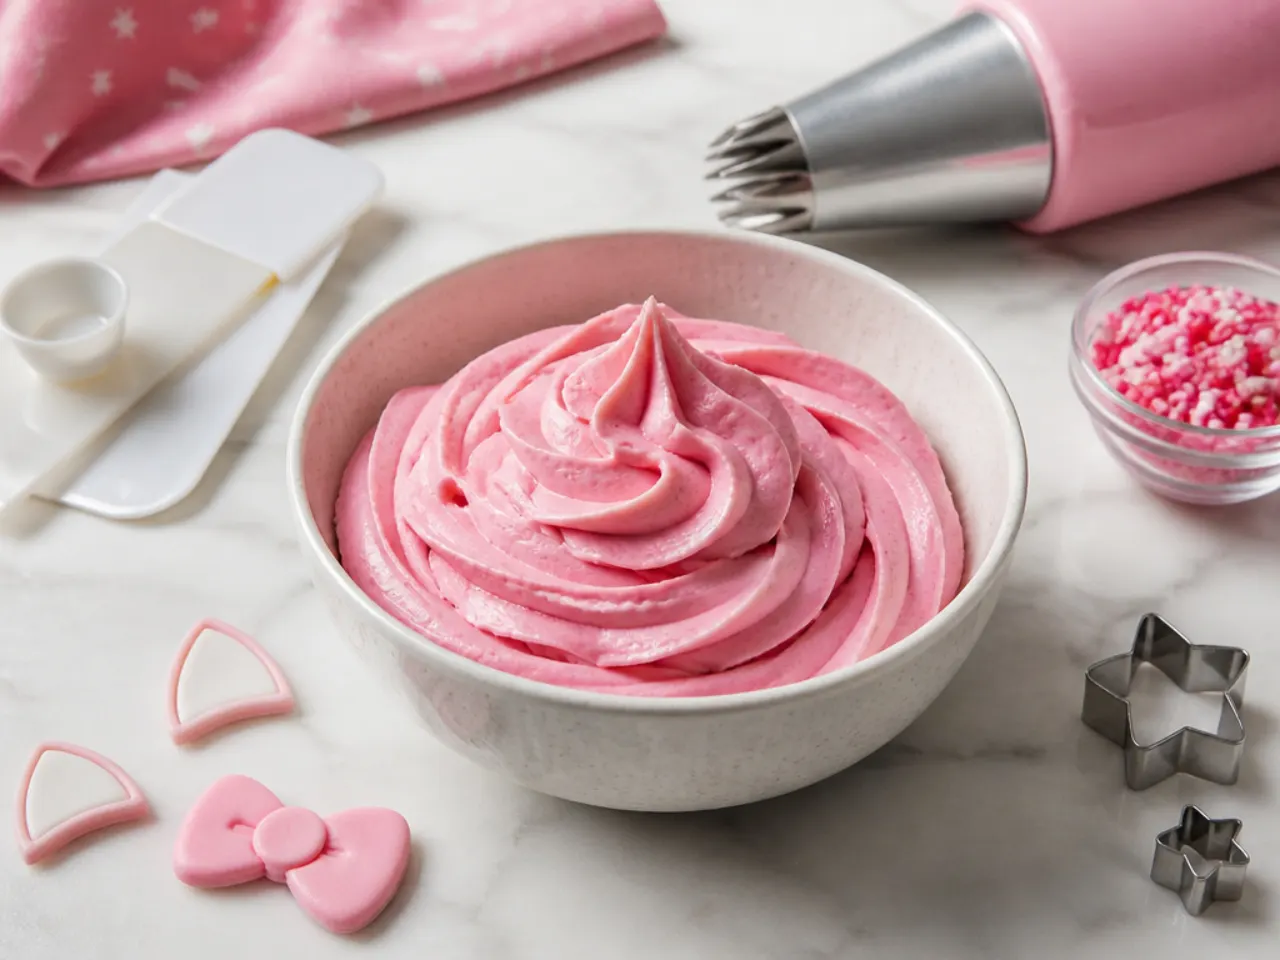
Bake the sponge layers up to a day ahead, wrap them in cling film once fully cool, and decorate the next day; slightly firm cake is far easier to frost, and wrapped layers also freeze for up to 3 months. Always use gel food colouring (Wilton, AmeriColor or Sugarflair) rather than supermarket liquid bottles, which water down buttercream before you ever reach a true pink. Crumb coat every cake with a thin layer of frosting and chill it for 20 to 30 minutes before the final coat, and your white buttercream will stay crumb-free. Pipe a test rosette, dot or shell on baking paper before touching the cake, then scrape it back into the bag. Finally, a cheap turntable and a bench scraper improve smooth sides more than any other tools under 15 pounds or dollars.
Common Mistakes to Avoid
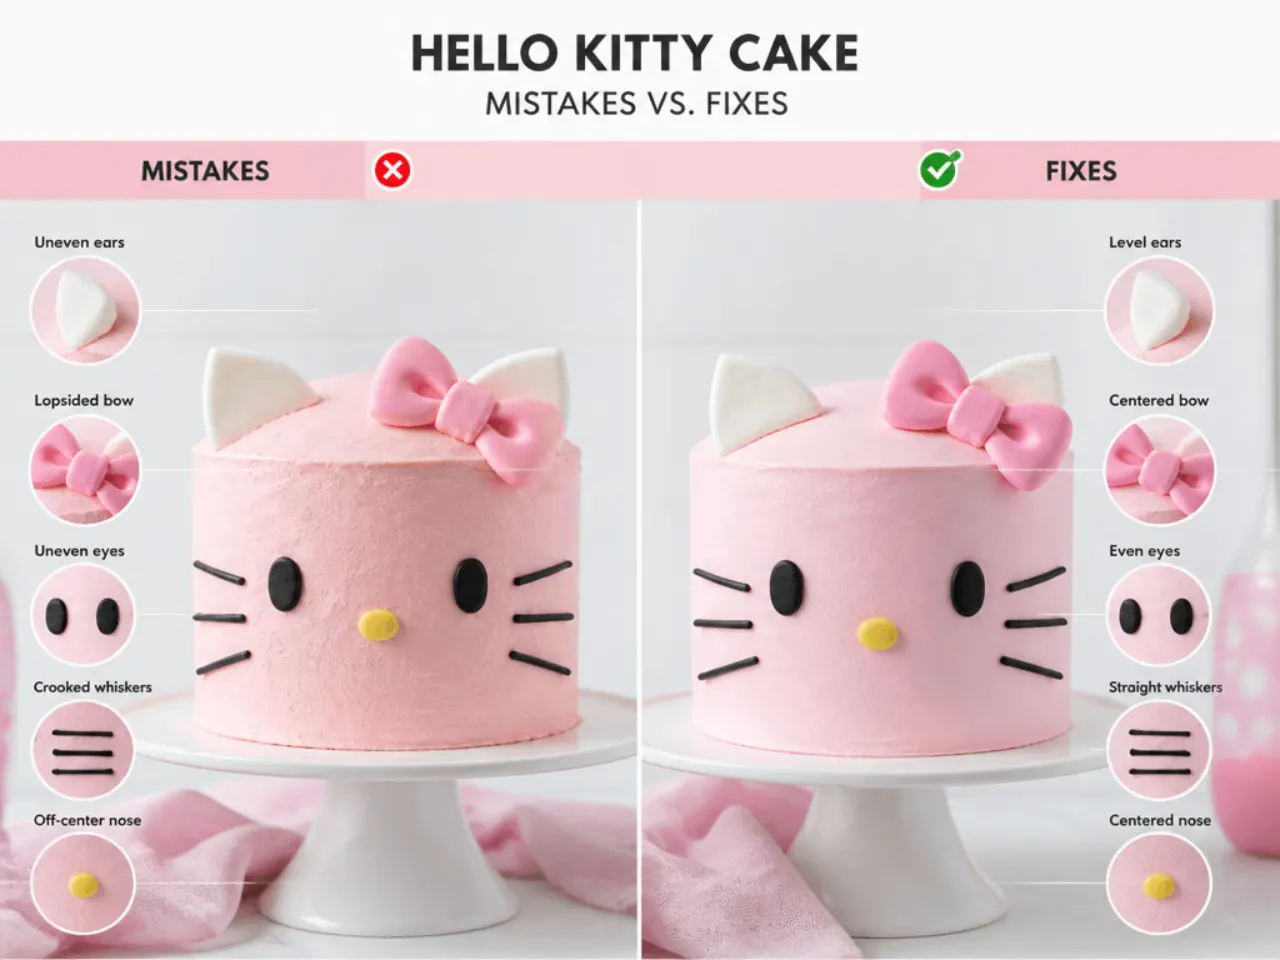
The biggest one is frosting a warm cake: buttercream melts against layers that are even slightly warm, so cool sponges fully on a wire rack, ideally 2 hours or more. Do not keep adding liquid colour chasing a deeper pink; use a concentrated gel and remember the shade deepens noticeably after 30 to 60 minutes of resting. Never pour ganache drips onto a room-temperature cake, because they will slide straight to the board instead of freezing mid-drip. Avoid overfilling piping bags past half full, which overheats the buttercream in your hand and blurs your rosettes. And resist opening the oven before 20 minutes, since the sudden temperature drop can sink the centre of the sponge.
The Recipe
The Base Recipe — Make Any of These Ideas
40 min
30 min
1 hr 10 min
12
Beginner
Ingredients 12 Person(s)
Directions
Step 1: Prep the tins and oven
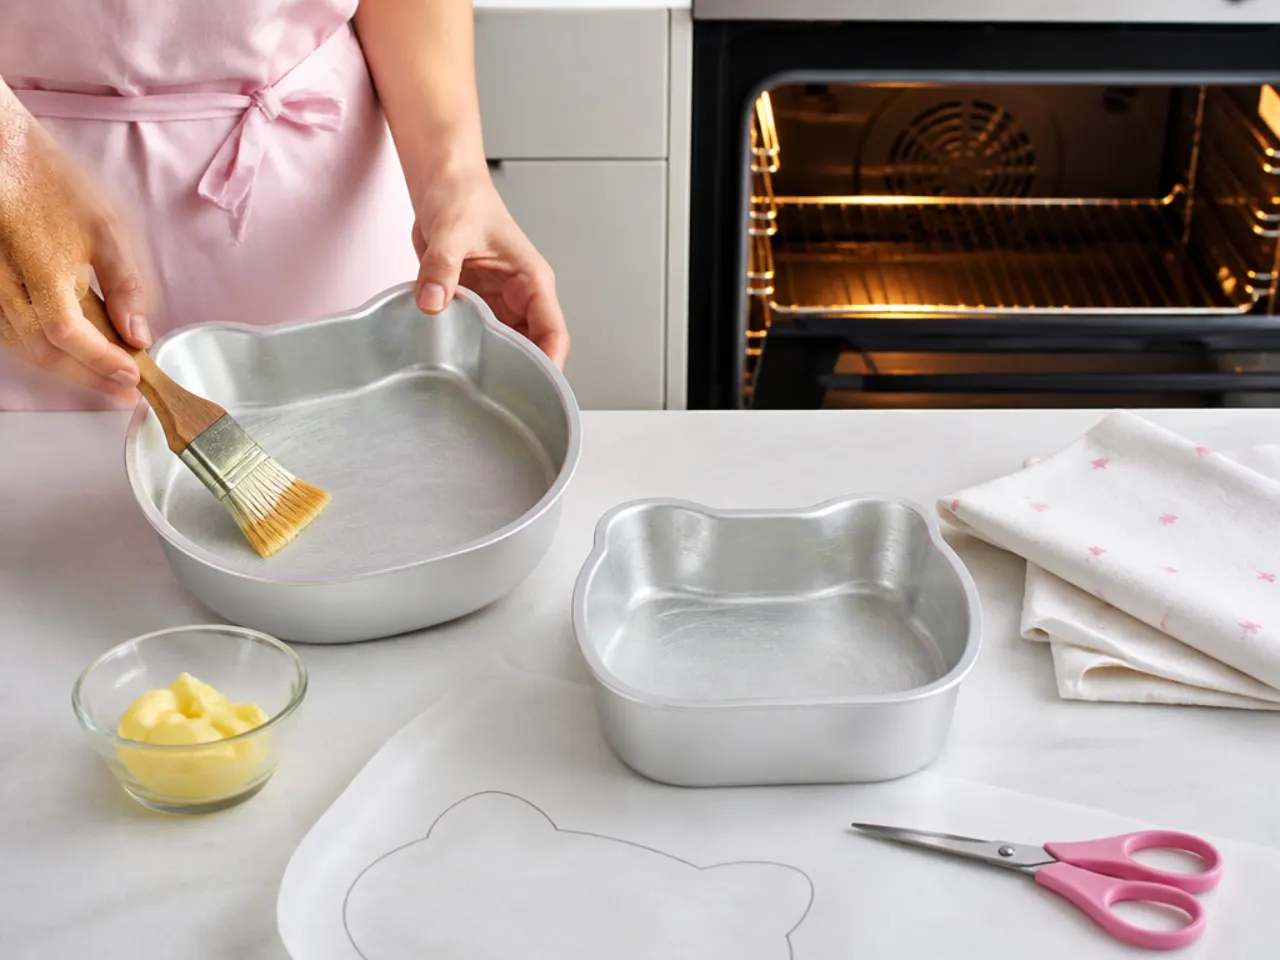
Heat the oven to 180C/350F (160C fan) with a shelf in the middle. Grease two 20cm (8 inch) round sandwich tins with butter and line the bases with circles of baking paper. Doing this first means the batter goes straight into the oven the moment it is mixed, before the raising agents lose their lift.
Step 2: Cream the butter and sugar
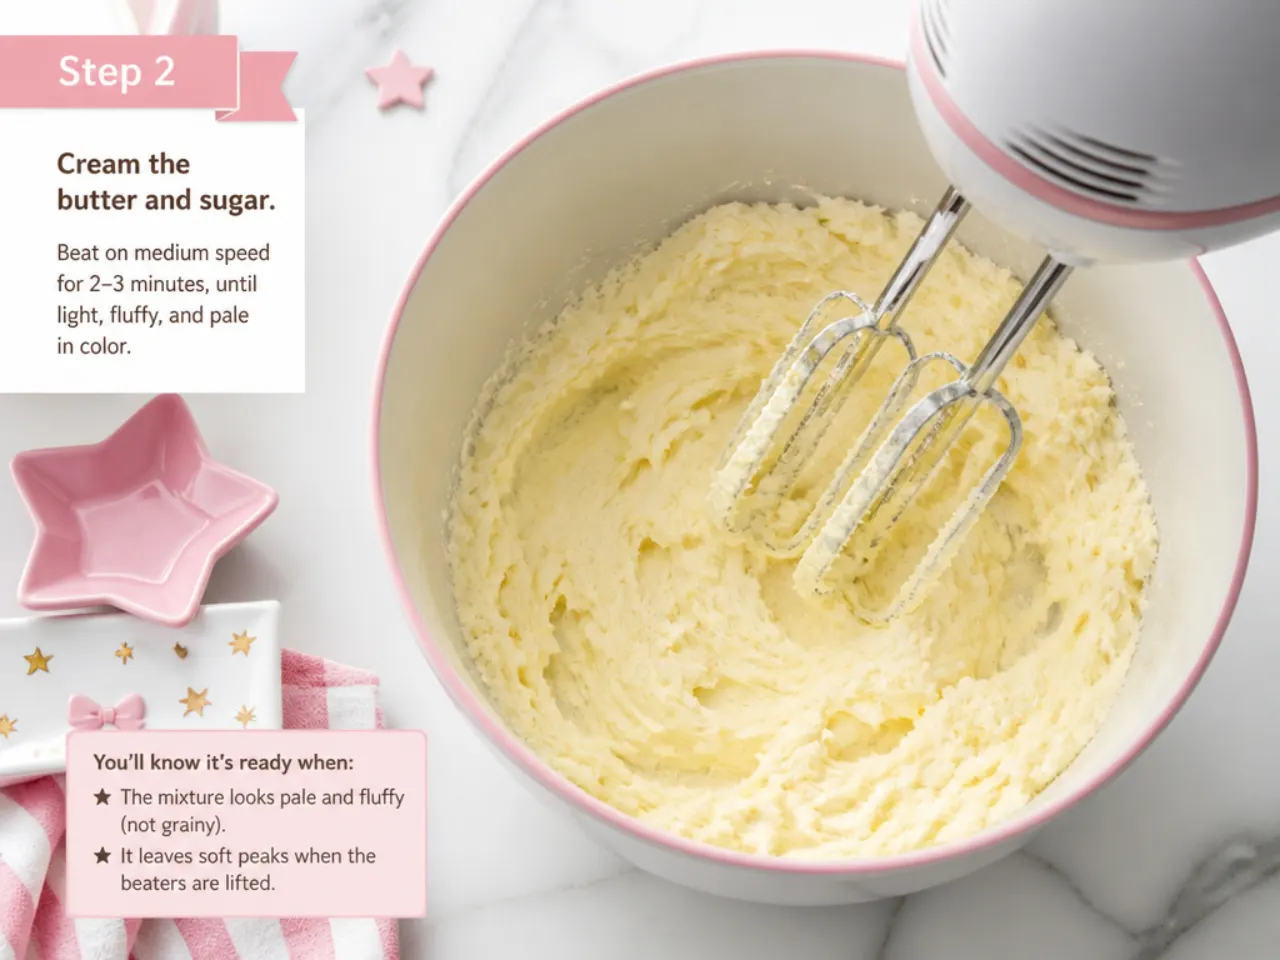
Beat 225g softened butter with 225g caster sugar using an electric mixer on medium-high for 3 to 4 minutes. Scrape the bowl down halfway through. The mixture is ready when it turns noticeably paler, almost cream-coloured, and looks fluffy rather than greasy; this trapped air is what makes the sponge light.
Step 3: Add the eggs and vanilla
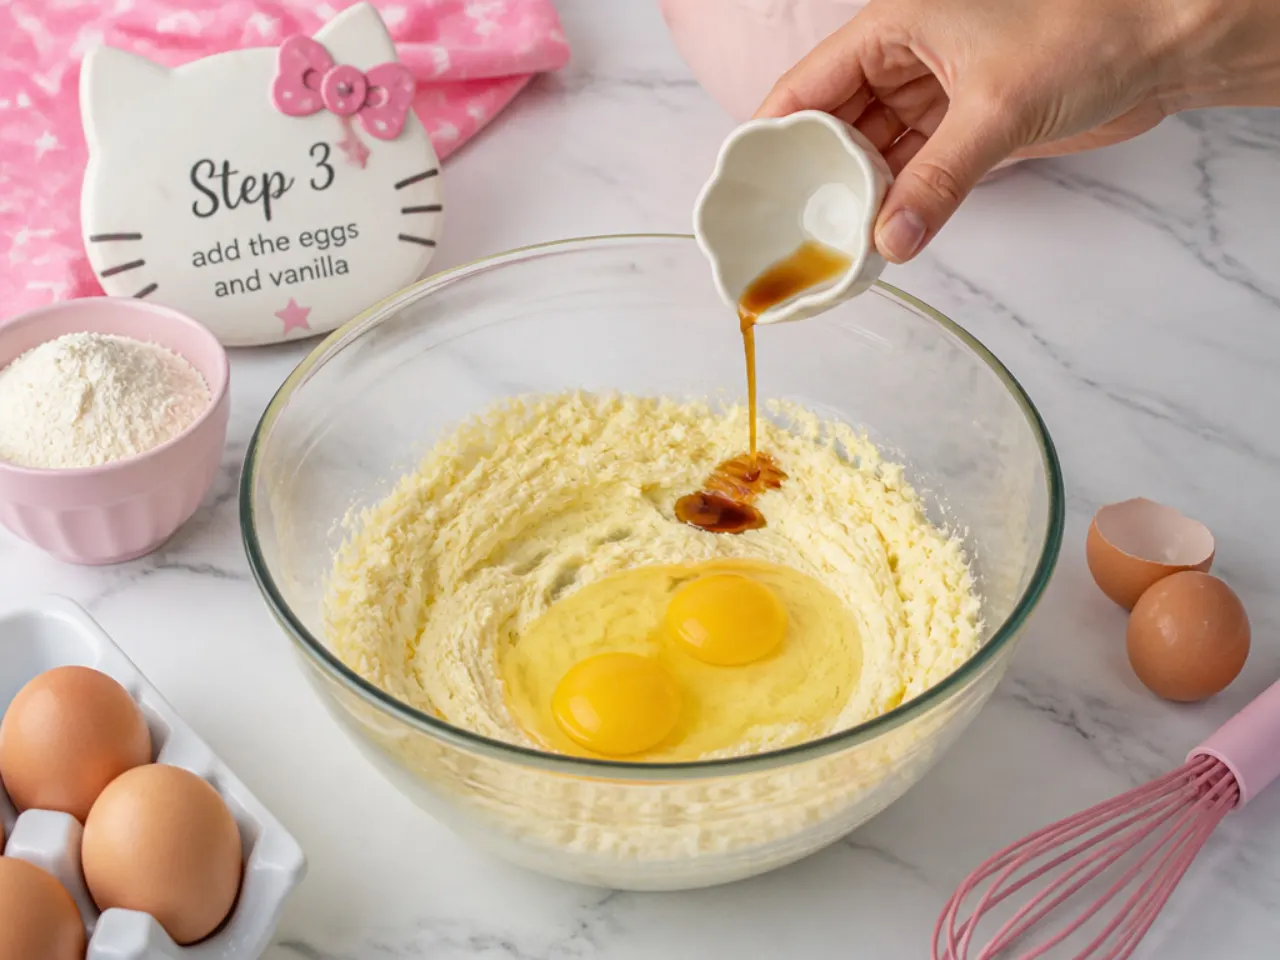
Beat in the 4 eggs one at a time, mixing for about 30 seconds after each, then add the 2 teaspoons of vanilla. If the mixture starts to look curdled or split, beat in 1 tablespoon of the flour and carry on; it will smooth back out. The finished mixture should look glossy and uniform with no streaks of egg.
Step 4: Fold in the flour and milk
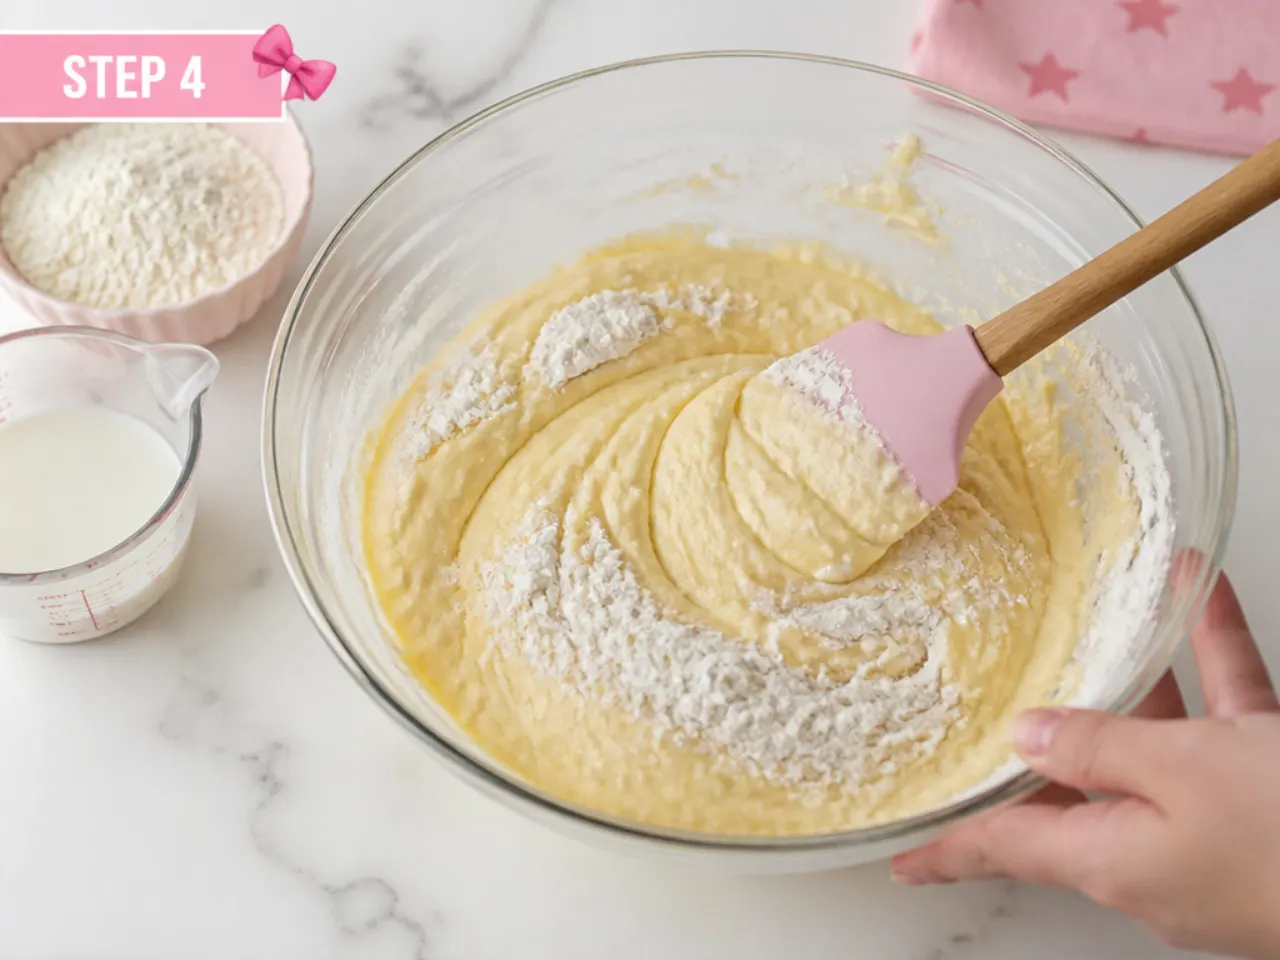
Sift the 225g self-raising flour, 1 teaspoon baking powder and 1/4 teaspoon salt over the bowl and fold in with a spatula until just combined, then fold in 2 tablespoons of milk. Stop as soon as you can no longer see dry flour; overmixing at this stage makes the sponge tough. The batter should be thick but drop reluctantly off the spatula.
Step 5: Bake the layers
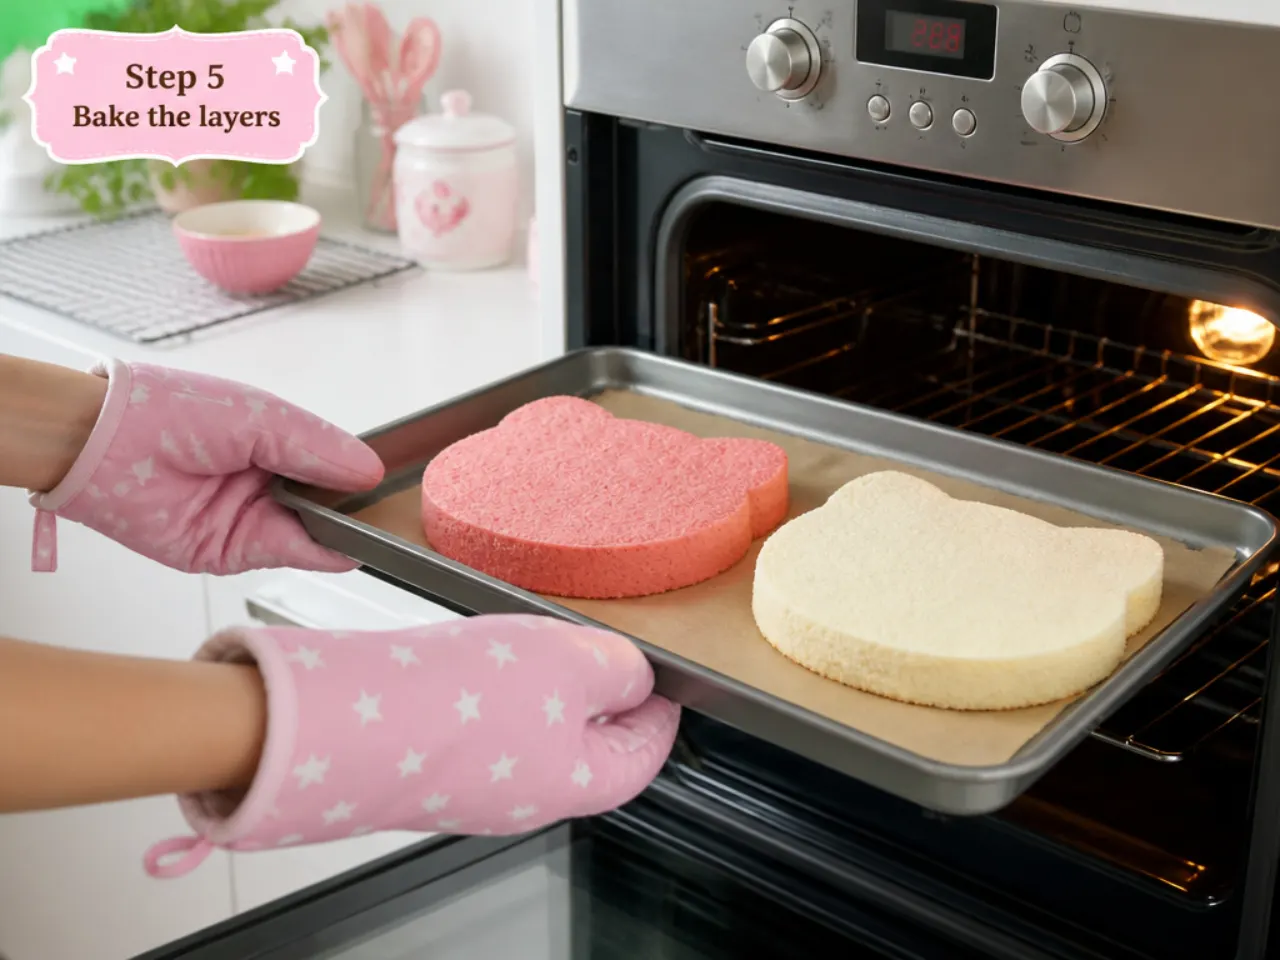
Divide the batter evenly between the two tins (weigh them for even layers, roughly 550g each) and smooth the tops. Bake at 180C/350F for 25 to 30 minutes without opening the door before the 20-minute mark. The cakes are done when golden, springy to a light press in the centre, and a skewer comes out clean. Cool in the tins for 10 minutes, then turn out onto a wire rack and cool completely, about 2 hours.
Step 6: Make the pink buttercream
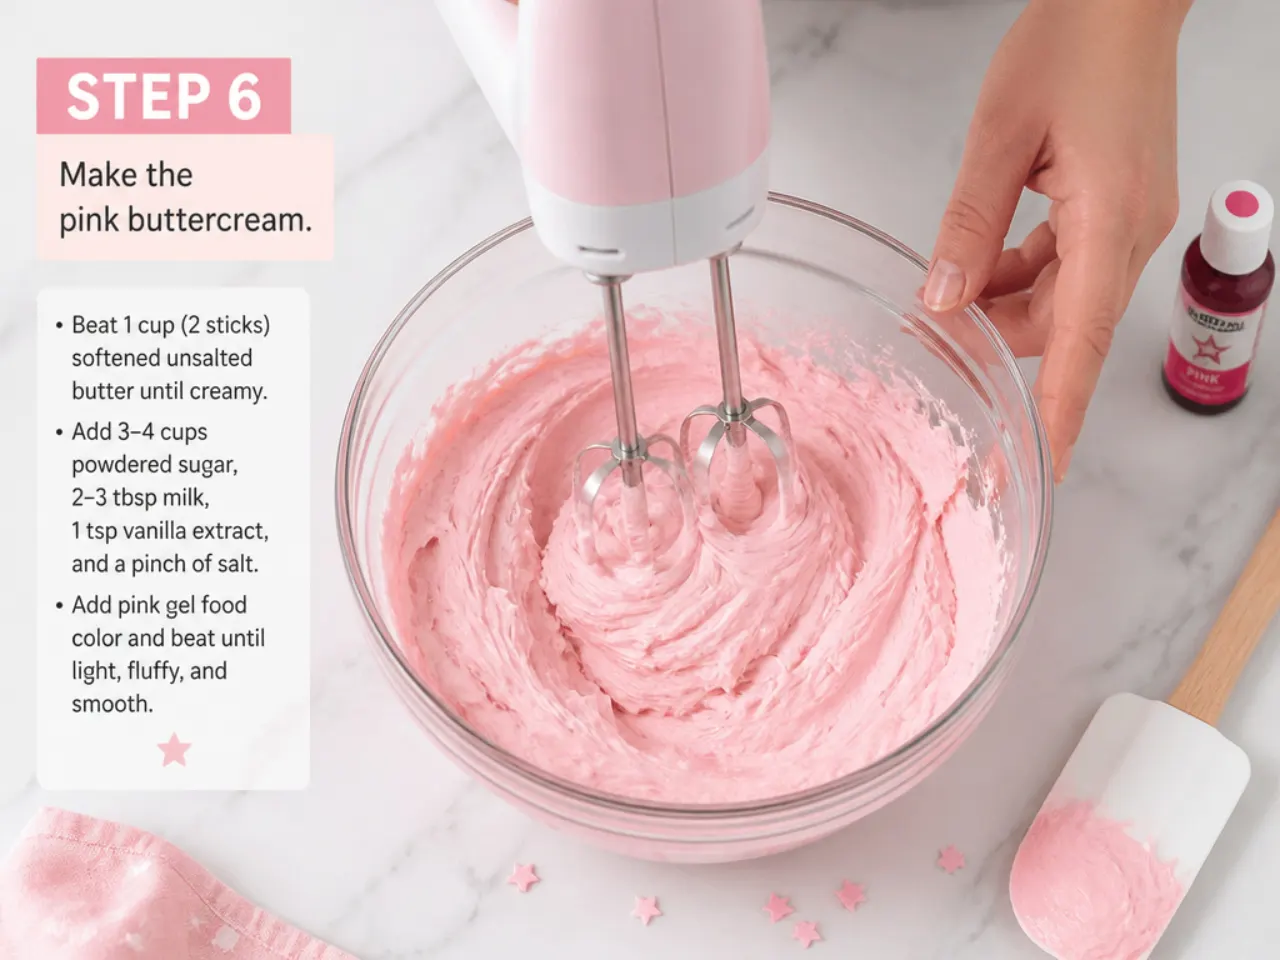
Beat 250g softened butter on medium-high for 5 minutes until very pale and fluffy. Add 500g sifted icing sugar in two additions, beating on low first so it does not cloud, then on high for 2 minutes per addition. Beat in 2 tablespoons of milk until the buttercream is light and spreadable, like soft ice cream. Set aside however much you need white, then tint the rest with pink gel colour added a toothpick-dab at a time, remembering the shade deepens as it rests.
Step 7: Fill, crumb coat and decorate
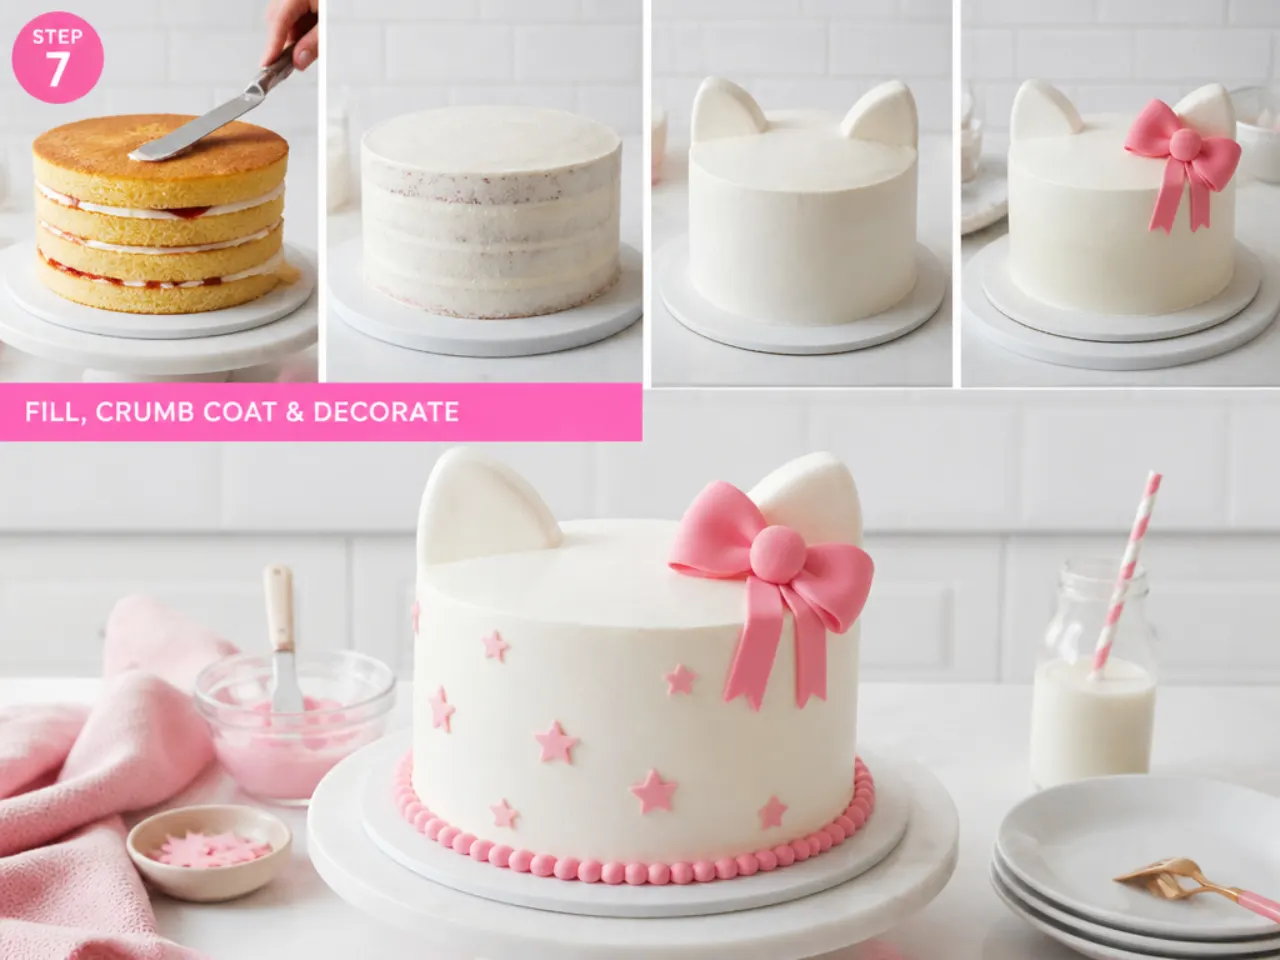
Level the cooled layers with a serrated knife if they have domed, then sandwich them with a 1cm layer of buttercream. Spread a thin crumb coat all over the outside and chill the cake for 20 to 30 minutes until the surface is firm to the touch. Apply the final coat, smoothing the sides with a bench scraper, then decorate following whichever idea you chose above: bows, polka dots, rosettes or a drip. The finished cake should sit at room temperature for 30 minutes before serving so the buttercream softens.
Frequently Asked Questions
No. Every idea in this list works with standard 20cm (8 inch) round or square tins, a 23x33cm sheet pan, or a cupcake tray. The theme comes from the pink-and-white palette, bows, polka dots and a shop-bought topper rather than a shaped tin, and the heart cake in idea 8 shows how to build a shape from pans you already own.
Save this for later 📌
Pin this article to your Pinterest board so the full list is one tap away when you need it.
Save on Pinterest