15 Simple Hello Kitty Cakes for Beginners
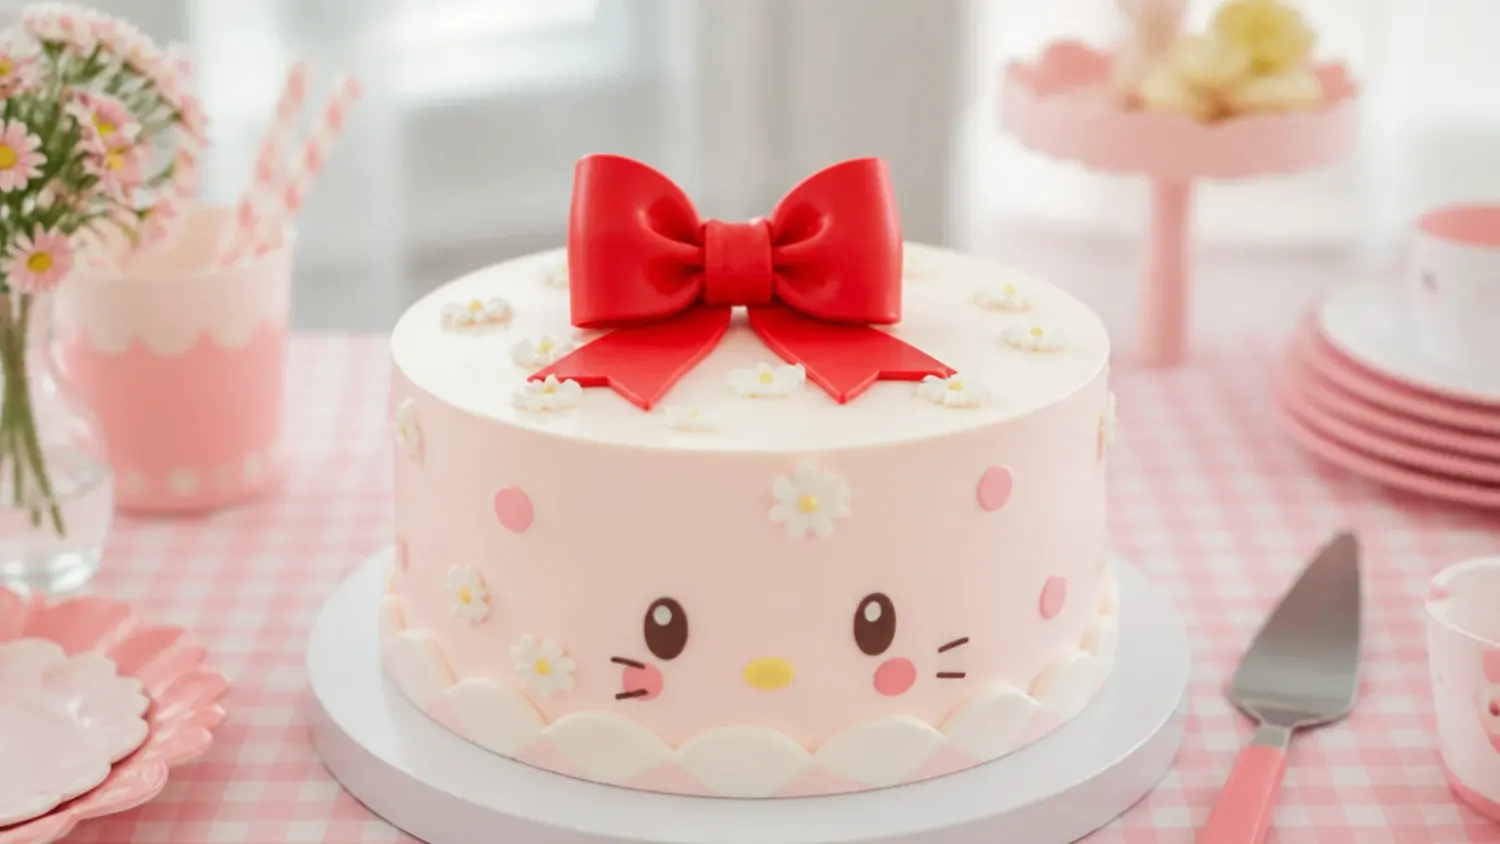
Make a simple Hello Kitty cake at home: 15 beginner-friendly designs, an easy vanilla sponge recipe, piping shortcuts, and common mistakes to avoid. If you love hello kitty cake inspiration, start with our Hello Kitty Cake Ideas collection, then browse the full Cake Ideas hub for more.
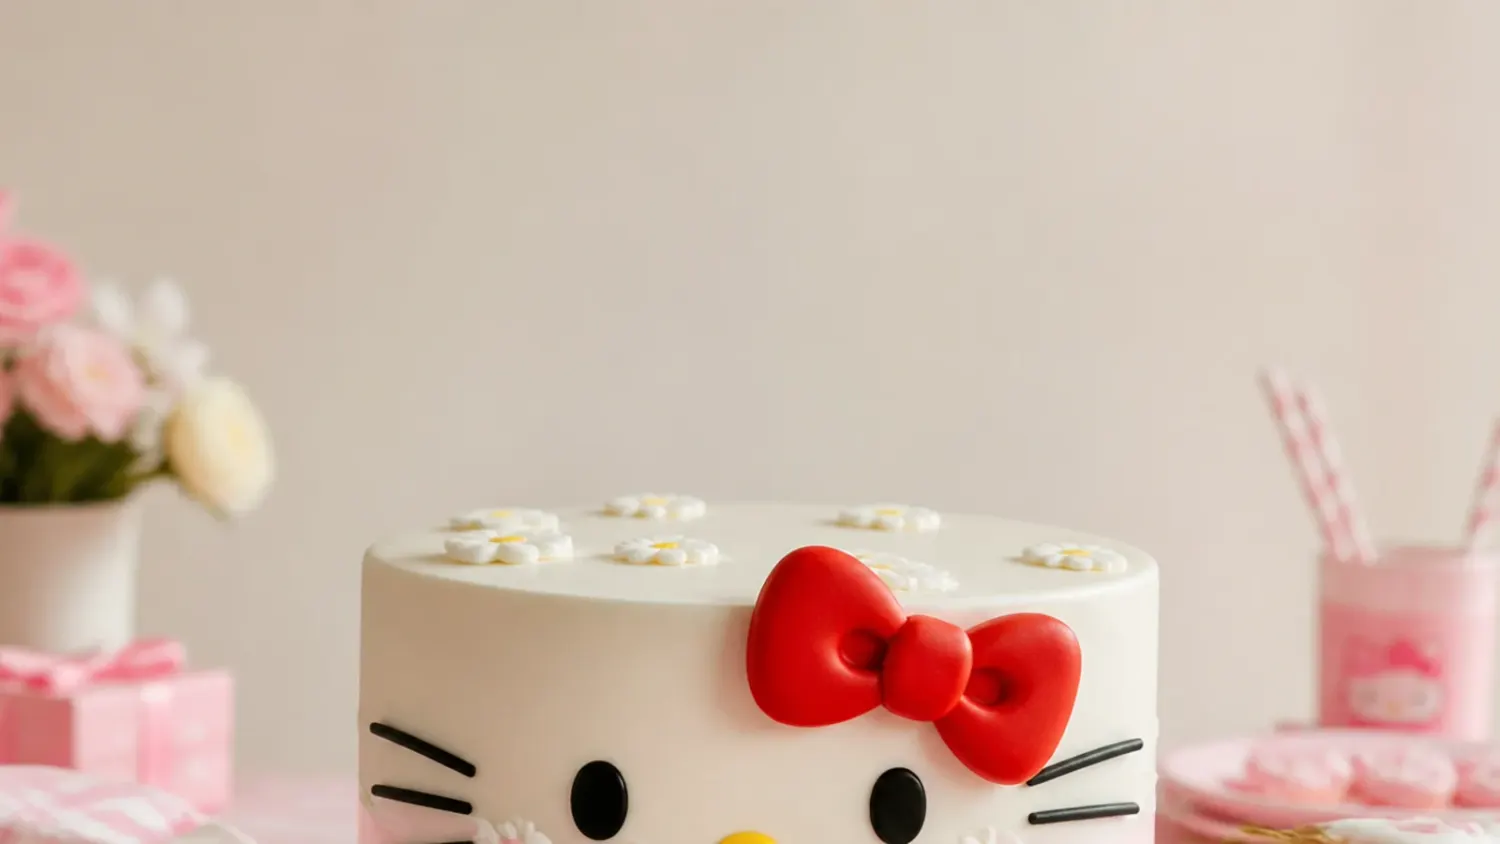
Save this for later 📌
Pin this article to your Pinterest board so the full list is one tap away when you need it.
Save on PinterestCake Ideas
Beginner
Ideas
15 ideas
Table of Contents
- 1. Classic Pink Bow Round Cake
- 2. Easy Pull-Apart Cupcake Cake
- 3. Elegant Blush Ombre Cake
- 4. Playful Polka Dot Party Cake
- 5. Modern Pink Drip Cake
- 6. Rustic Semi-Naked Strawberry Cake
- 7. Rainbow Surprise Inside Cake
- 8. Minimal One-Bow Cake
- 9. Festive Funfetti Sprinkle Cake
- 10. Whimsical Cat-Ear Topper Cake
- 11. Bold Red Bow Chocolate Cake
- 12. Delicate Rosette Cake
- 13. Vintage Piped Heart Cake
- 14. Creative Number Cake
- 15. Charming Mini Smash Cake
- Tips to Make These Ideas Easier
- Common Mistakes to Avoid
- The Base Recipe — Make Any of These Ideas
1. Classic Pink Bow Round Cake
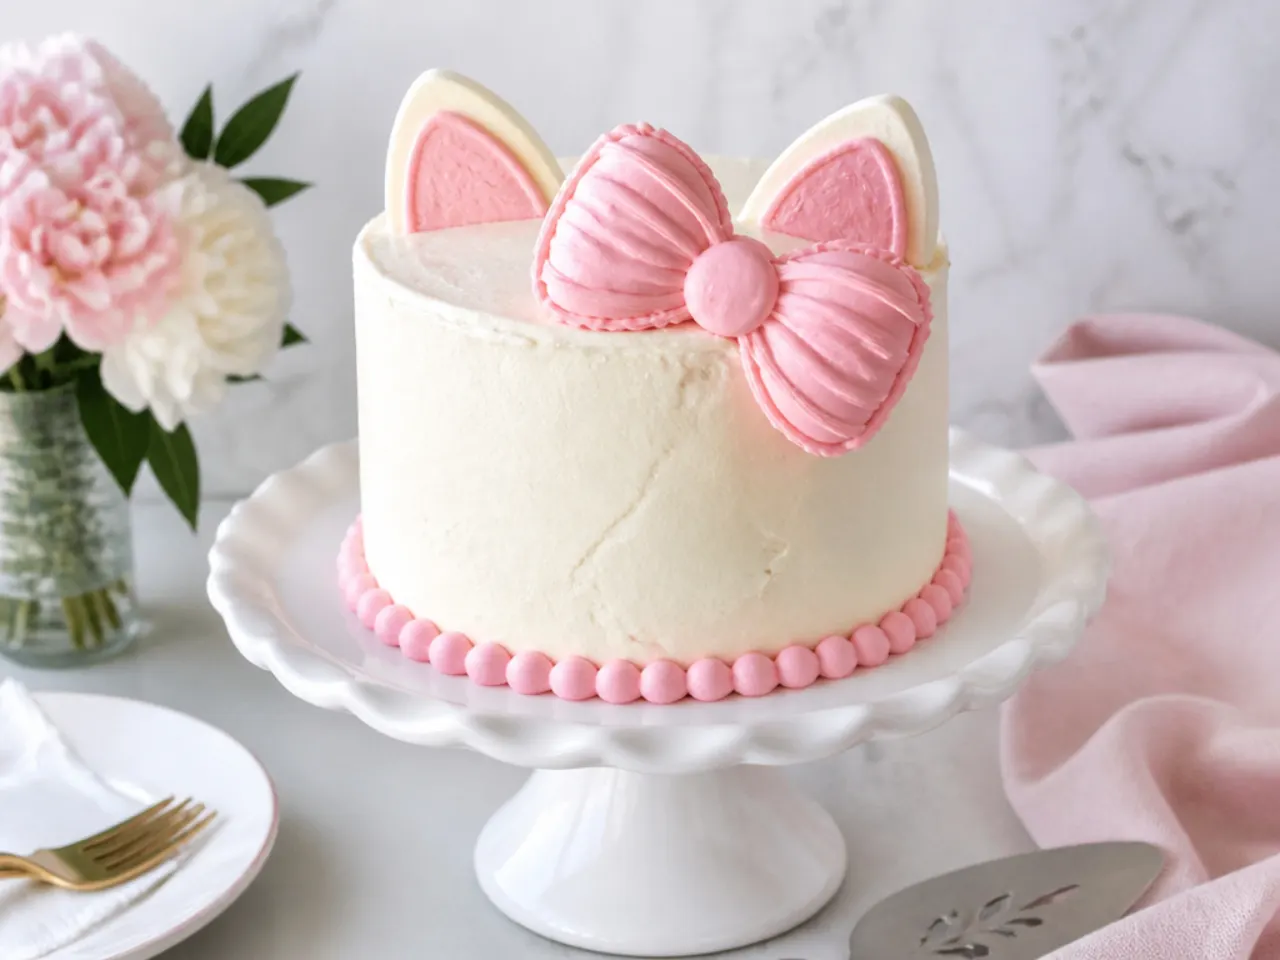
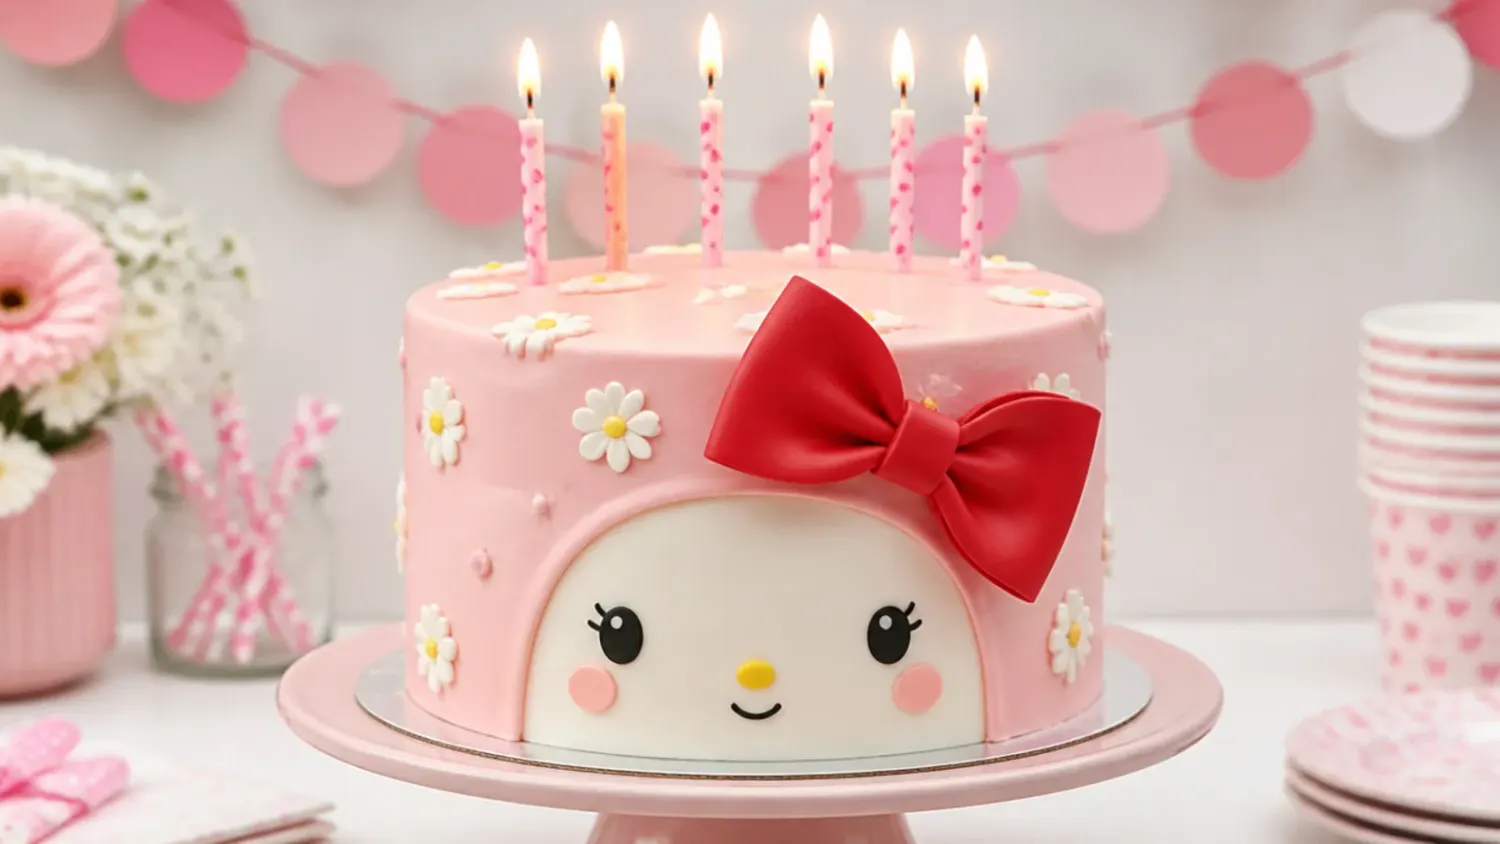
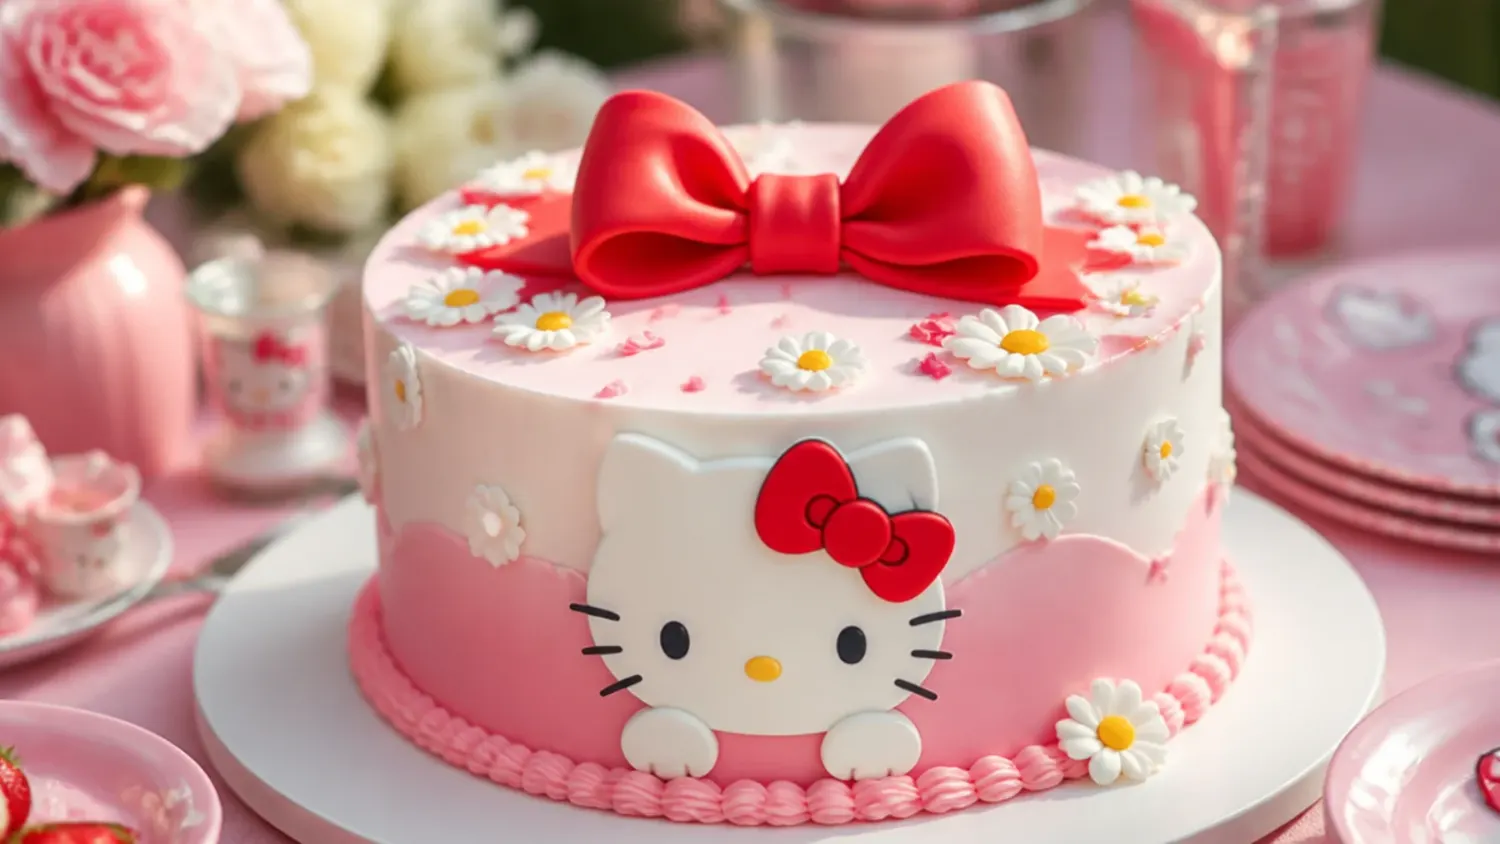
This is the design most people picture when they search for a simple Hello Kitty cake: two 20cm (8 inch) vanilla sponges stacked, coated in smooth white buttercream, and topped with one oversized pink bow. It works because the white-plus-pink-bow combination instantly reads as Hello Kitty inspired without any tricky character work. Pipe the bow with a Wilton 104 petal tip in two loops and two tails, or cut it from pink fondant a day ahead so it holds its shape. Finish the base edge with a shell border using a Wilton 21 star tip in the same pink. Total decorating time is about 30 minutes once the cake is crumb coated and chilled.
2. Easy Pull-Apart Cupcake Cake
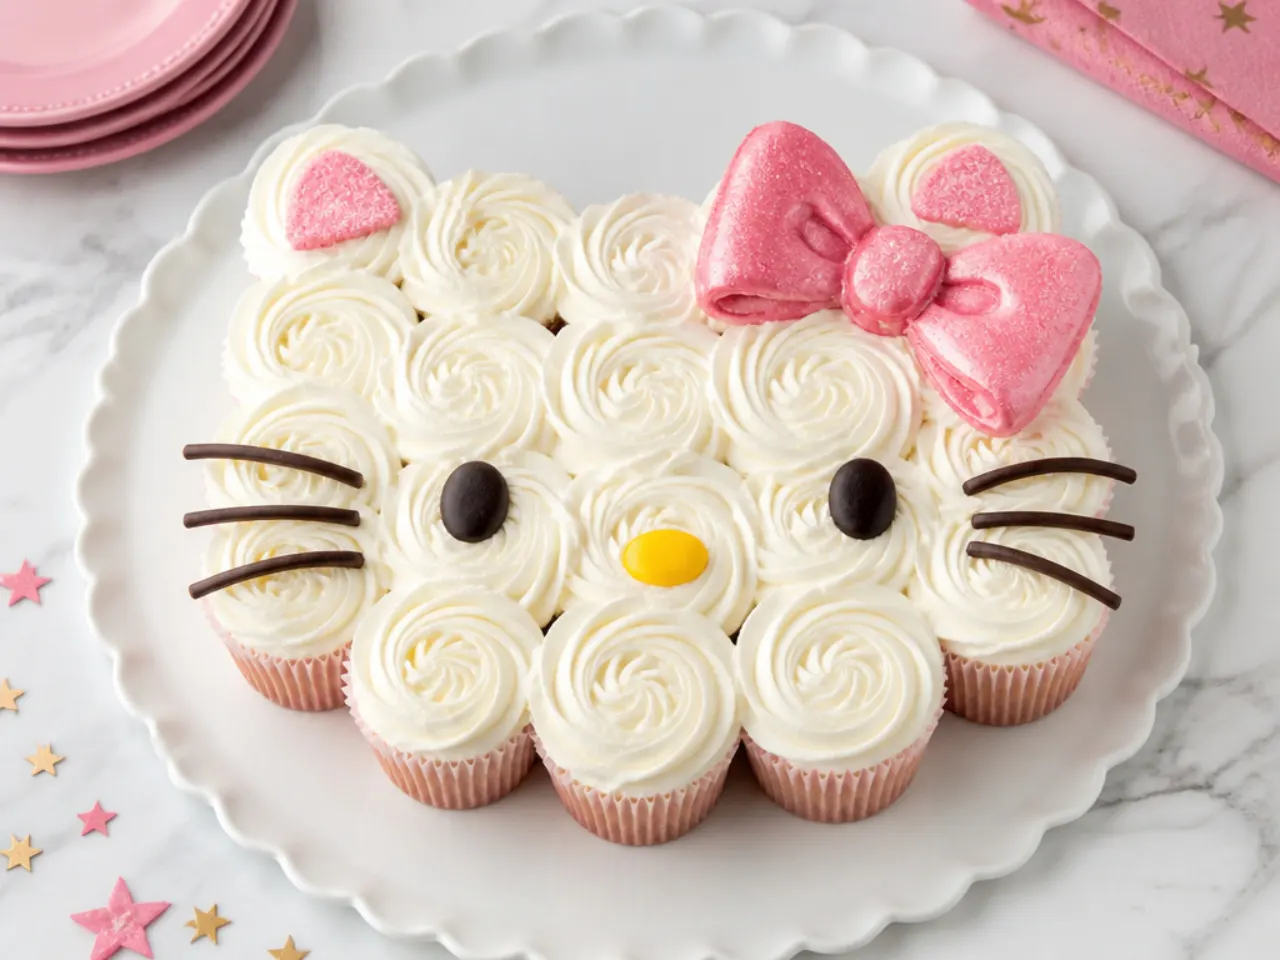
If levelling and stacking layers scares you, arrange 24 cupcakes tightly on a board in a rounded shape with two little ear points at the top, then ice over them as one surface with a palette knife. There is zero carving, zero crumb coat, and guests just pull off a cupcake each — perfect for classroom parties. Bake the cupcakes at 180°C (350°F) for 19 to 21 minutes, cool completely, then spread white buttercream across the whole arrangement before adding a piped pink bow on one ear. Use a thick smear of buttercream between cupcakes so the surface does not crack apart when you spread the top coat. This design serves 24 with no cake knife needed.
3. Elegant Blush Ombre Cake
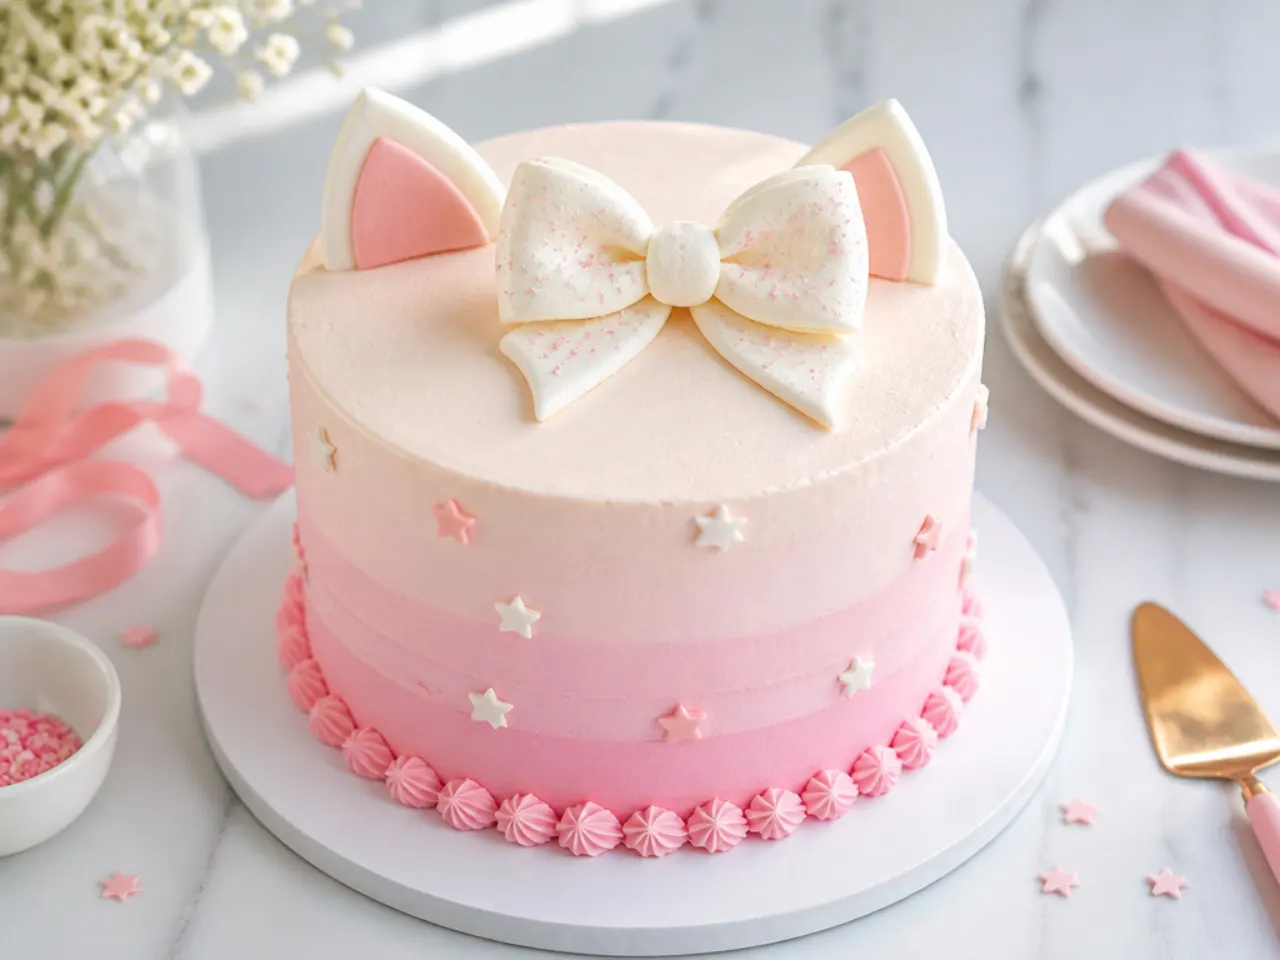
An ombre finish looks expensive but only needs one extra step: divide your buttercream into three bowls and tint them pale pink, mid pink, and leave one white using gel colour. Spread white on the top third of the cake, pale pink in the middle, and the deeper pink at the base, then pull a cake scraper around the sides in one steady pass so the bands blend. The soft gradient nails the Hello Kitty inspired palette while feeling grown-up enough for a joint mum-and-daughter birthday. Add a single white fondant bow and a few gold heart sprinkles at the colour seams. Chill the cake for 20 minutes before scraping if your kitchen is warm — the bands stay crisper.
4. Playful Polka Dot Party Cake
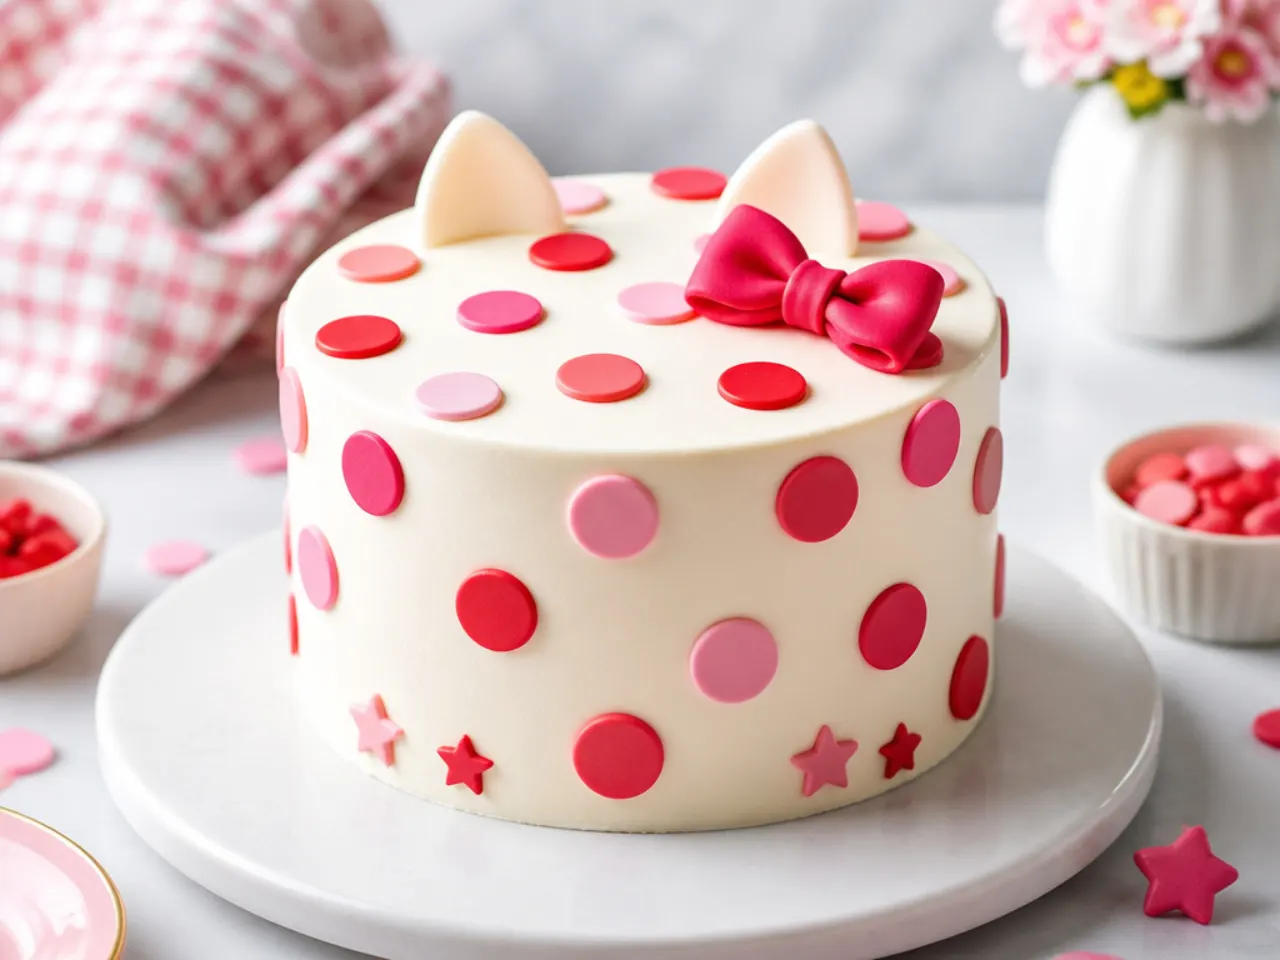
Polka dots are the easiest pattern in cake decorating and they are a signature part of the Hello Kitty look. Coat the cake in white buttercream, chill it for 30 minutes, then pipe pink and red dots with a Wilton 12 round tip and gently flatten each one with an offset spatula warmed under hot water. If piping feels risky, cut fondant circles with the wide end of a piping tip instead — they stick straight onto fresh buttercream. Keep the dots random rather than in rows, which hides any size differences. A small red bow on the top edge ties the whole theme together.
5. Modern Pink Drip Cake
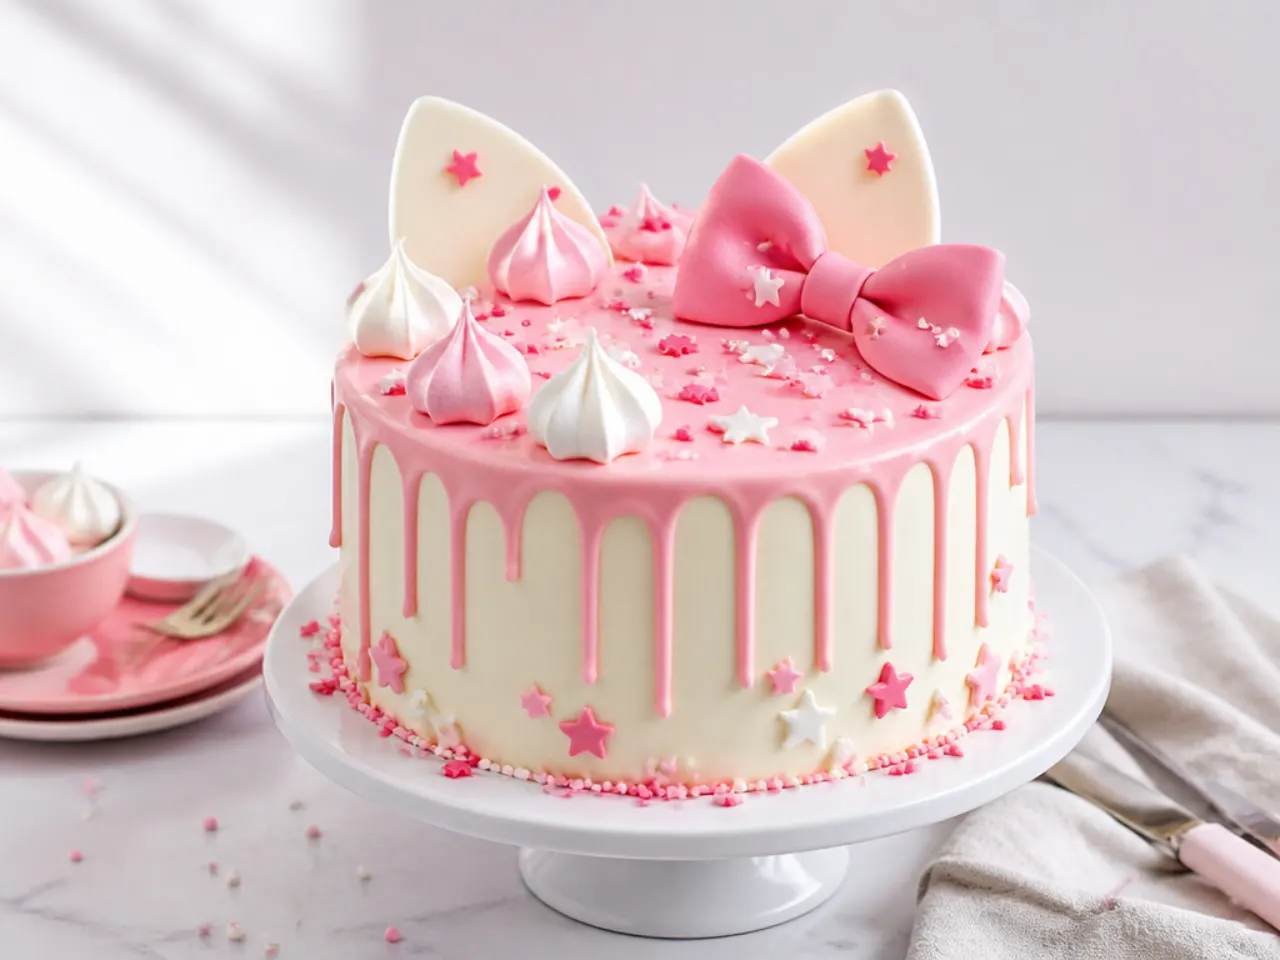
A drip cake looks bakery-level but the technique is genuinely beginner-friendly. Melt 100g white chocolate with 35ml warm double cream, tint it pink with gel colour, and let it cool to just warm — a test drip on the side of a glass should run about 5cm and stop. Chill your white-frosted cake for at least 30 minutes first, because drips only hold their shape on cold buttercream. Spoon the drip around the top edge, fill in the centre, then crown it with meringue kisses, white chocolate hearts, and a fondant bow. The pink-on-white drip keeps the simple Hello Kitty cake colour story without any character drawing at all.
Save this for later 📌
Pin this article to your Pinterest board so the full list is one tap away when you need it.
Save on Pinterest6. Rustic Semi-Naked Strawberry Cake
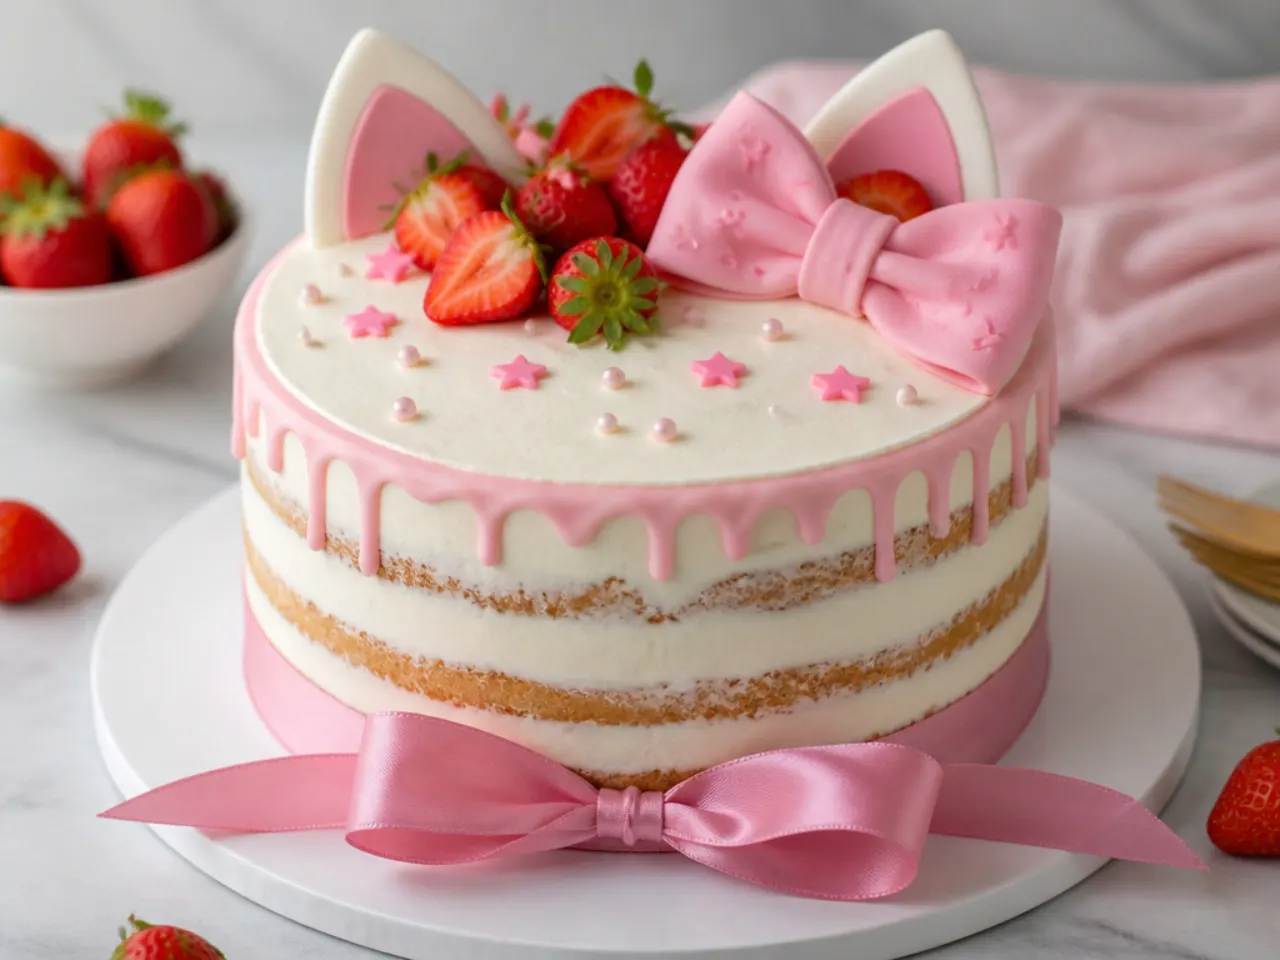
A semi-naked finish is the most forgiving frosting style there is: apply one thin coat of buttercream and scrape most of it back off so the sponge peeks through. Fill the layers with strawberry jam and vanilla buttercream, then pile fresh strawberries on top with a pink ribbon bow on a cocktail stick (remove it before cutting). Because the sides are barely covered, there is no pressure to get a perfectly smooth coat — streaks are the style. The red strawberries and pink ribbon carry the Hello Kitty inspired palette naturally. This one suits garden parties and photographs beautifully in daylight.
7. Rainbow Surprise Inside Cake
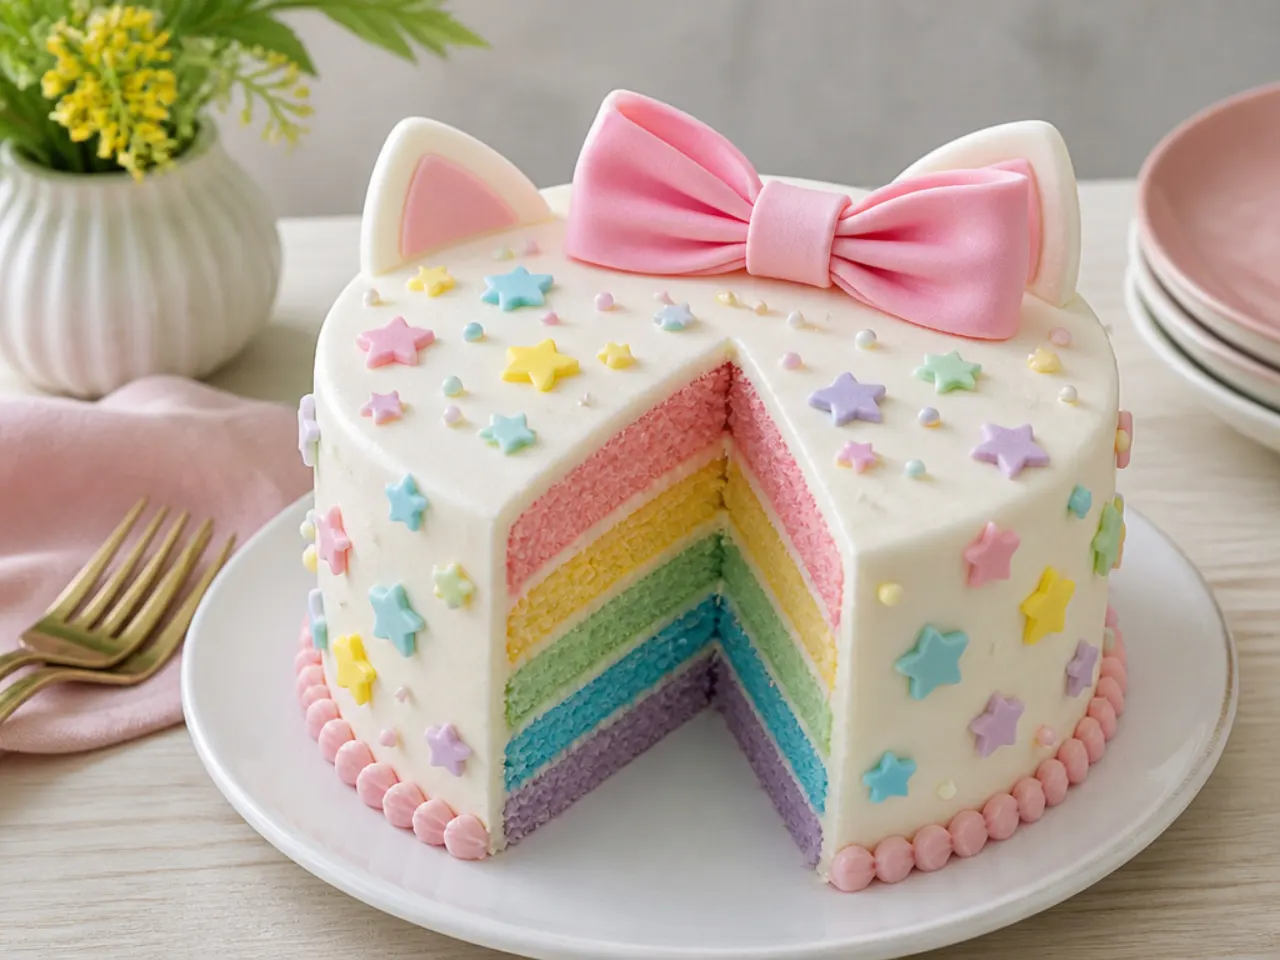
Keep the outside minimal — smooth white buttercream and a small pink bow — and hide the colour inside. Divide the sponge batter into four bowls and tint them pink, yellow, mint, and lilac with gel colours, then bake the thinner layers for 15 to 18 minutes at 180°C (350°F) instead of the full 25. When the first slice comes out at the party, the pastel stripes get the biggest reaction of the day. Gel colours are essential here; liquid colouring waters down the batter and the shades bake out dull. Stack with a thin layer of buttercream between each colour so the stripes stay defined.
8. Minimal One-Bow Cake
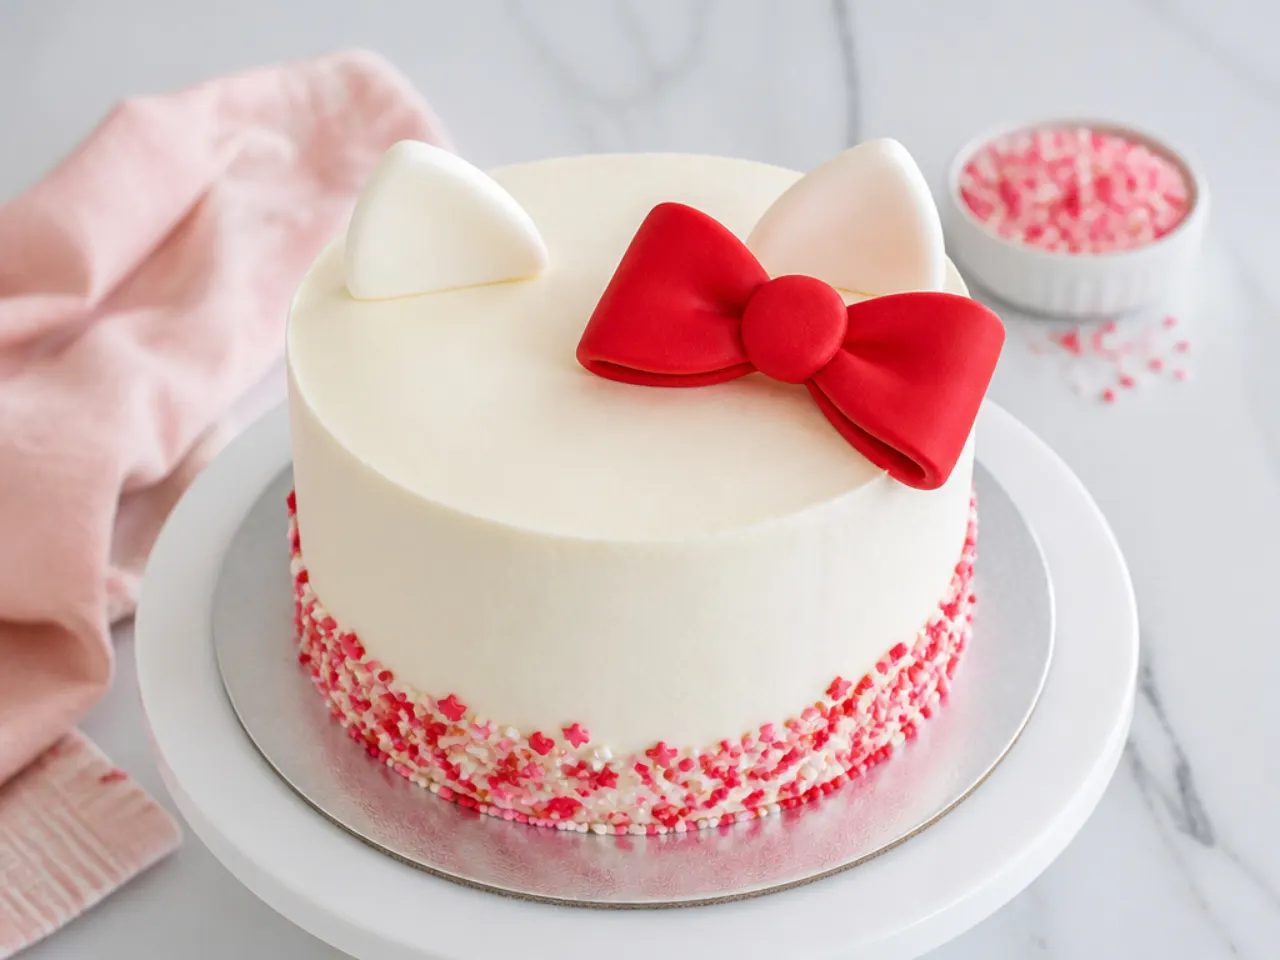
Sometimes the strongest design is one white cake and one perfect red bow — nothing else. Get the buttercream sharp by using a metal or acrylic scraper, chilling the cake for 20 minutes, then doing a final pass with the scraper dipped in hot water and wiped dry. Make the bow from red fondant: two flattened teardrops for loops, two notched tails, and a small rectangle pinched over the centre, left to firm up for 24 hours over a rolled piece of kitchen paper. Place it slightly off-centre on the top edge, the way the character famously wears hers. This design takes the least decorating skill on the list but looks the most deliberate.
9. Festive Funfetti Sprinkle Cake
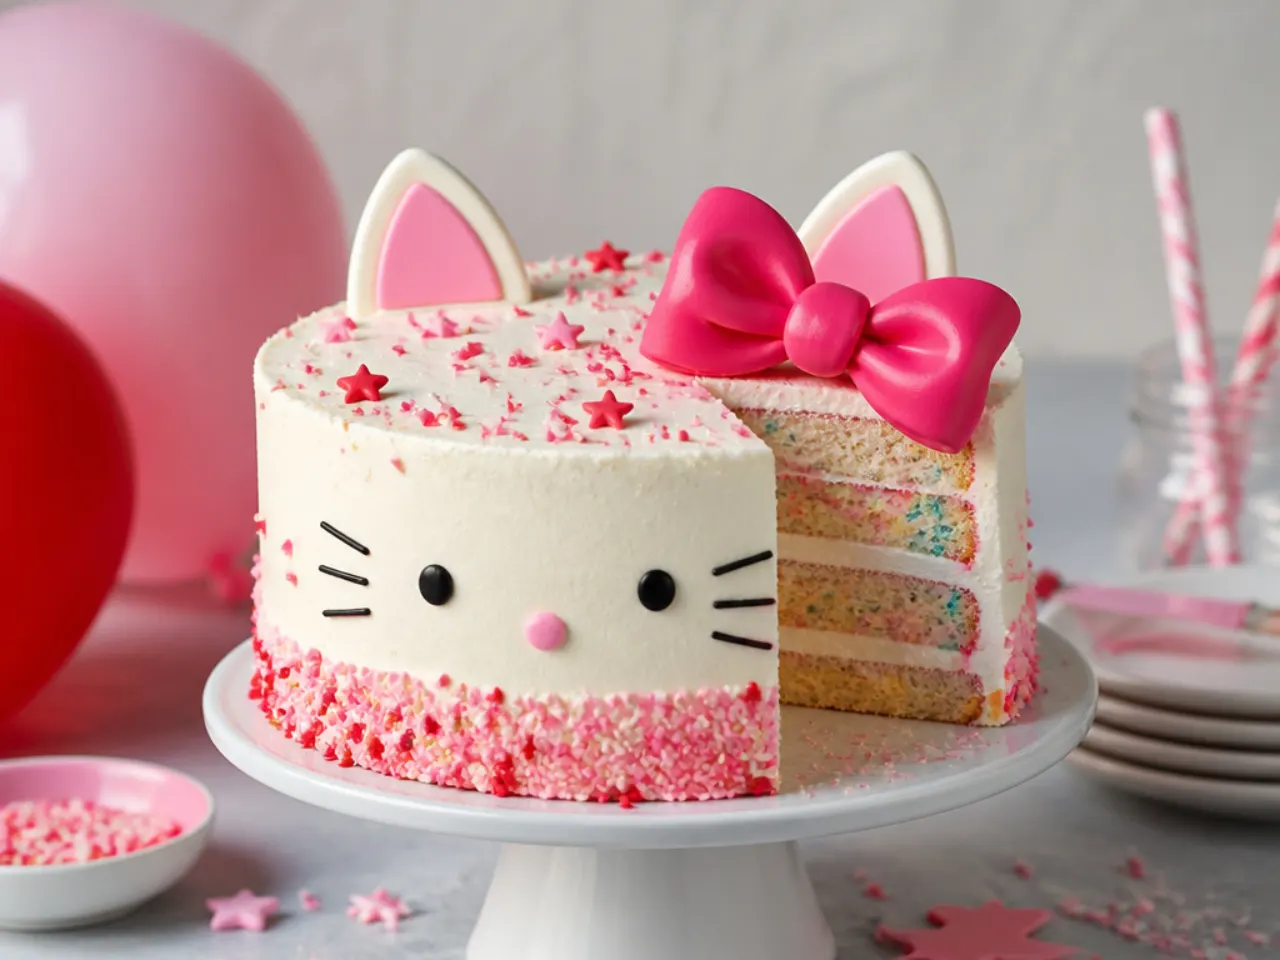
For maximum birthday energy, fold 80g of rainbow jimmies into the sponge batter right before it goes into the tins — jimmies hold their colour, while tiny nonpareils bleed and turn the batter grey. Coat the outside in white buttercream and press pink, white, and red sprinkles onto the bottom third of the cake while the frosting is still tacky, catching the excess on a baking tray underneath. Top with a pink candle arch and a piped buttercream bow using a Wilton 104 tip. The sprinkle-dipped base hides the trickiest part of any beginner cake: the bottom edge. It reads festive from across the room and costs almost nothing extra.
10. Whimsical Cat-Ear Topper Cake
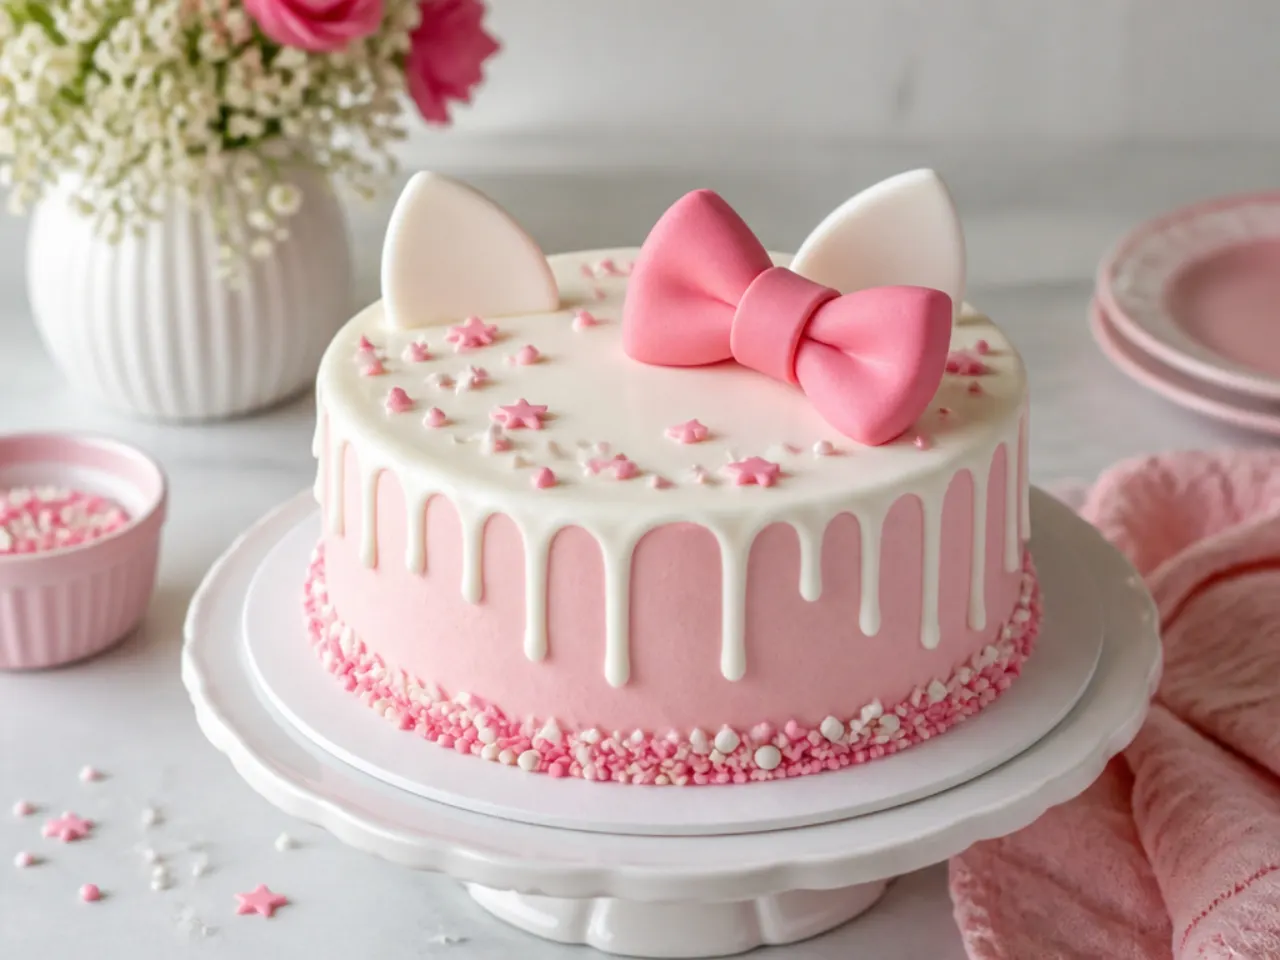
Two rounded triangle ears poking up from the top of a cake instantly suggest the character without drawing a single facial feature. Cut the ears from white fondant mixed with a pinch of tylose powder (or use gum paste), about 6cm tall, and dry them flat for 24 hours before pushing them into the cake top on cocktail sticks. If fondant is not your thing, cut ears from white card, tape them to skewers, and remove before serving. Pipe a border of pastel pink stars around the base with a Wilton 21 tip and add a mini bow at the base of one ear. Kids recognise the silhouette immediately, which is the whole charm of this simple Hello Kitty cake idea.
Save this for later 📌
Pin this article to your Pinterest board so the full list is one tap away when you need it.
Save on Pinterest11. Bold Red Bow Chocolate Cake
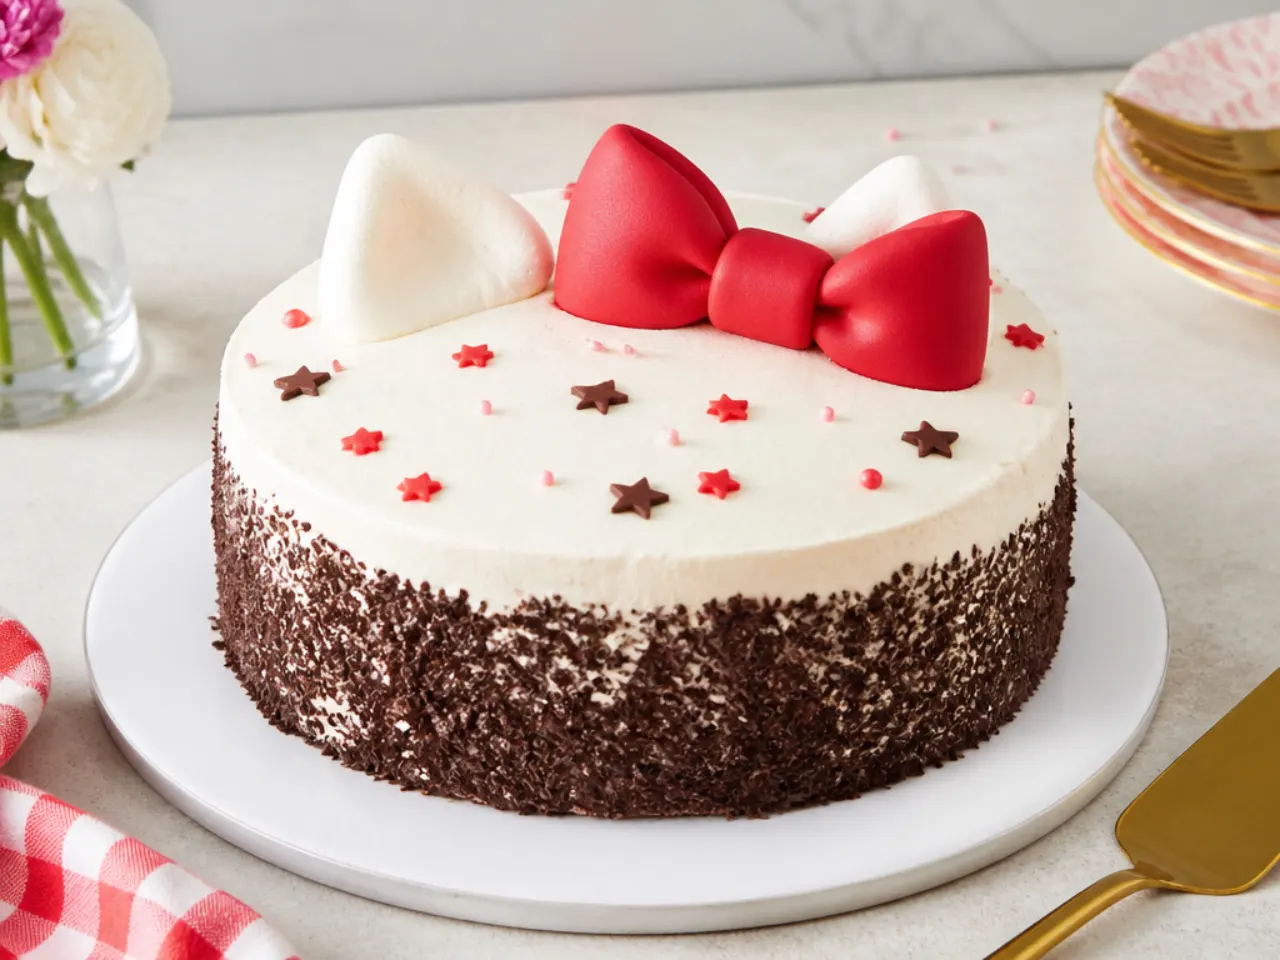
Not every kitty-inspired bake has to be pink — the character's classic red bow pops even harder against a chocolate base. Swap 40g of the self-raising flour in the base recipe for cocoa powder to get a chocolate sponge with no other changes. Frost in white buttercream, then add an oversized red fondant bow and three bold red polka dots on one side. Skip red buttercream entirely: reaching true red takes so much colouring it turns bitter, while fondant gives you the colour with none of the aftertaste. This version suits older kids and anyone who finds all-pastel cakes too sweet-looking.
12. Delicate Rosette Cake
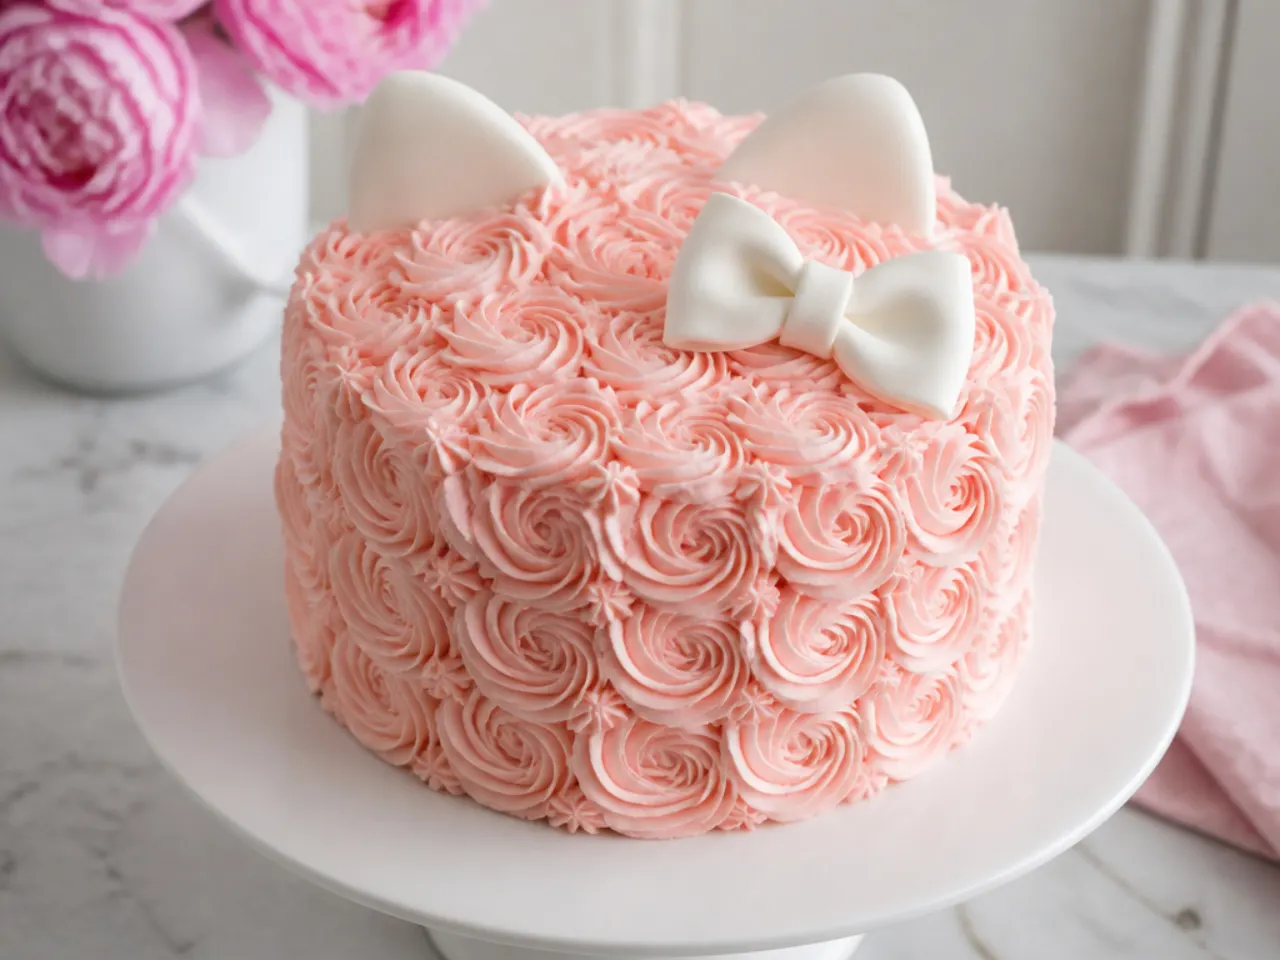
Rosettes are the great beginner cheat: swirls of piped buttercream cover the entire cake, so there is no smoothing, no scraper, and every small mistake disappears into the texture. Fit a piping bag with a Wilton 1M tip, hold it straight on at the side of the cake, and pipe from the centre of each rosette outward in one tight spiral, working in rows from the bottom up. Tint the buttercream the palest blush pink and finish the top with a white fondant bow and a few sugar pearls. One batch of the base buttercream recipe covers a 20cm cake in rosettes with a little to spare. Chill the finished cake 15 minutes before moving it — rosettes dent easily when soft.
13. Vintage Piped Heart Cake
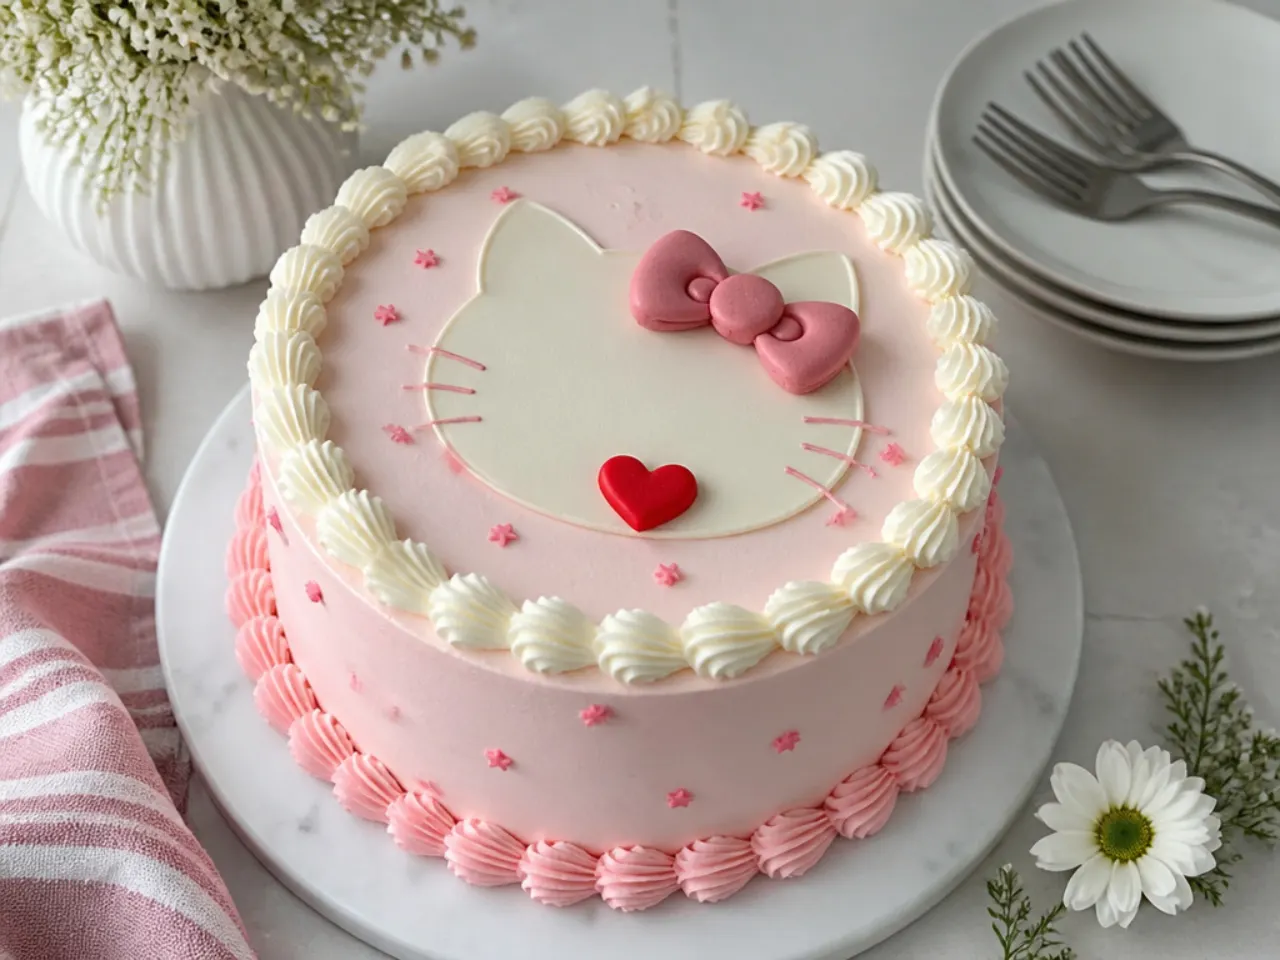
The vintage 'Lambeth style' cake trend is a perfect match for the Hello Kitty aesthetic: overloaded shell borders, swags, and a cherry-red heart or bow in the middle of a pastel pink cake. Tint your buttercream light pink, coat the cake, then pipe generous shell borders around the top and base edges with a Wilton 32 star tip. Add piped white swags on the sides with a Wilton 21 tip and a red fondant heart or bow centred on top. The slightly over-the-top piping is the point — wobbles look intentional in this style, which makes it surprisingly beginner-safe. It looks straight out of a 1980s bakery window and pins incredibly well.
14. Creative Number Cake
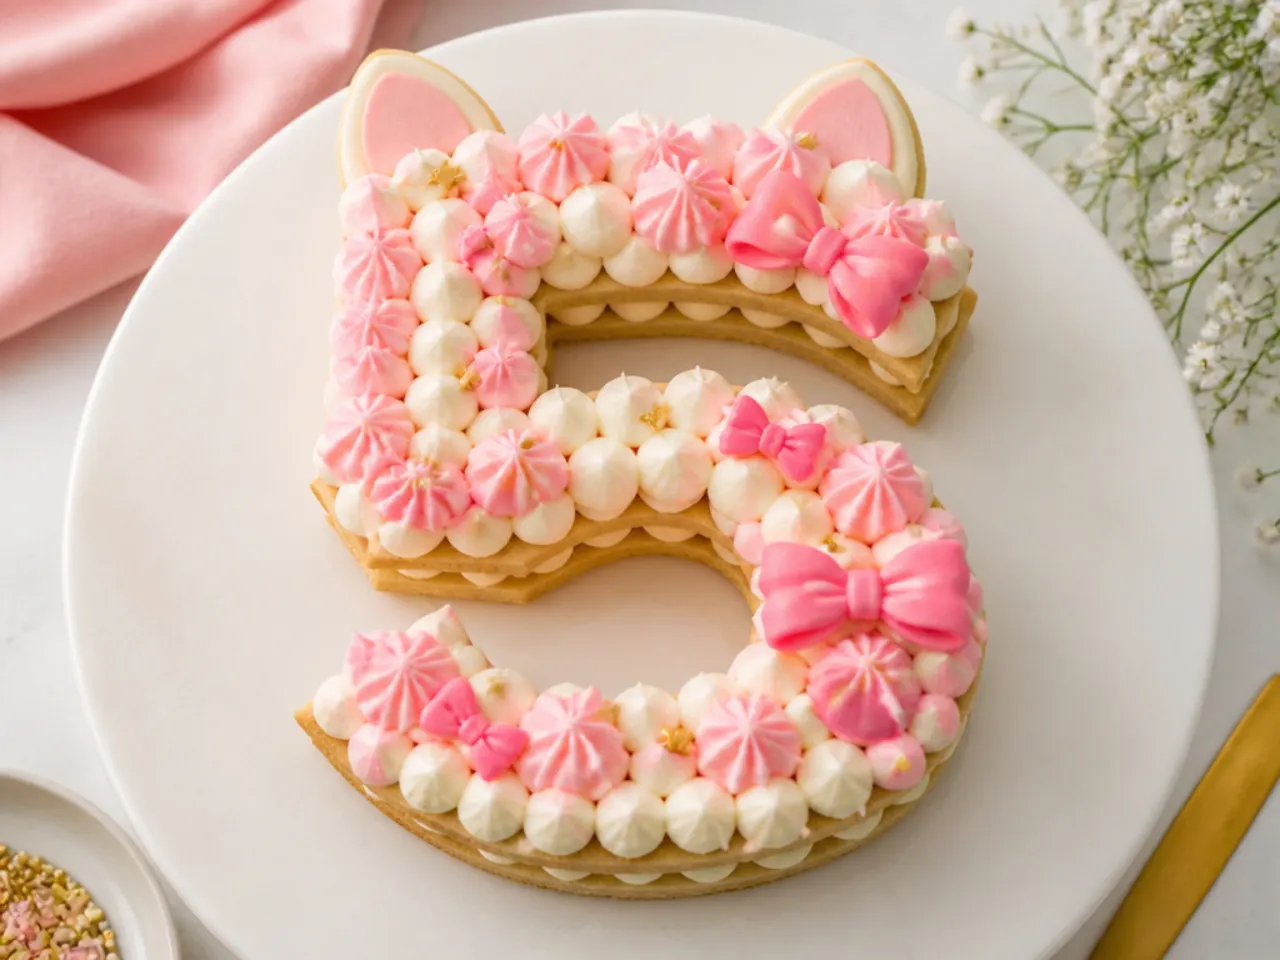
Turn the birthday age itself into the cake: print a large numeral template, bake the base recipe in a 23x33cm (9x13 inch) tray for 30 to 35 minutes, freeze the cooled slab for 30 minutes, then cut the number out with a serrated knife using the template as a guide — the same freeze-and-cut method Betty Crocker uses for shaped cakes. Pipe dollops of white and pink buttercream over the top with a Wilton 1A round tip, alternating colours. Decorate the dollops with mini bows, strawberries, pink macarons, and heart sprinkles for the full kitty-inspired treatment. Freezing before cutting is non-negotiable: it stops the sponge shredding into crumbs. One tray comfortably yields any single digit.
15. Charming Mini Smash Cake
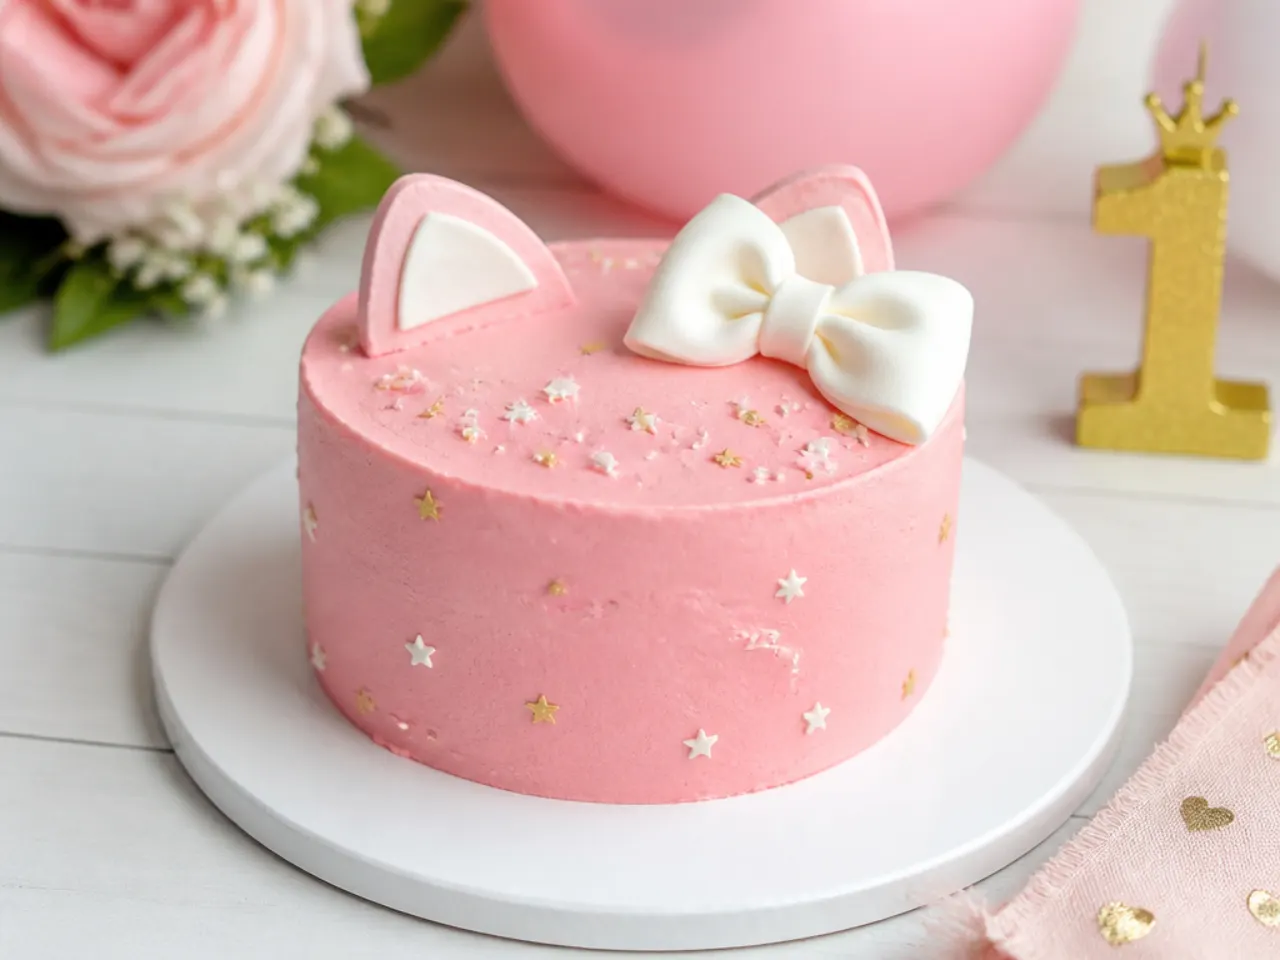
For a first birthday photoshoot, scale down instead of up: bake a third of the base batter in two 10cm (4 inch) tins for 20 to 22 minutes at 180°C (350°F). Stack and coat in pastel pink buttercream, pipe a tiny white shell border with a Wilton 18 tip, and add one little fondant bow on top. A cake this size uses about 250g of buttercream total, so you can make it alongside a bigger cake from the same batch. Photographers love the pink-and-white palette because it bounces soft light onto the baby's face. Whatever survives the smashing still tastes like proper homemade vanilla sponge.
Tips to Make These Ideas Easier
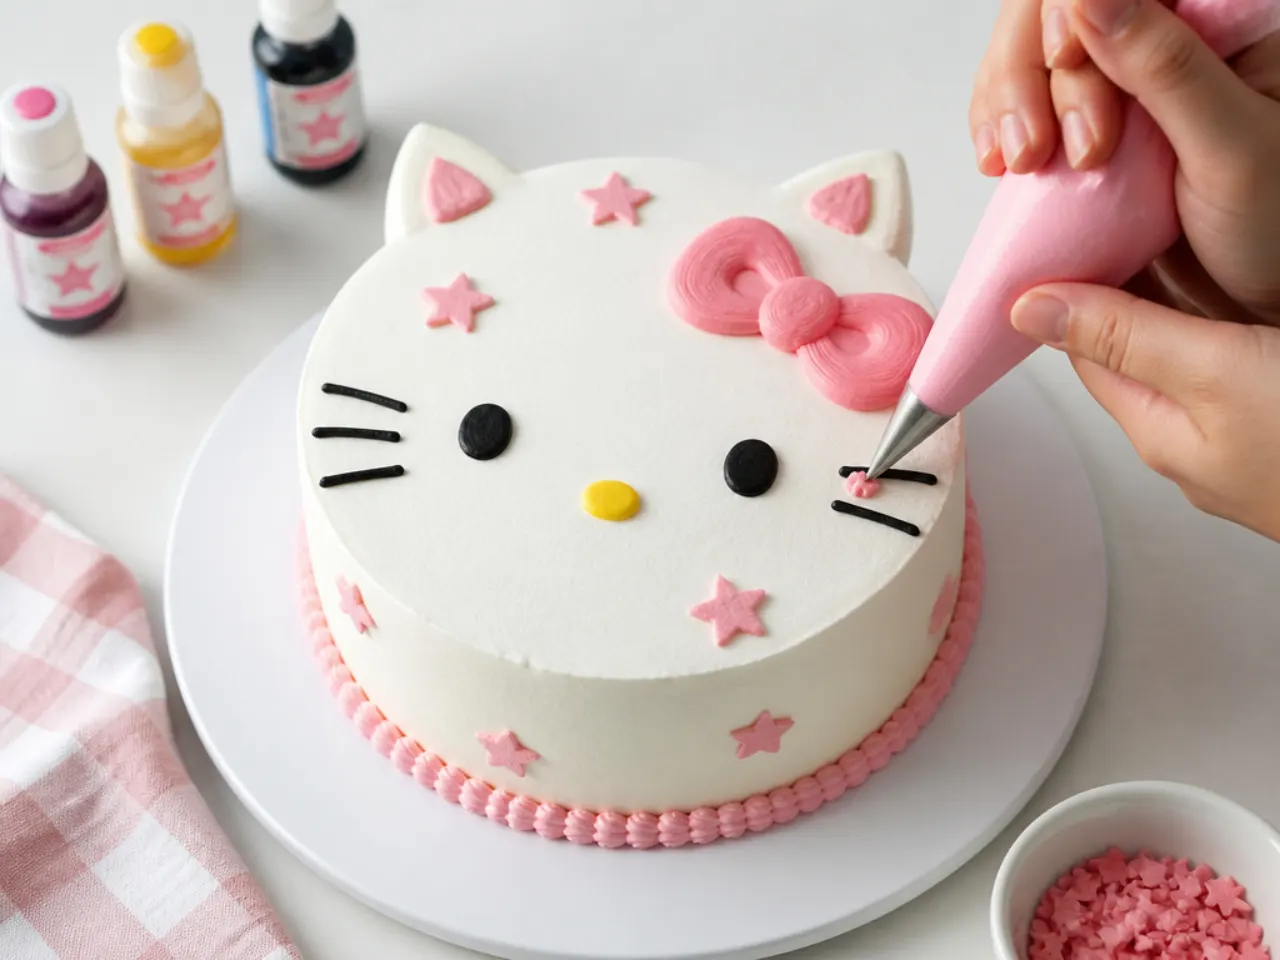
Bake the sponges a day ahead, wrap them in cling film while just warm, and decorate tomorrow — rested sponge carves and frosts far better than fresh. Always crumb coat: a thin sealing layer of buttercream plus 30 minutes in the fridge means zero crumbs in your final white coat. Use gel food colours (Sugarflair or Wilton), never supermarket liquid ones, which thin buttercream and give weak pastels. Practise any piped bow or dot on a sheet of baking paper first, then scrape the buttercream back into the bag — practice costs nothing. If a design calls for fondant bows or ears, make them 24 hours early so they dry firm, and buy a ready-made topper if you are short on time.
Common Mistakes to Avoid
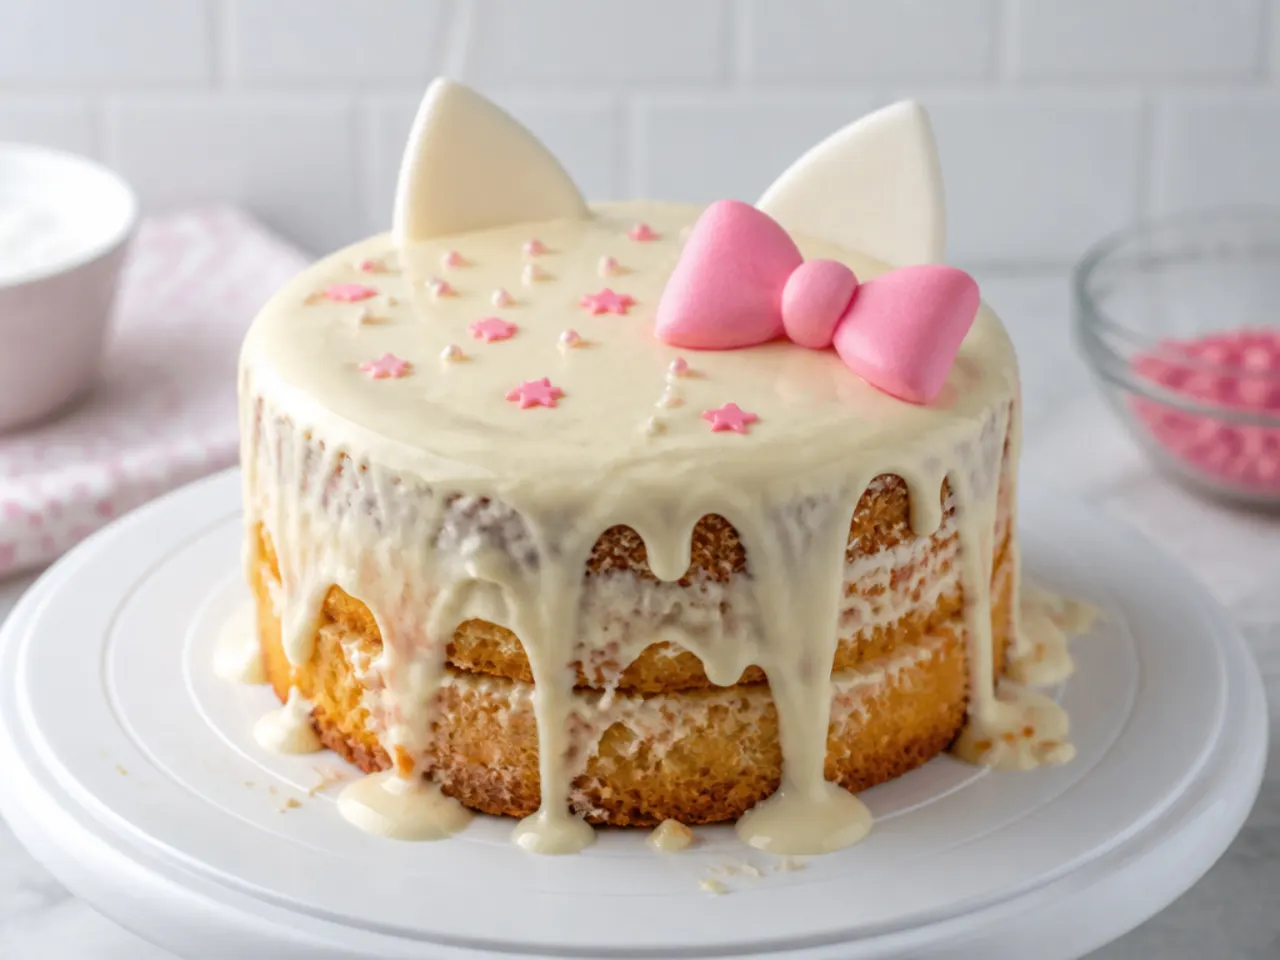
Frosting a warm cake is the number one failure: buttercream melts, slides, and drags crumbs everywhere, so wait until the sponge is completely cold and ideally fridge-chilled. Do not overmix once the flour goes in — fold gently or the sponge turns dense and domed instead of light and level. Avoid trying to mix true red or black buttercream; you will hit a bitter, mouth-staining wall long before you hit the colour, so use fondant or ready-coloured icing for those accents. Skipping the chill between the crumb coat and final coat undoes both layers. Finally, do not overload liquid colouring into a white chocolate drip — one drop of oil-based or gel colour is enough, and water-based colour can seize the chocolate entirely.
The Recipe
The Base Recipe — Make Any of These Ideas
40 min
25 min
1 hr 35 min
12
Beginner
Ingredients 12 Person(s)
Directions
Step 1: Prep the tins and oven
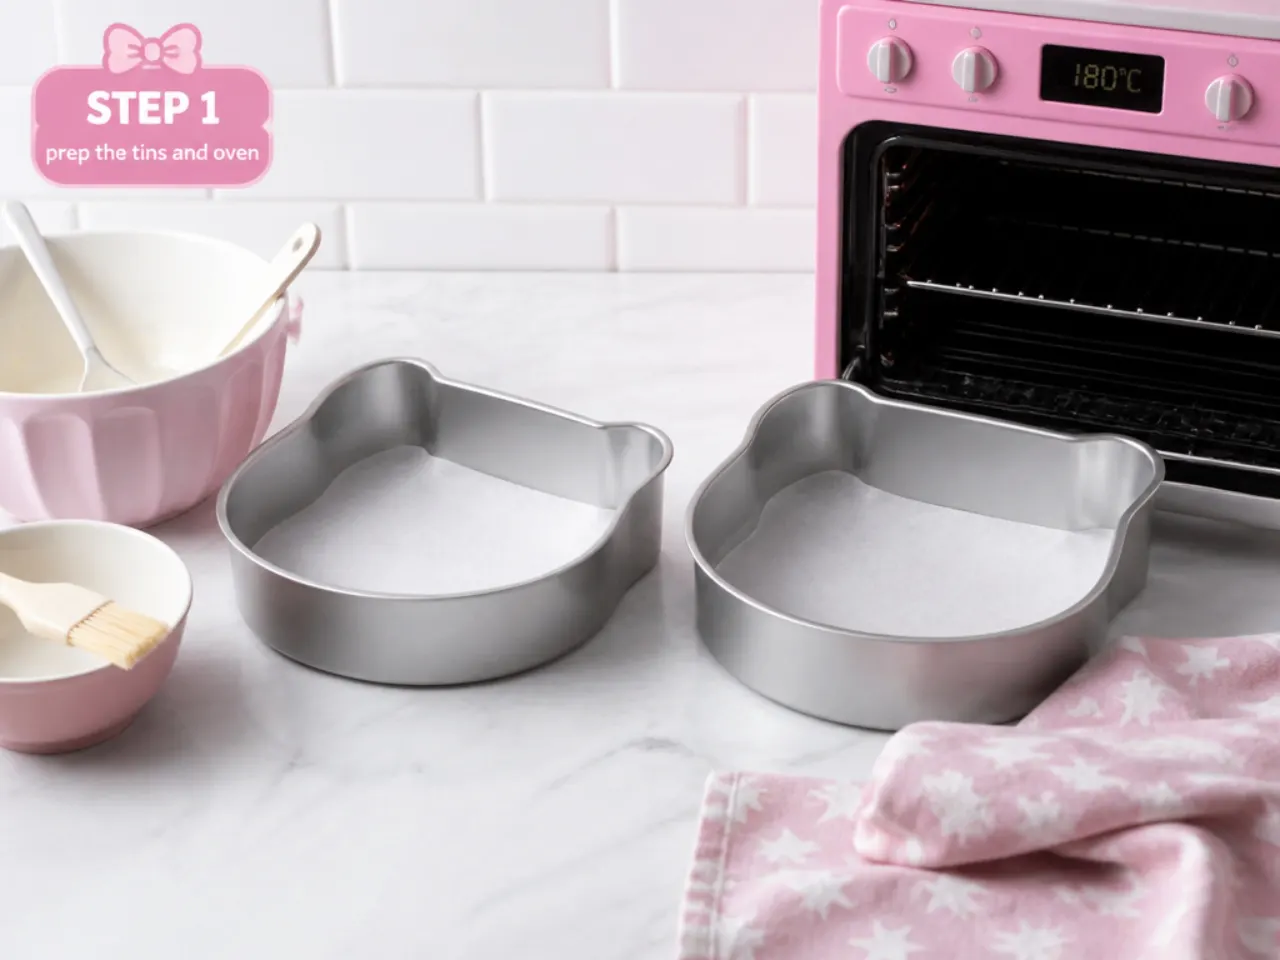
Heat the oven to 180°C (160°C fan / 350°F). Grease two 20cm (8 inch) round sandwich tins and line the bases with baking paper. Doing this first means the batter goes straight into the oven the moment it is mixed, which keeps the raising agents active.
Step 2: Cream the butter and sugar
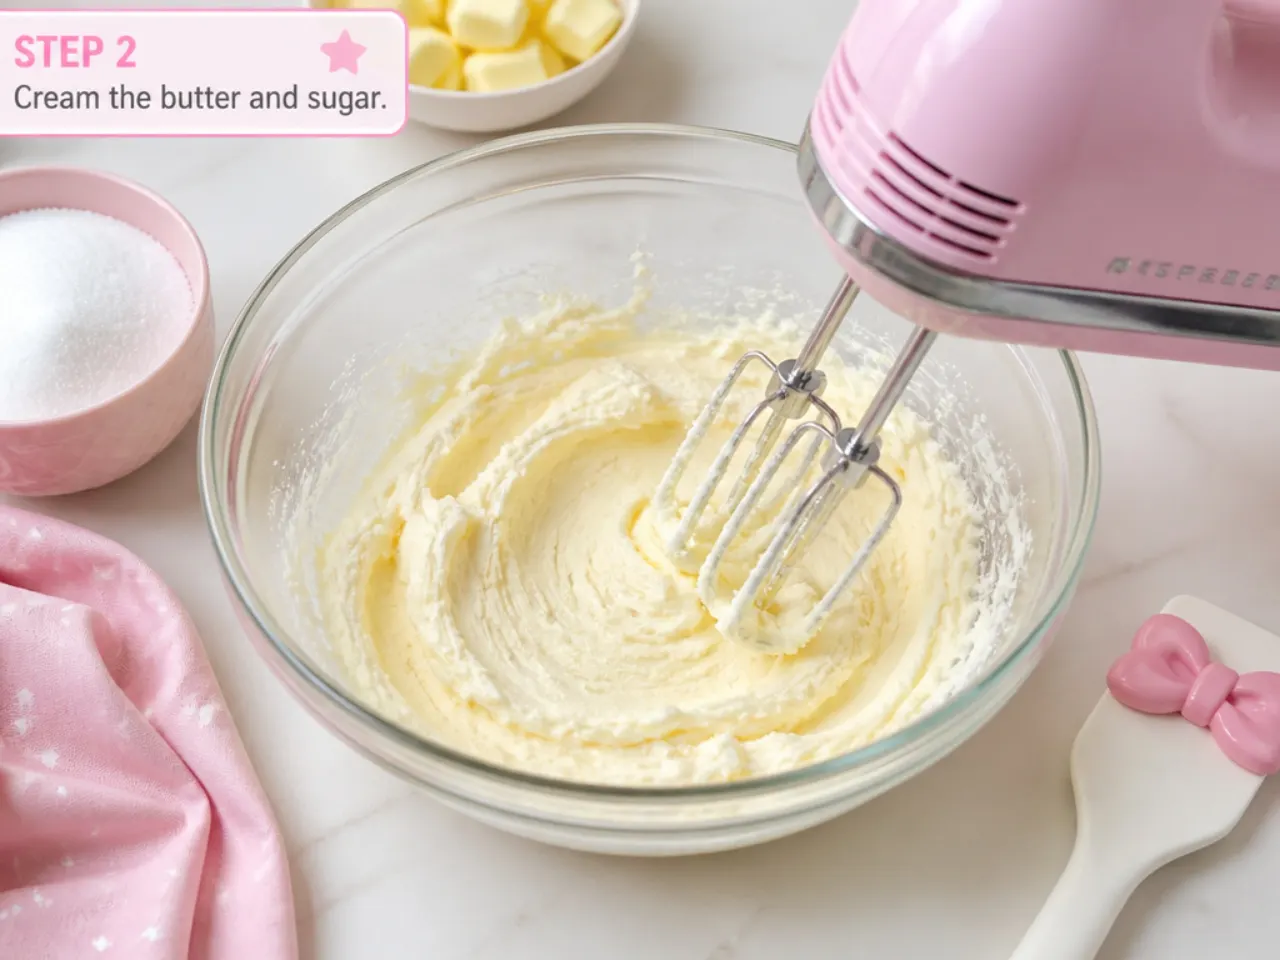
Beat 225g softened butter with the caster sugar in a stand mixer or with electric beaters for 3 to 4 minutes until visibly pale and fluffy. Scrape down the bowl halfway. This stage traps the air that makes the sponge light, so do not rush it.
Step 3: Add the eggs and vanilla
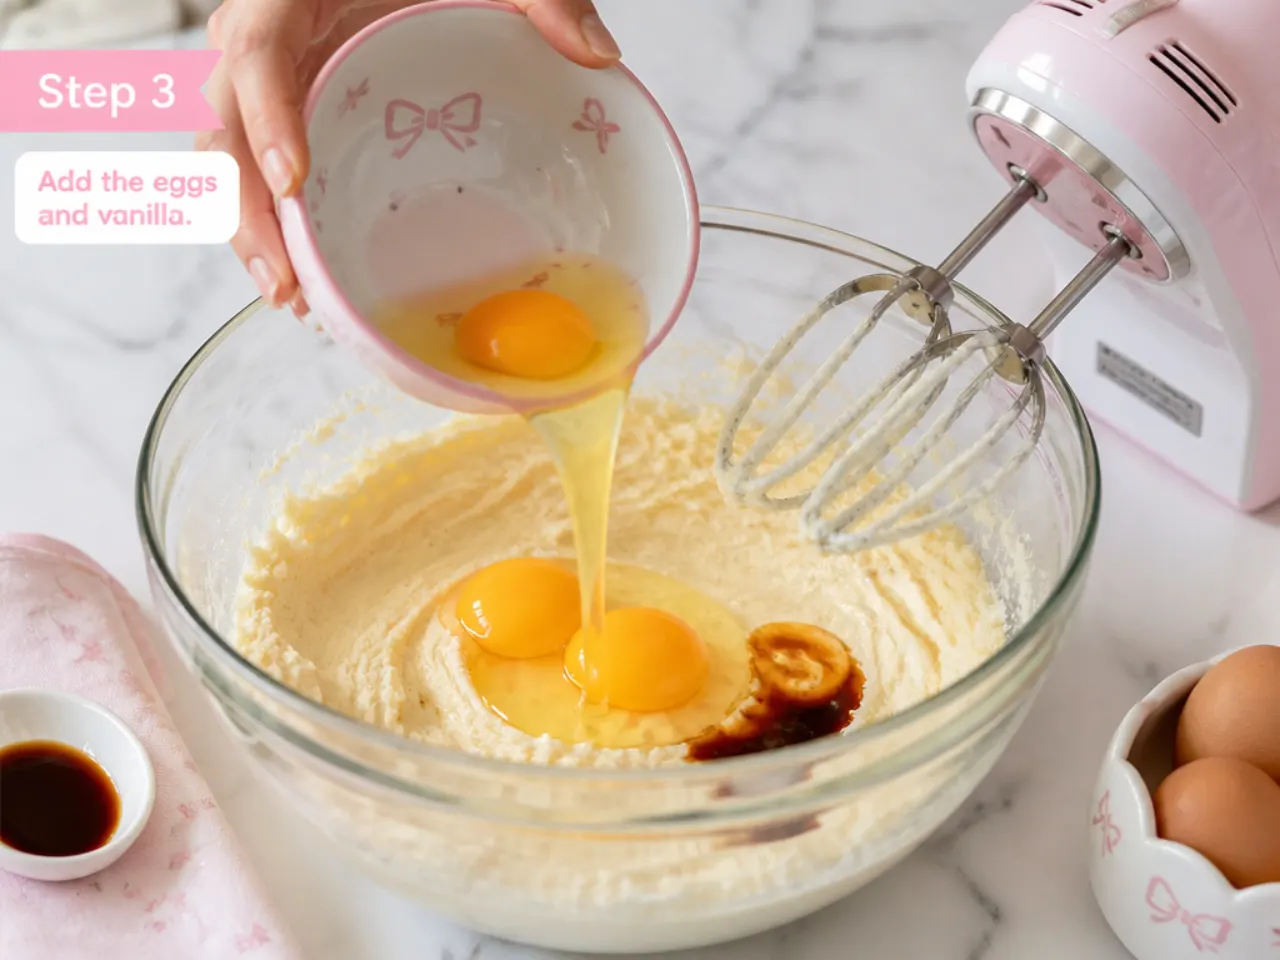
Beat in the eggs one at a time, mixing well after each, then add the vanilla extract. If the mixture starts to look curdled, beat in a tablespoon of the measured flour before adding the next egg — it brings the batter back together.
Step 4: Fold in the flour
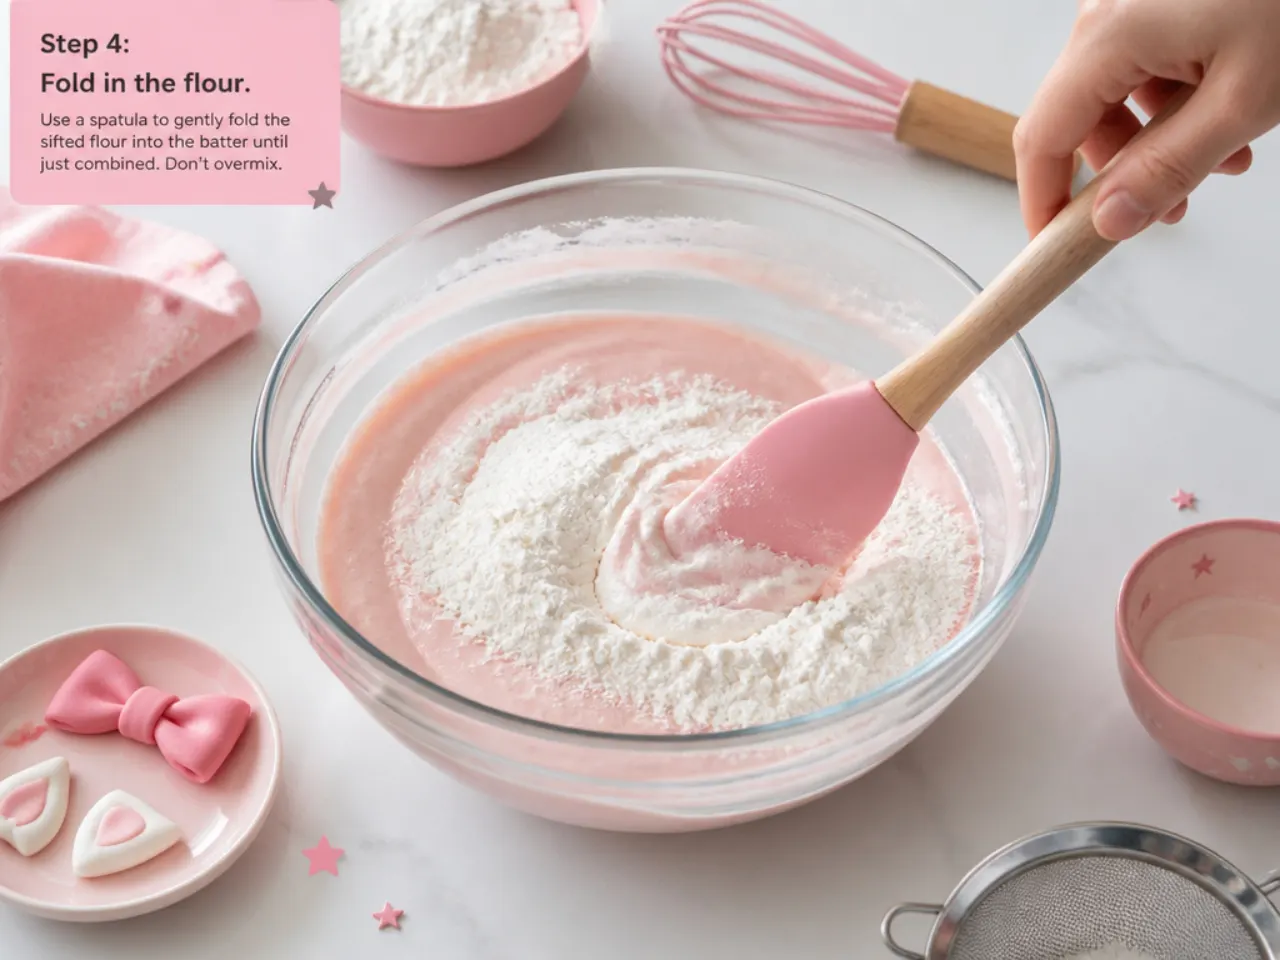
Sift the self-raising flour and baking powder over the bowl and fold in gently with a spatula or large metal spoon until no dry streaks remain. Stir in the milk to loosen the batter to a soft dropping consistency. Stop mixing as soon as it is combined so the sponge stays tender.
Step 5: Bake and cool
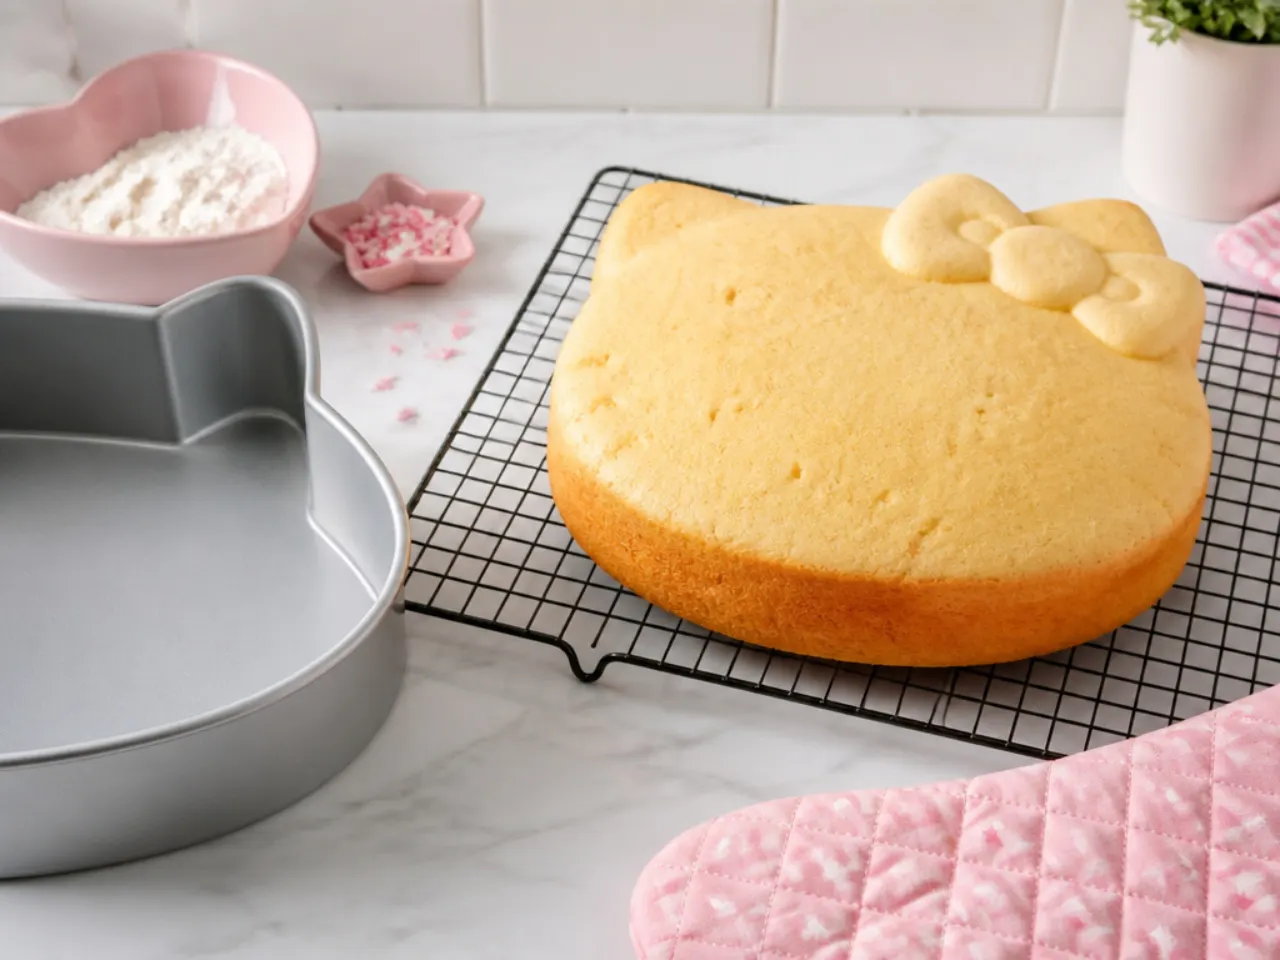
Divide the batter evenly between the two tins, smooth the tops, and bake for 25 minutes, until golden and a skewer inserted in the centre comes out clean. Cool in the tins for 10 minutes, then turn out onto a wire rack, peel off the paper, and cool completely — at least 1 hour before frosting.
Step 6: Make the buttercream
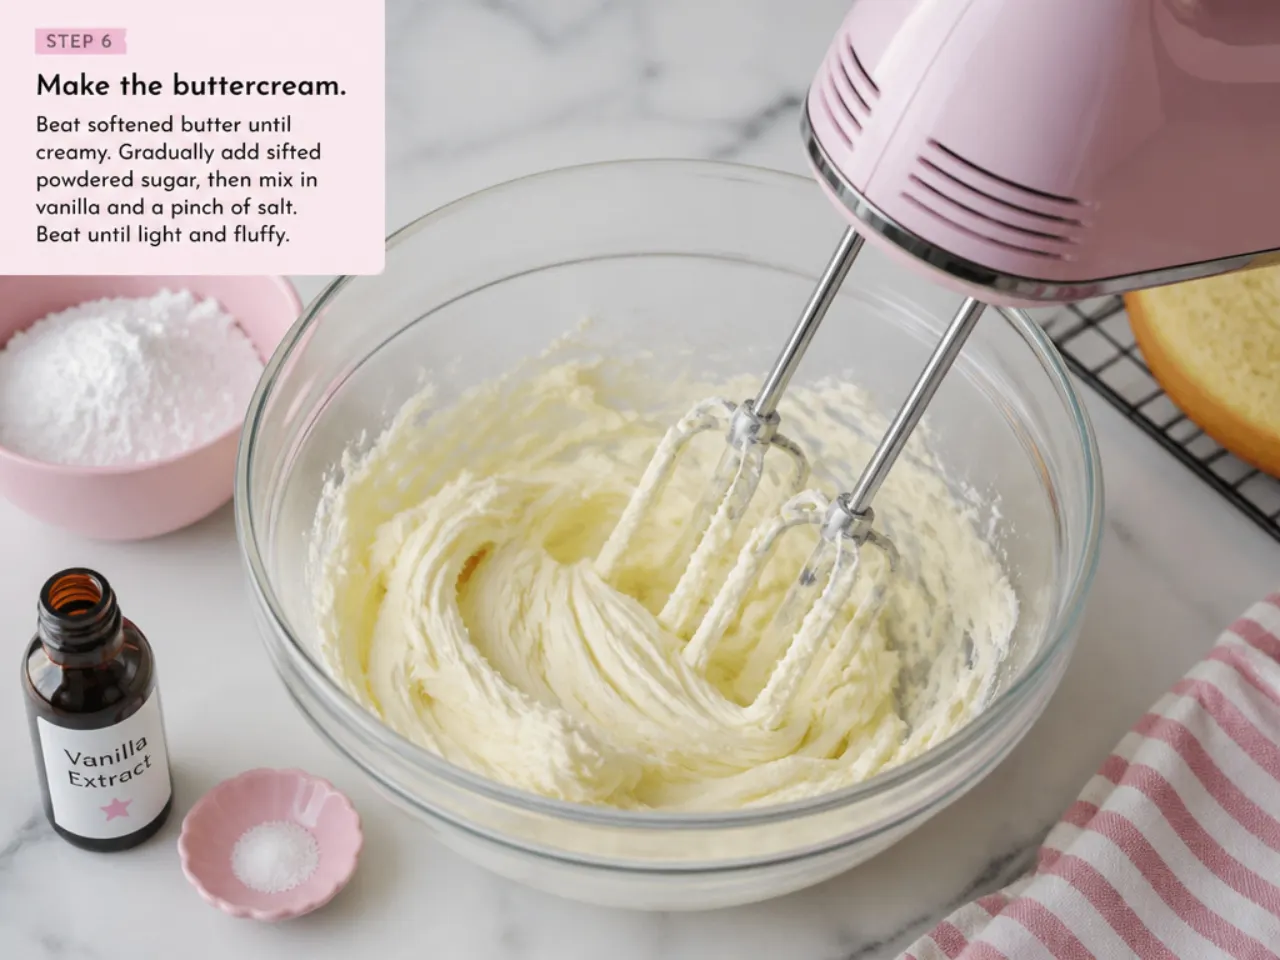
Beat 250g softened butter for 5 minutes until very pale, then add the icing sugar in two additions, beating on low first so it does not cloud the kitchen, then on high for 2 minutes until fluffy. Loosen with 1 to 2 tablespoons of milk if stiff. Set aside two-thirds white and tint the rest pale pink with a small amount of gel colour.
Step 7: Stack, crumb coat, and decorate
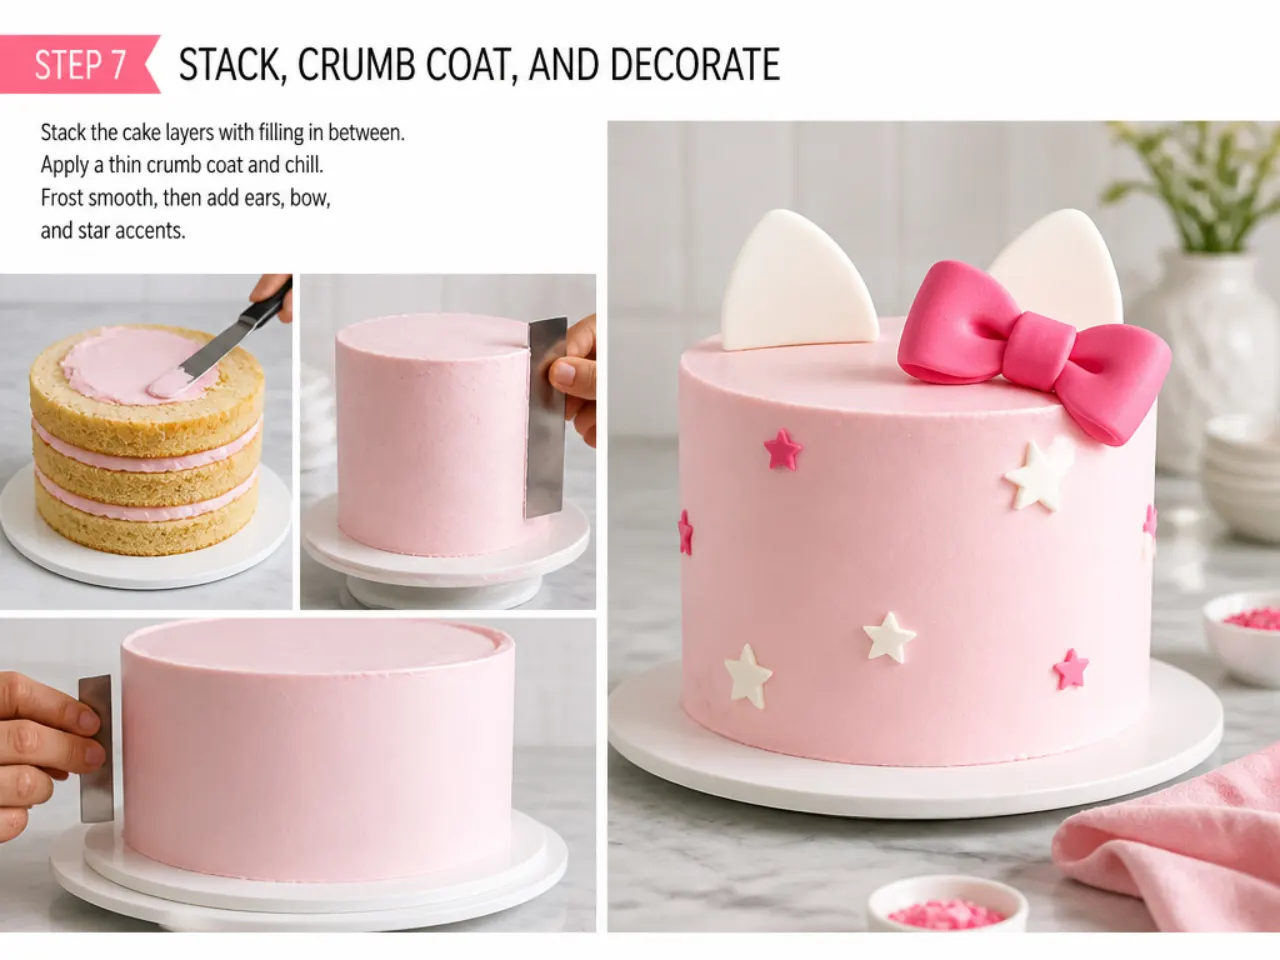
Level the sponges if domed, sandwich them with a layer of white buttercream, then spread a thin crumb coat over the whole cake and chill for 30 minutes. Apply the final coat of white buttercream, smoothing the sides with a scraper. Finish with your chosen design from the list — at its simplest, a red fondant bow placed off-centre on top and a piped pink shell border around the base with a Wilton 21 tip.
Frequently Asked Questions
No. Every design in this list works with standard 20cm (8 inch) round tins or a 23x33cm (9x13 inch) tray. If you want a shaped cake, bake a tray sponge, freeze it for 30 minutes, then cut around a printed paper template with a serrated knife — the freeze stops the sponge crumbling as you cut. Specialty character pans exist but cost more and only do one job.
Save this for later 📌
Pin this article to your Pinterest board so the full list is one tap away when you need it.
Save on Pinterest