20 Easy Mongolian Beef Recipes for Dinner
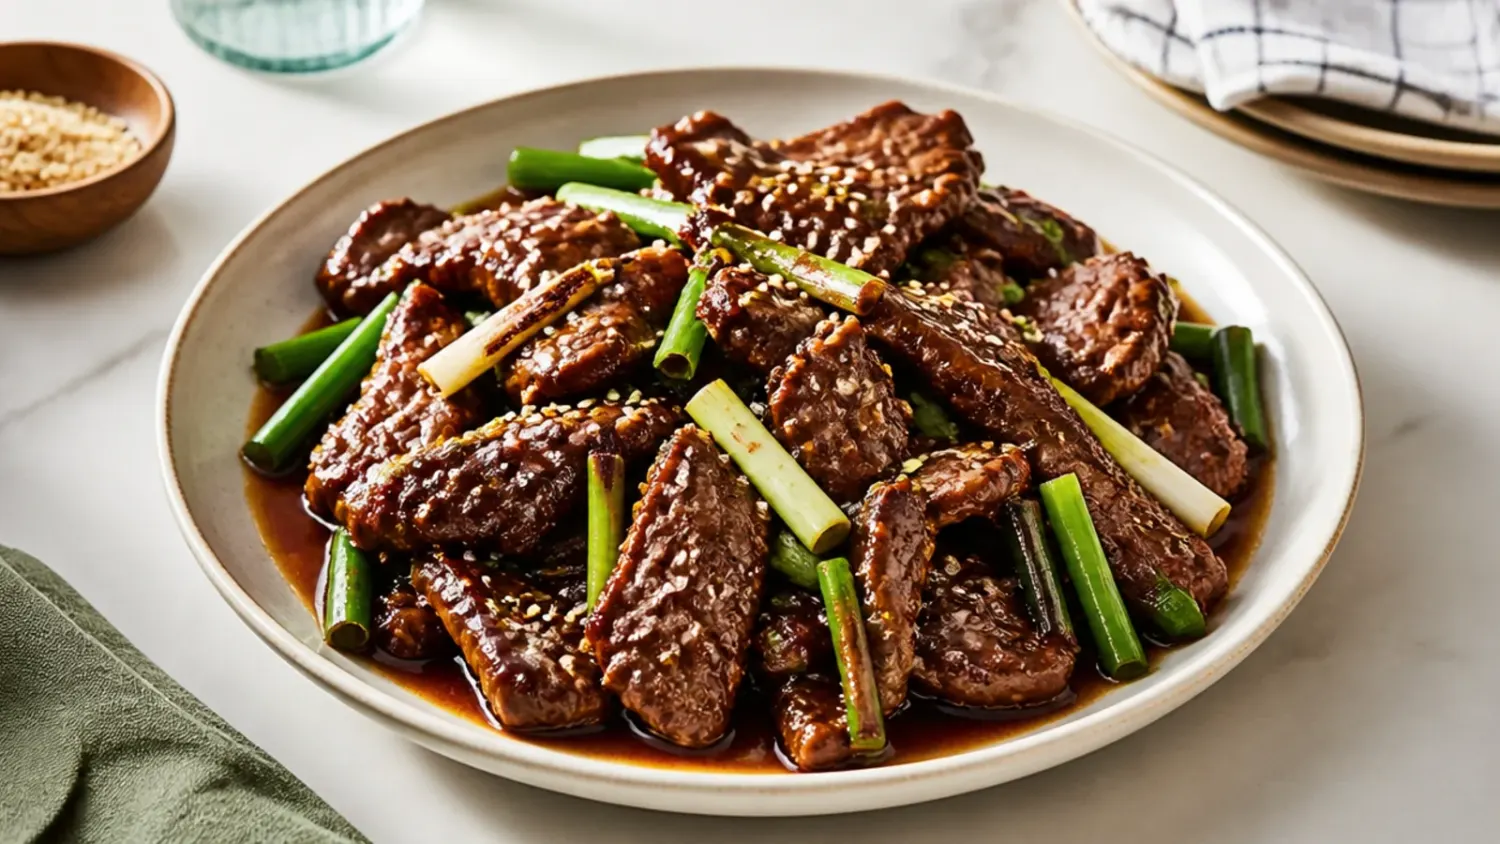
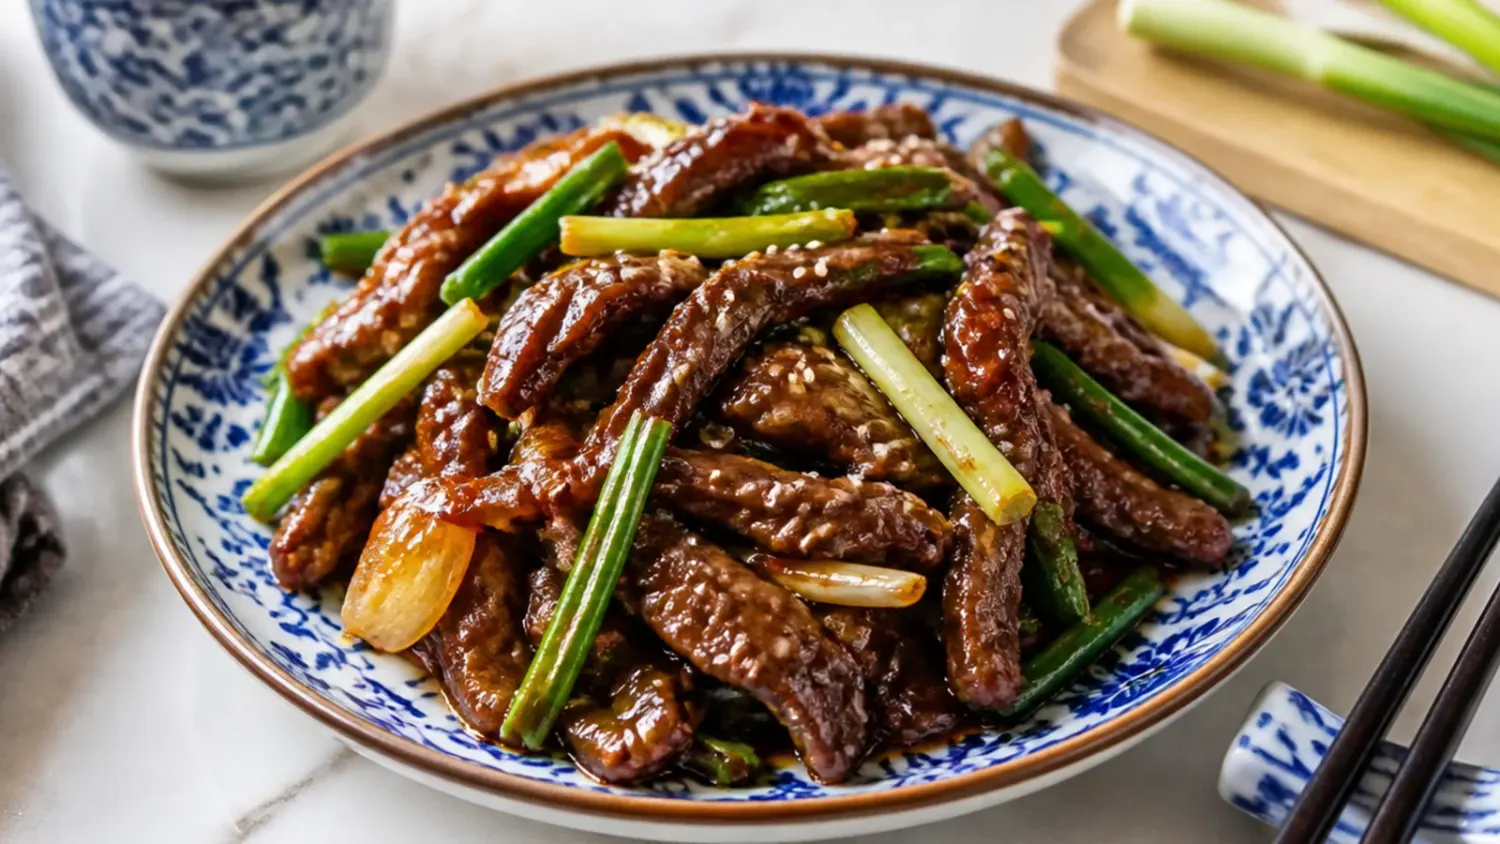
Twenty easy Mongolian beef recipes for dinner: crispy classic flank steak, slow cooker, air fryer and noodle versions, most ready in 30 minutes. If you love mongolian beef recipe inspiration, start with our Mongolian Beef Recipes collection, then browse the full Dinner Recipes hub for more.

Save this for later 📌
Pin this article to your Pinterest board so the full list is one tap away when you need it.
Save on PinterestDinner Recipes
Beginner
Recipes
20 ideas
Table of Contents
- Why You'll Love These
- 1. Classic P.F. Chang's-Style Mongolian Beef
- 2. 15-Minute One-Skillet Mongolian Beef
- 3. Mongolian Ground Beef Rice Bowls
- 4. Slow Cooker Mongolian Beef
- 5. Instant Pot Mongolian Beef
- 6. Mongolian Beef Udon Noodles
- 7. Mongolian Beef and Broccoli
- 8. Air Fryer Crispy Mongolian Beef
- 9. Mongolian Beef Lettuce Wraps
- 10. Sheet Pan Mongolian Beef with Peppers
- 11. Extra-Crispy Double-Fried Mongolian Beef
- 12. Gluten-Free Tamari Mongolian Beef
- 13. Lighter Low-Sugar Mongolian Beef
- 14. Spicy Chilli-Garlic Mongolian Beef
- 15. Mongolian Beef Fried Rice
- 16. Mongolian Beef Ramen
- 17. Honey-Ginger Mongolian Beef
- 18. Mongolian Beef Meal-Prep Bowls
- 19. Mongolian Beef Tacos
- 20. Freezer-Bag Mongolian Beef Kit
- Pro Tips
- Serving Suggestions
- Storage and Reheating
Why You'll Love These
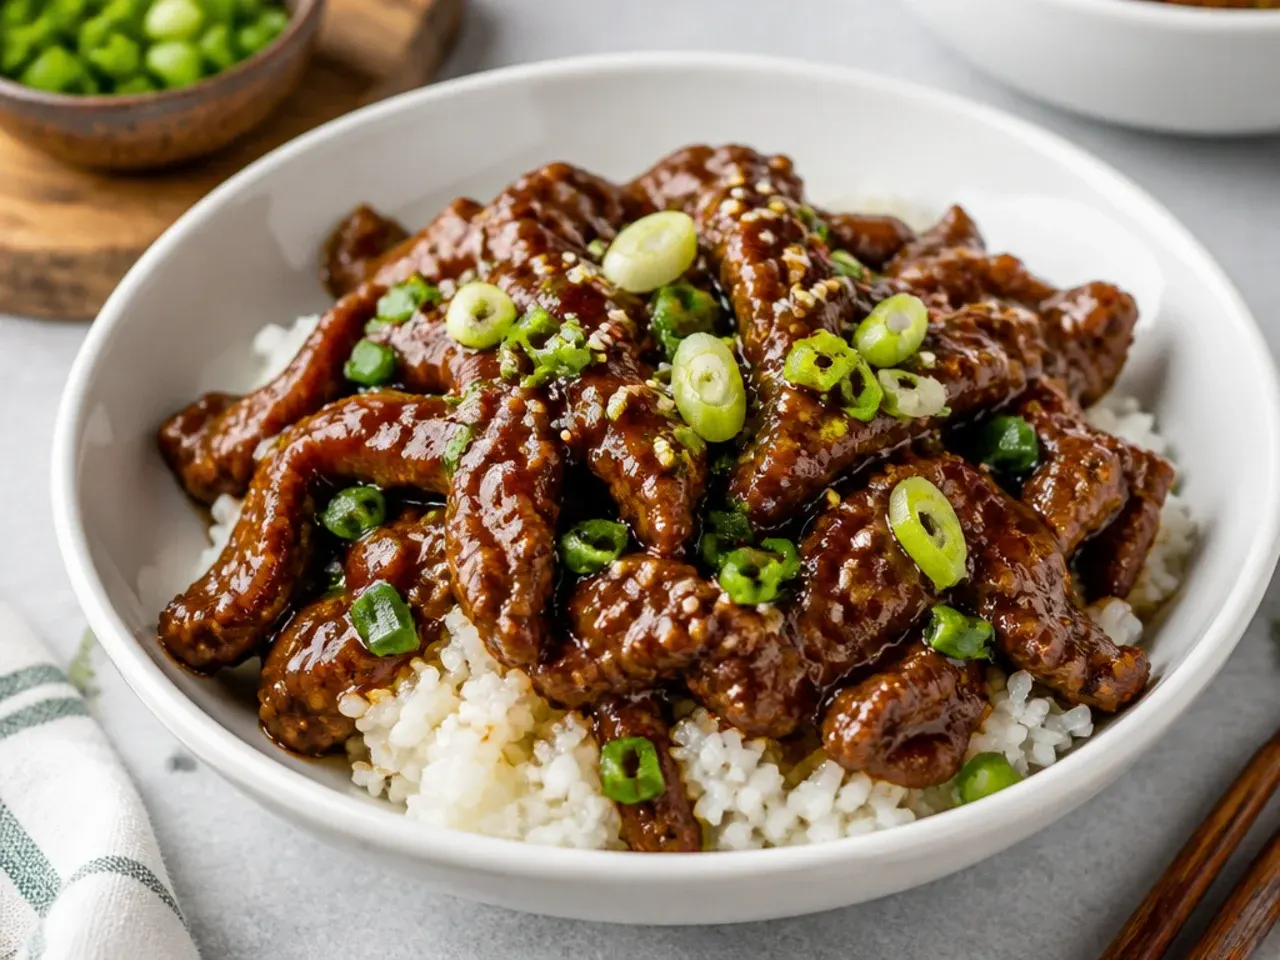
Mongolian beef is one of the fastest takeaway dishes to fake at home: thin slices of flank steak get a light cornstarch crust, a quick sear, and a glossy sauce built from just soy sauce, brown sugar, garlic and ginger. The base recipe below goes from chopping board to table in about 30 minutes, and 680 g (1 1/2 lb) of steak feeds four people for roughly half the price of a restaurant order. Every idea in this list builds on that same recipe, so once you have made it once, you can switch to the slow cooker, air fryer, ground beef or noodle versions without learning anything new. There are also make-ahead angles most roundups skip, like a freezer-bag kit and meal-prep bowls, so a busy week does not knock this off the menu.
1. Classic P.F. Chang's-Style Mongolian Beef
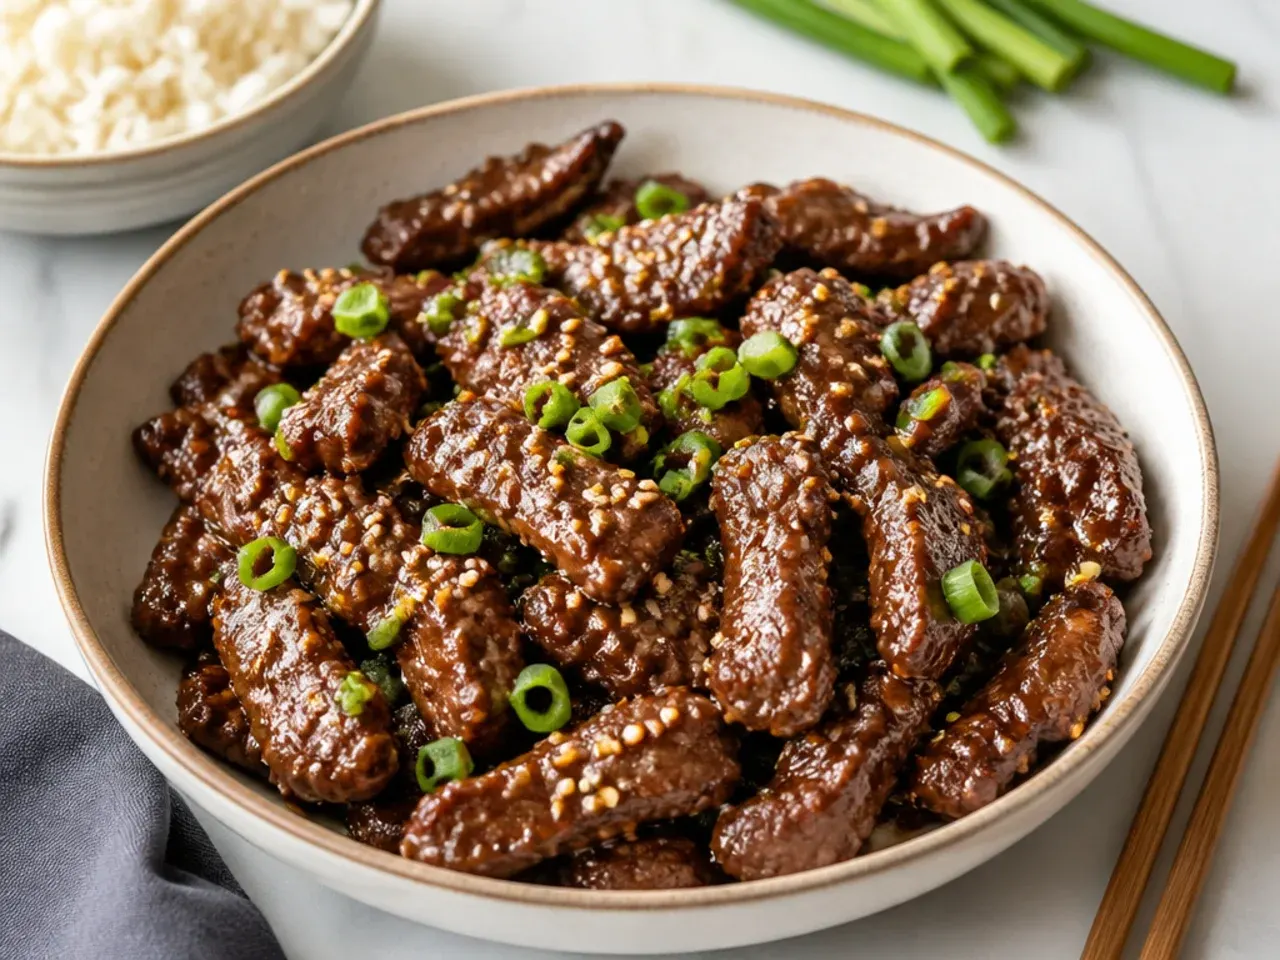
This is the copycat everyone searches for: crispy-edged flank steak in a sweet soy glaze that clings to every slice. Shallow-fry the cornstarch-coated strips in about 150 ml (2/3 cup) of vegetable oil heated to 190°C (375°F), one minute per side, so the coating sets into a crust before the sauce hits it. Pour off all but a tablespoon of oil, bloom the garlic and ginger, then simmer the sauce two minutes and toss the beef back in for one final minute. The cornstarch crust is what makes it work, as it soaks up the glaze without going soggy. Serve immediately over jasmine rice while the edges are still crisp.
2. 15-Minute One-Skillet Mongolian Beef
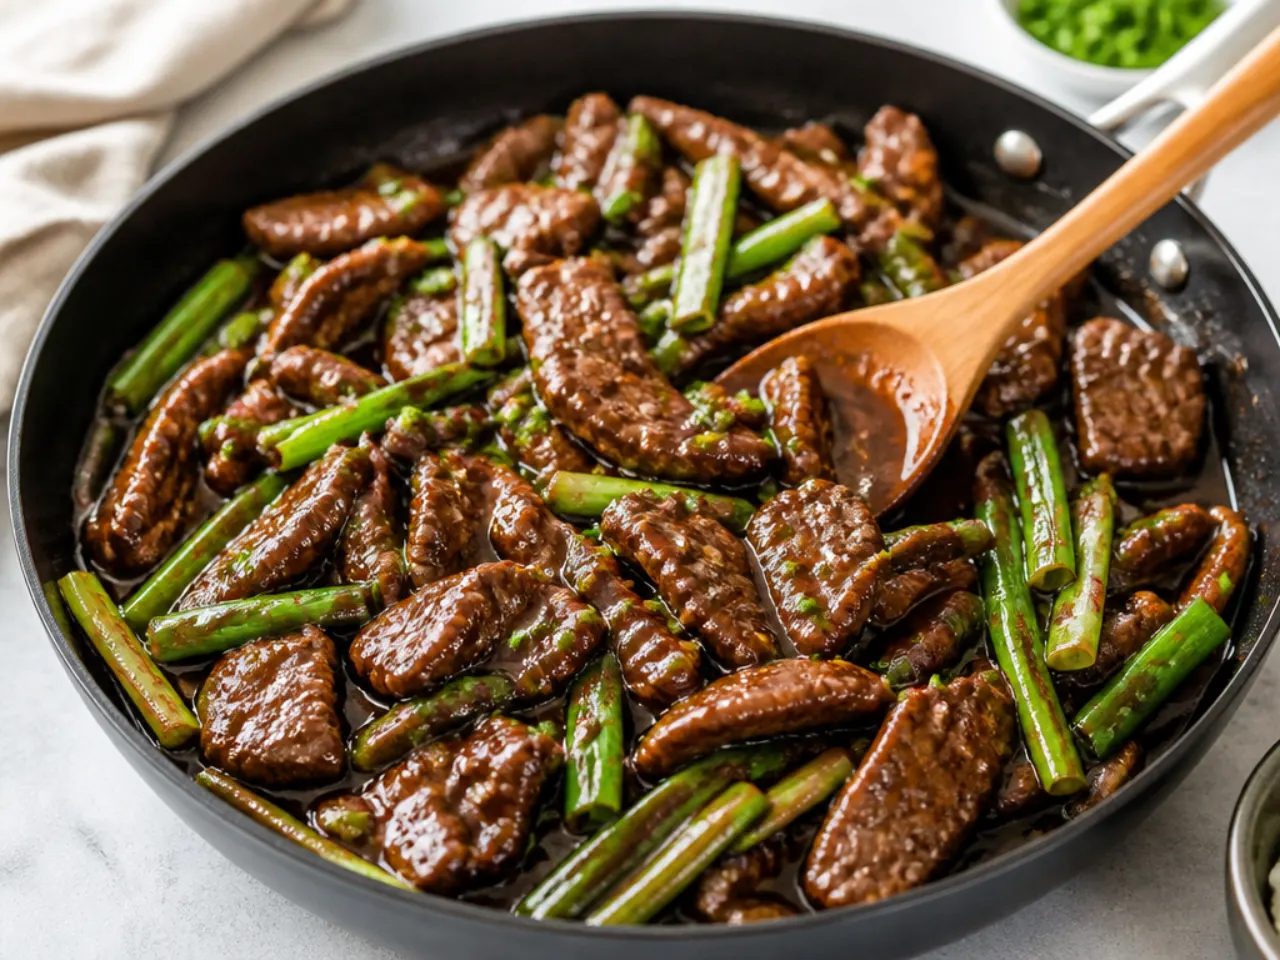
When you cannot face shallow-frying on a Tuesday, this pared-back version uses just 3 tablespoons of oil in a very hot skillet. Sear the coated beef in two batches, about 60 seconds per side, so the pan stays screaming hot and the meat browns instead of steaming. Then pour the sauce straight into the same pan, boil it for two minutes until it coats the back of a spoon, and return the beef. You lose a little crunch compared to the deep-fried classic, but you save a pan of oil and about ten minutes. It is the version to memorise for weeknights.
3. Mongolian Ground Beef Rice Bowls
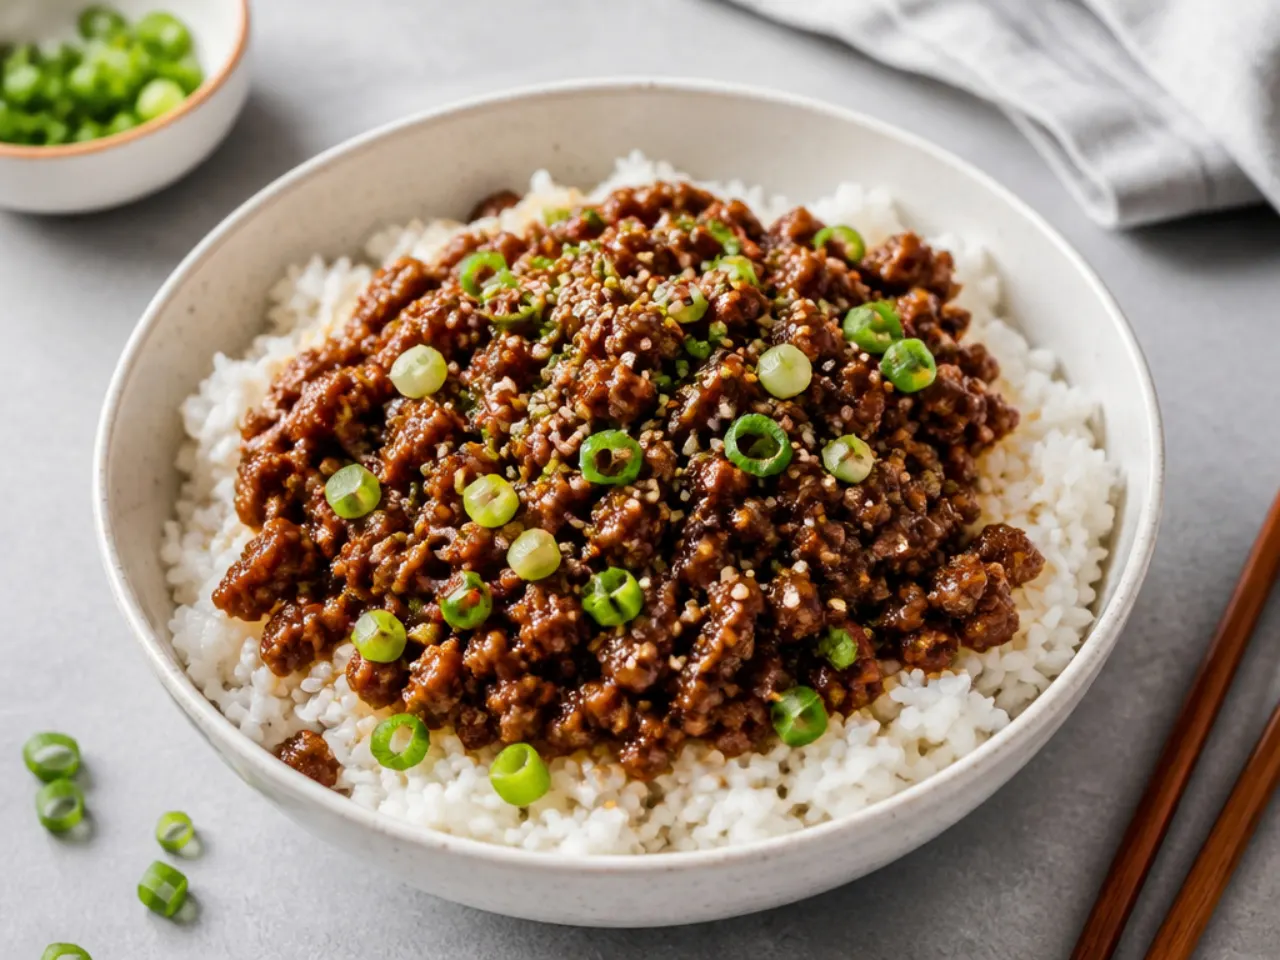
Swap the flank steak for 500 g (about 1 lb) of beef mince and you skip all the slicing and coating. Brown the mince over medium-high heat for 5 to 6 minutes, drain the excess fat, then stir in about two-thirds of the base sauce and simmer 3 minutes until it turns glossy. It costs a fraction of steak and kids tend to prefer the texture. Spoon over rice, top with sliced spring onions and sesame seeds, and dinner is done in under 20 minutes. This is the cheapest way to get the Mongolian beef flavour on the table.
4. Slow Cooker Mongolian Beef
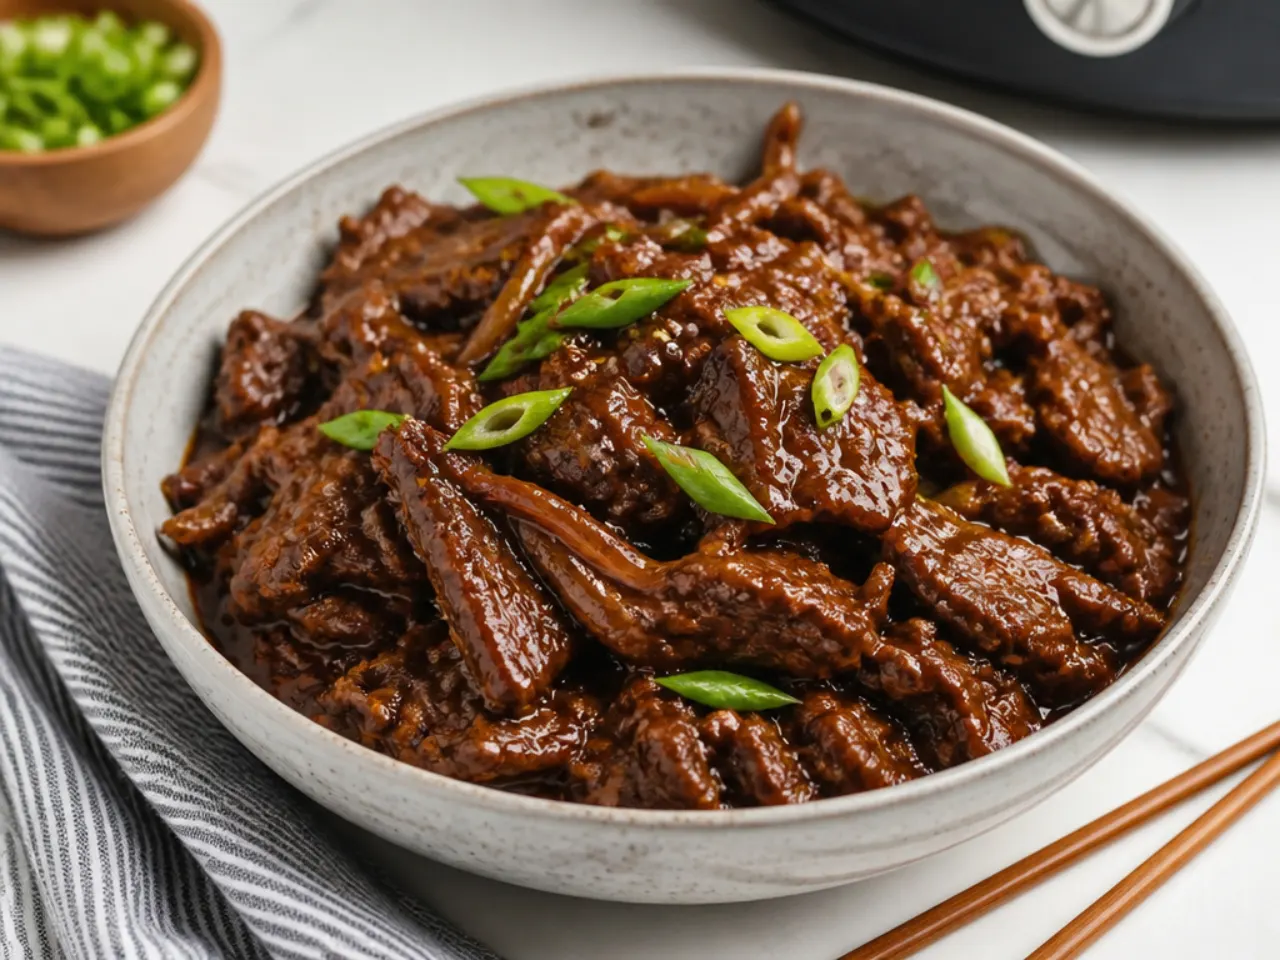
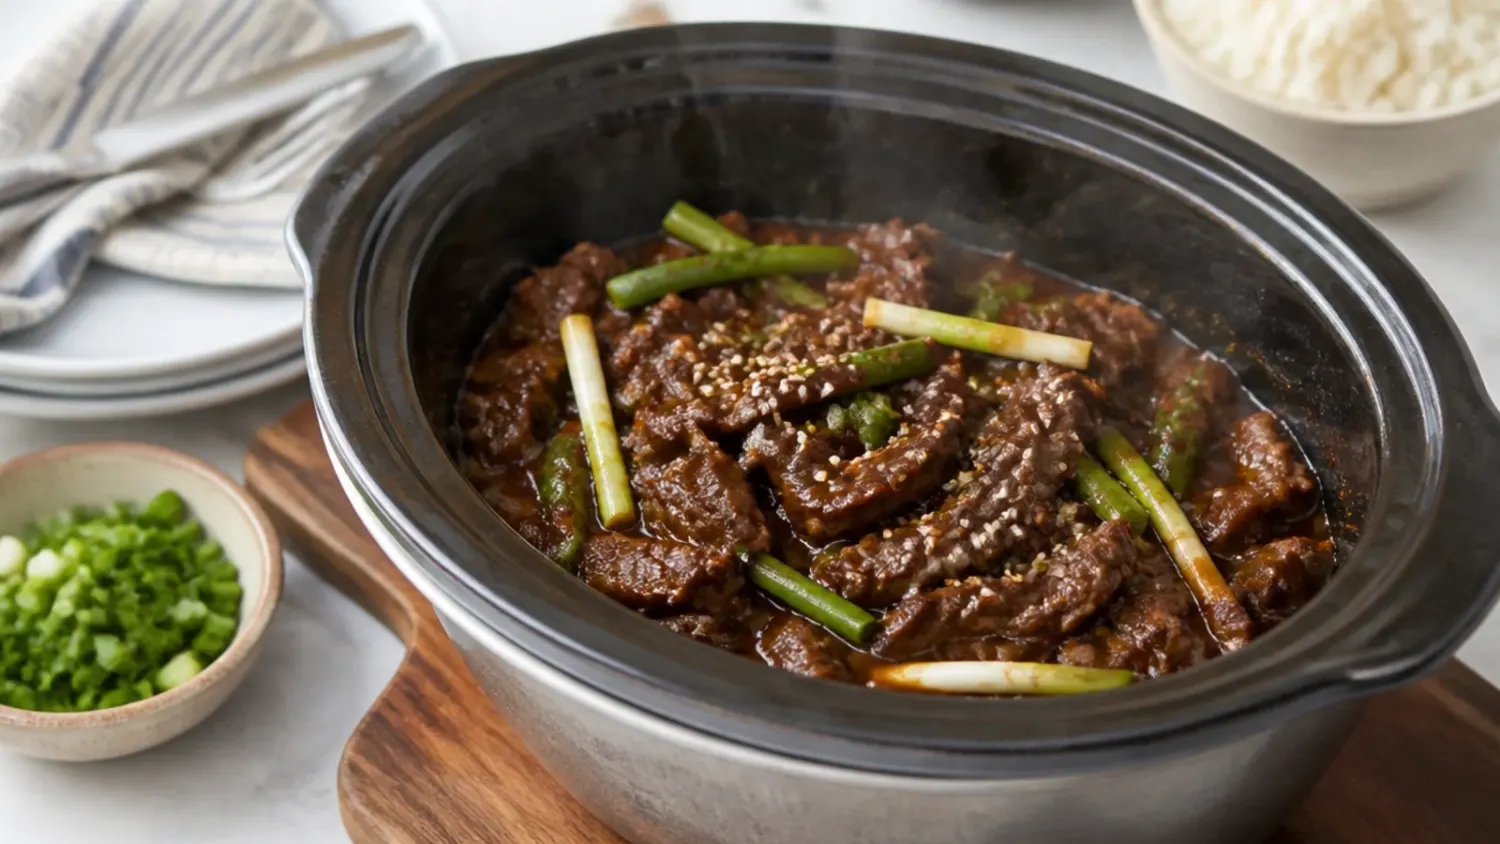
This is the dump-and-go option for days when the evening is chaos. Toss the sliced flank steak in the cornstarch as usual, then add it to the slow cooker with the full quantity of sauce and cook on LOW for 4 to 5 hours or HIGH for 2 to 3 hours. The cornstarch thickens the sauce as it cooks and the beef turns fork-tender rather than crispy, closer to a braise than a stir fry. Stir in the spring onions for the last 10 minutes so they keep some bite. If the sauce looks thin at the end, stir in a slurry of 1 tablespoon cornstarch and 2 tablespoons cold water and cook on HIGH for 10 more minutes.
5. Instant Pot Mongolian Beef
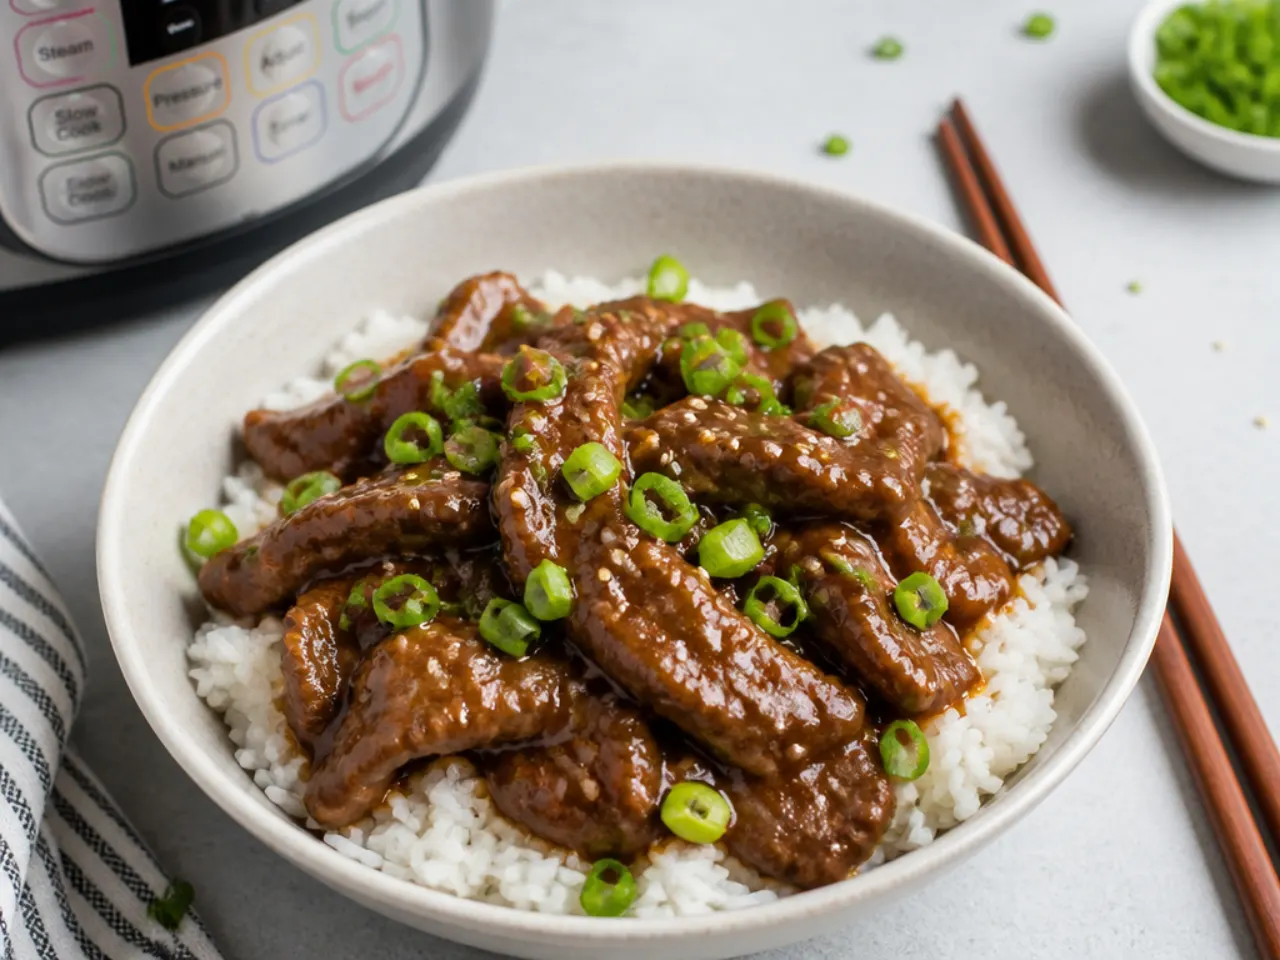
The pressure cooker splits the difference between slow cooker convenience and weeknight speed. Sear the beef strips on the sauté setting for 2 minutes, add the sauce plus an extra 120 ml (1/2 cup) of water so the pot can come to pressure, then cook on HIGH pressure for 10 minutes with a quick release. Thicken afterwards on sauté mode with a slurry of 1 tablespoon cornstarch and 2 tablespoons water, stirring for about 2 minutes until glossy. Total hands-on time is around 15 minutes, and the beef comes out melt-in-the-mouth tender. It also scales up easily if you double the recipe for a crowd.
Save this for later 📌
Pin this article to your Pinterest board so the full list is one tap away when you need it.
Save on Pinterest6. Mongolian Beef Udon Noodles
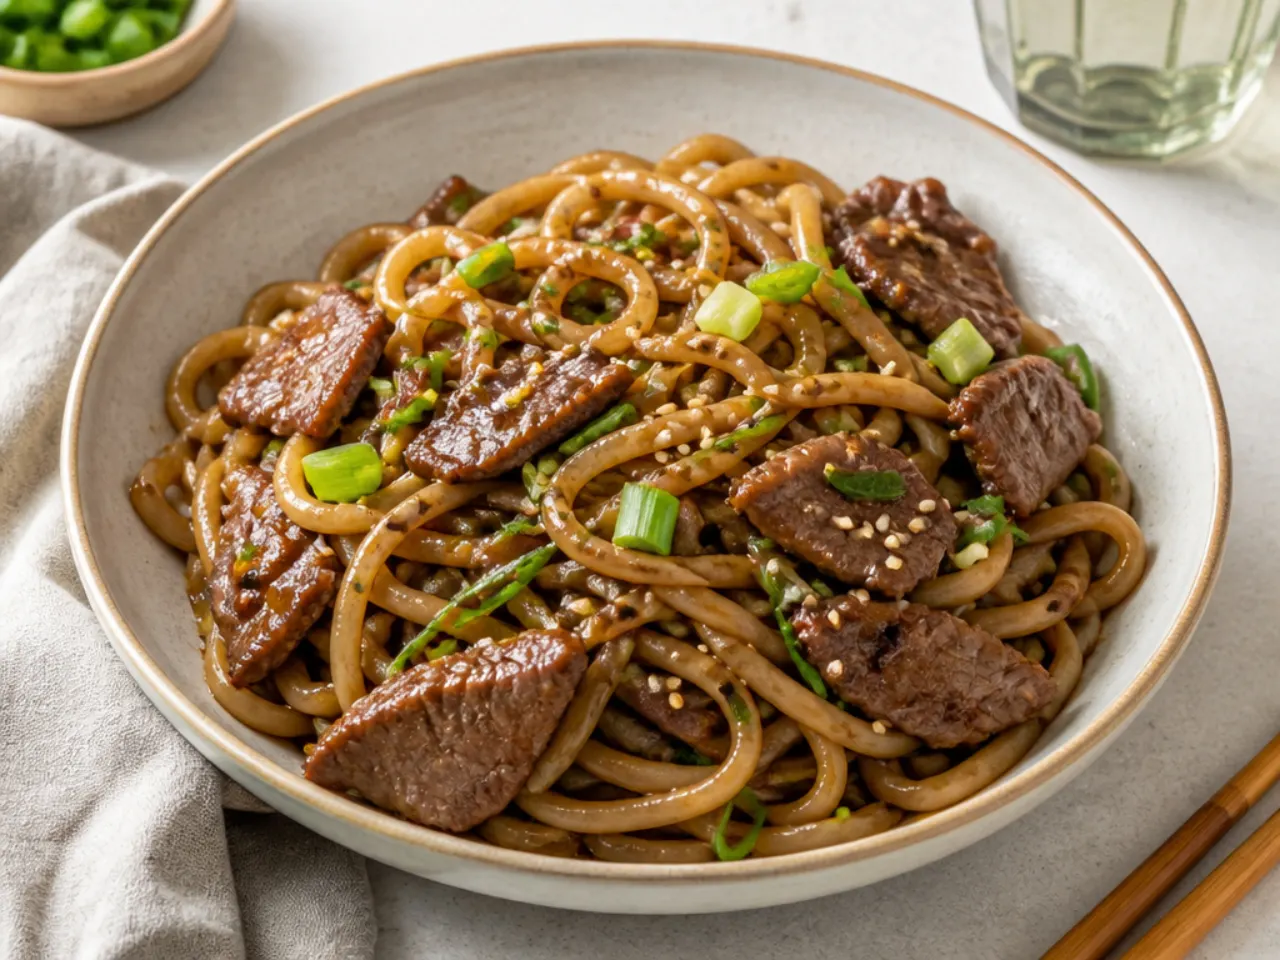
Turning the dish into a noodle stir fry makes it a complete one-bowl dinner. Increase the water in the sauce to 180 ml (3/4 cup) so there is enough glaze to coat 400 g of cooked udon or lo mein noodles as well as the beef. Cook the beef as in the base recipe, add the sauce and noodles to the pan together, and toss over high heat for 2 minutes so the noodles pick up colour and flavour. Thick, chewy udon holds up best, but dried egg noodles boiled one minute short of the packet time work fine too. Finish with a drizzle of toasted sesame oil off the heat.
7. Mongolian Beef and Broccoli
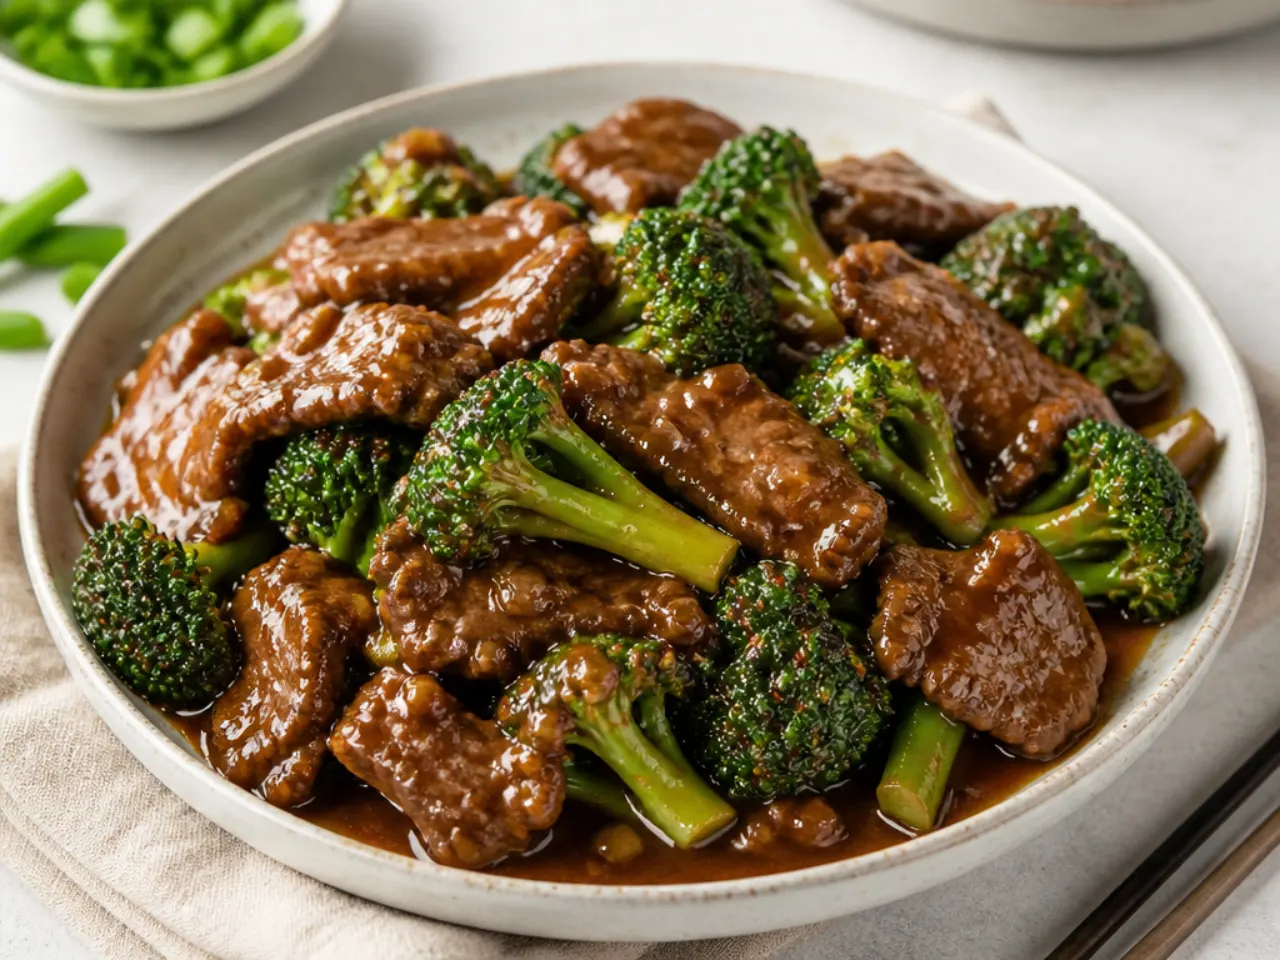
Adding broccoli stretches the meat further and gets vegetables into the same pan. Blanch 300 g of broccoli florets in boiling water for 2 minutes, or steam them in the microwave for 3 minutes, so they are just tender before they meet the sauce. Add them to the pan in the final toss with the seared beef so they glaze without overcooking. The florets act like little sponges for the sweet soy sauce, which is why this combination is a takeaway staple. Sliced red pepper or mangetout can join the broccoli with no other changes to the recipe.
8. Air Fryer Crispy Mongolian Beef
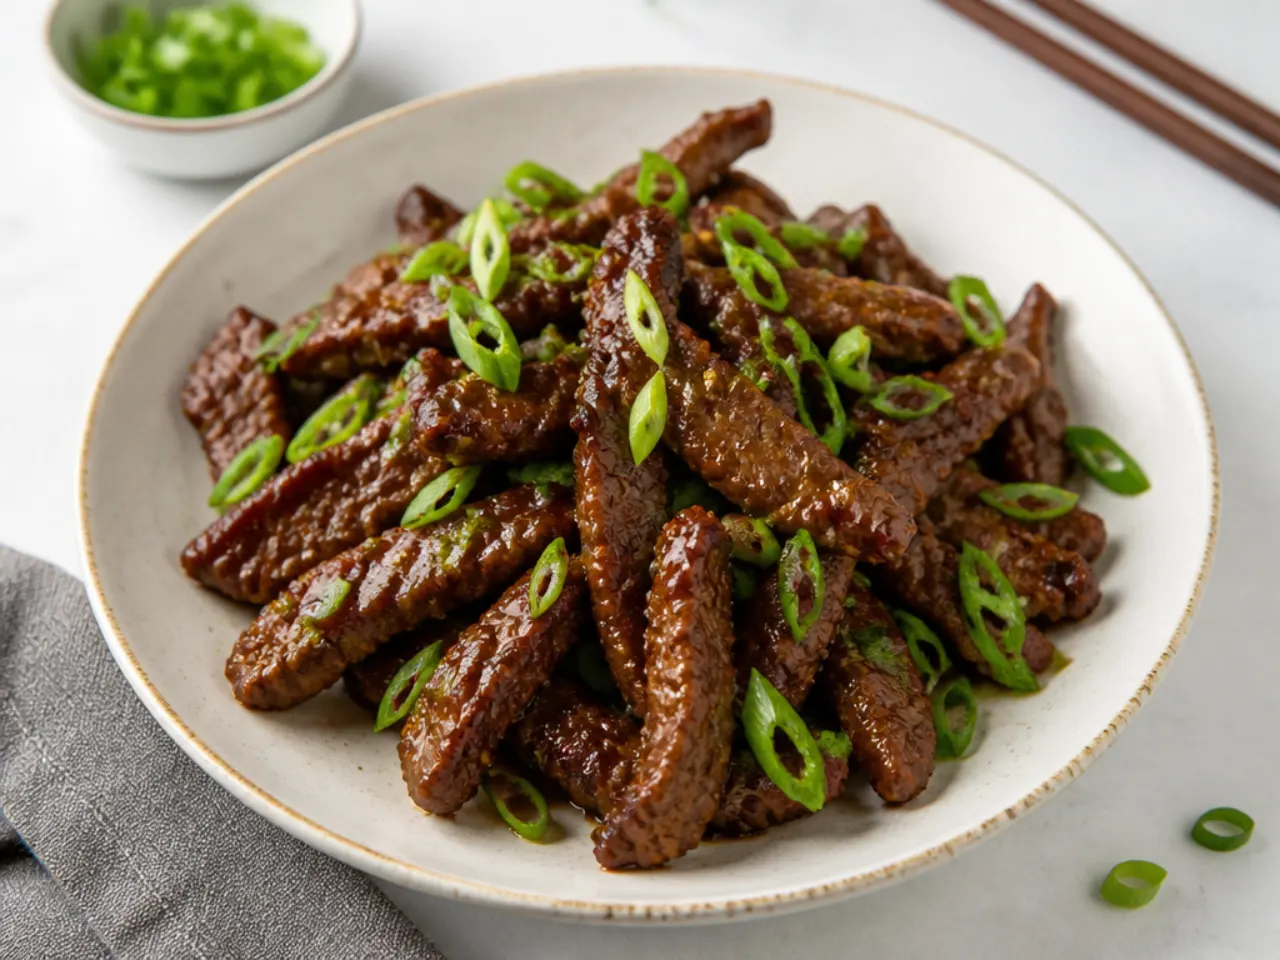
You can get a genuinely crisp coating with a fraction of the oil. Toss the cornstarch-coated strips with 1 tablespoon of oil, spread them in a single layer in the basket, and air fry at 200°C (400°F) for 8 to 10 minutes, shaking the basket halfway. Meanwhile simmer the sauce in a small saucepan for 2 to 3 minutes until slightly thickened, then toss the hot crispy beef through it just before serving. Because the beef never sits in the sauce over heat, the crust stays crunchier than the skillet version. Work in two batches if your basket is small, since crowding makes the strips steam.
9. Mongolian Beef Lettuce Wraps
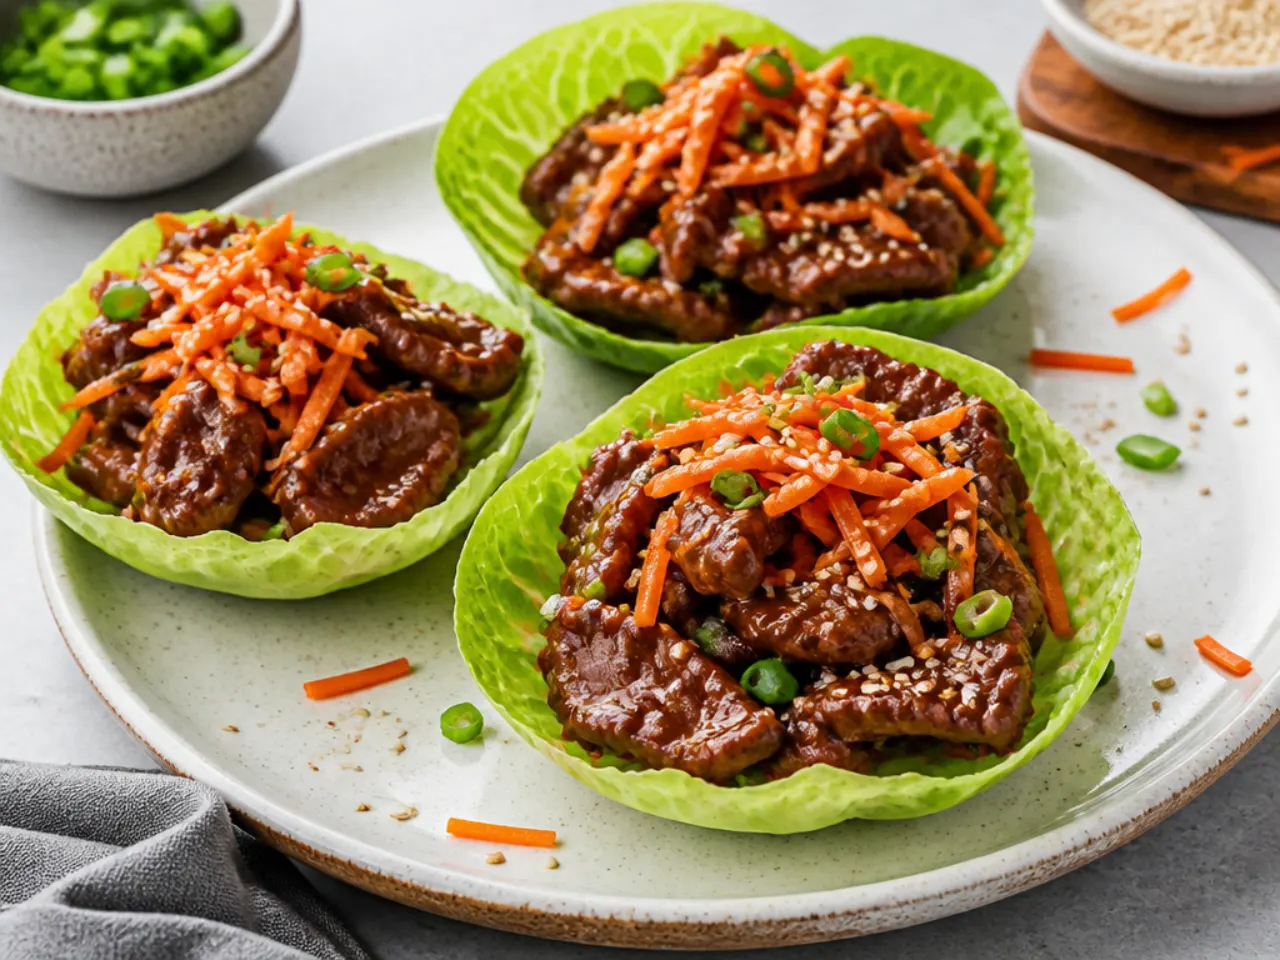
For a lighter, low-carb dinner, serve the beef in lettuce cups instead of over rice. Chop the cooked beef into rough 2 cm pieces so it sits neatly in the leaves, and reduce the sauce an extra minute so it is thick enough not to drip. Little Gem, butterhead or iceberg leaves all work; keep them in iced water until serving so they stay crisp against the hot filling. Top each wrap with shredded carrot, sliced spring onion and a scatter of sesame seeds for crunch. A batch makes about 12 wraps, which also makes this a good sharing starter.
10. Sheet Pan Mongolian Beef with Peppers
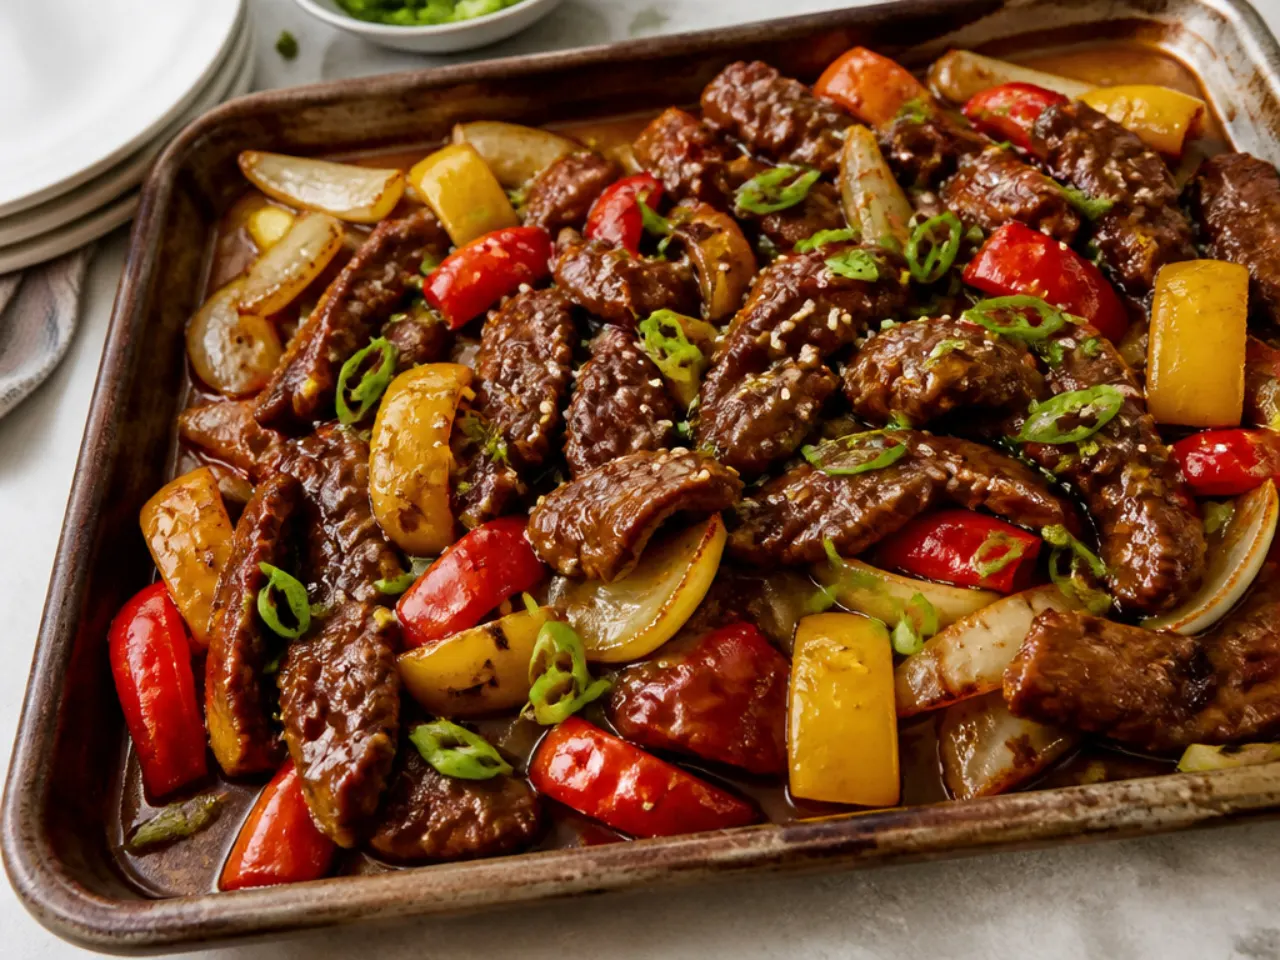
This hands-off version trades the hot skillet for the oven, which most Mongolian beef roundups never mention. Spread the cornstarch-coated strips, 2 sliced peppers and 1 sliced onion on a large oiled baking tray and roast at 220°C (425°F) for 12 to 15 minutes, turning once, until the beef edges brown. Simmer the sauce separately for 3 to 4 minutes until reduced by a third, then pour it over the tray and toss. There is no splatter, no batch cooking, and the oven does the work while you cook rice. It is the easiest way to scale the dish for five or six people.
Save this for later 📌
Pin this article to your Pinterest board so the full list is one tap away when you need it.
Save on Pinterest11. Extra-Crispy Double-Fried Mongolian Beef
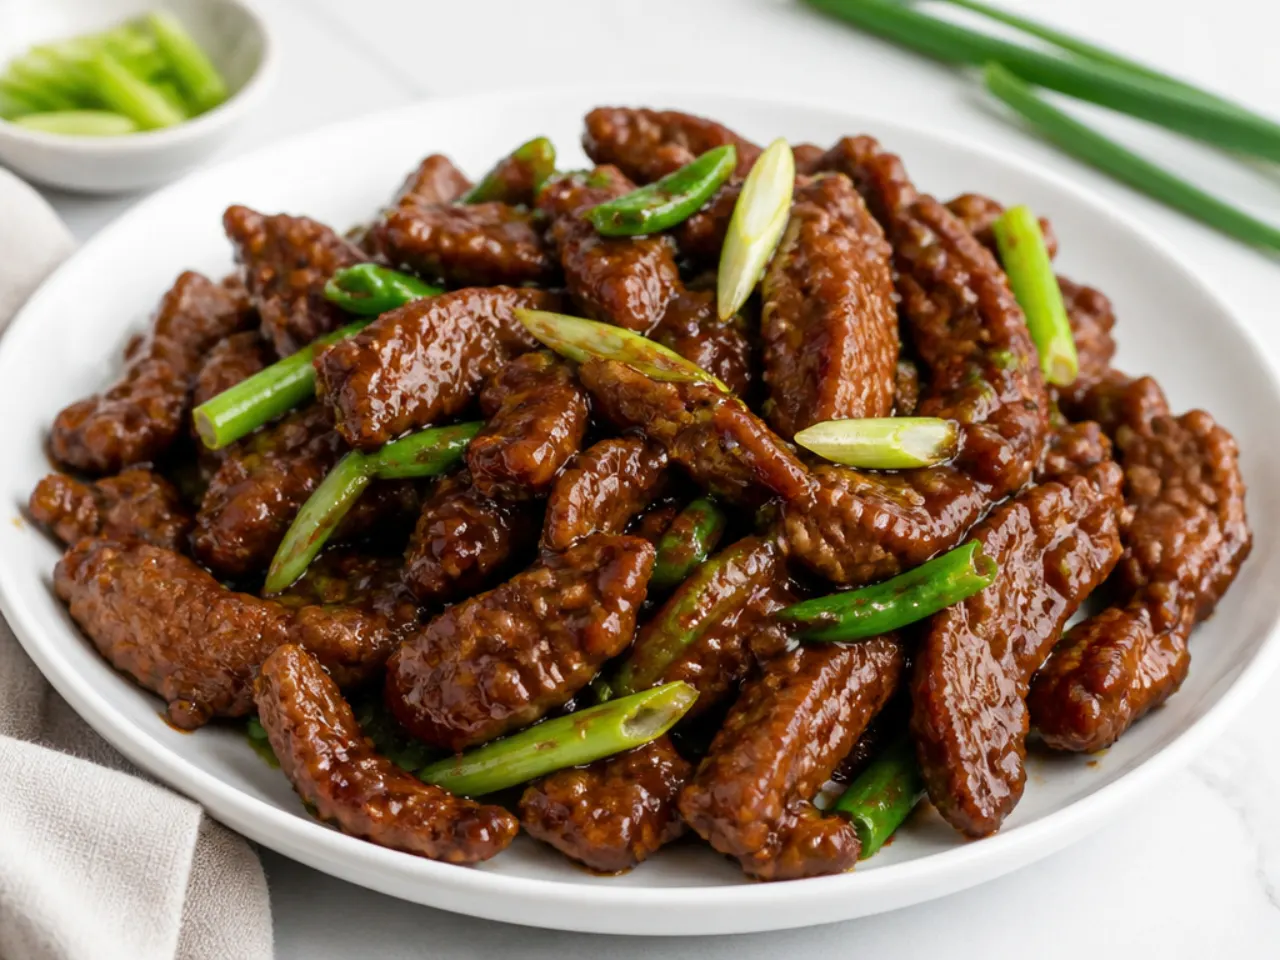
Double frying is the restaurant trick for a crust that survives the sauce. Fry the coated strips at 175°C (350°F) for one minute, lift them out and rest them on a rack for five minutes, then return them to the oil at 190°C (375°F) for 30 to 60 seconds until deeply golden. The rest lets moisture escape from the coating, so the second fry sets a shell that stays crackly even after tossing in the glaze. Use a thermometer if you have one; if not, a cube of bread should brown in about 20 seconds at the higher temperature. Save this version for weekends when you want proper takeaway crunch.
12. Gluten-Free Tamari Mongolian Beef
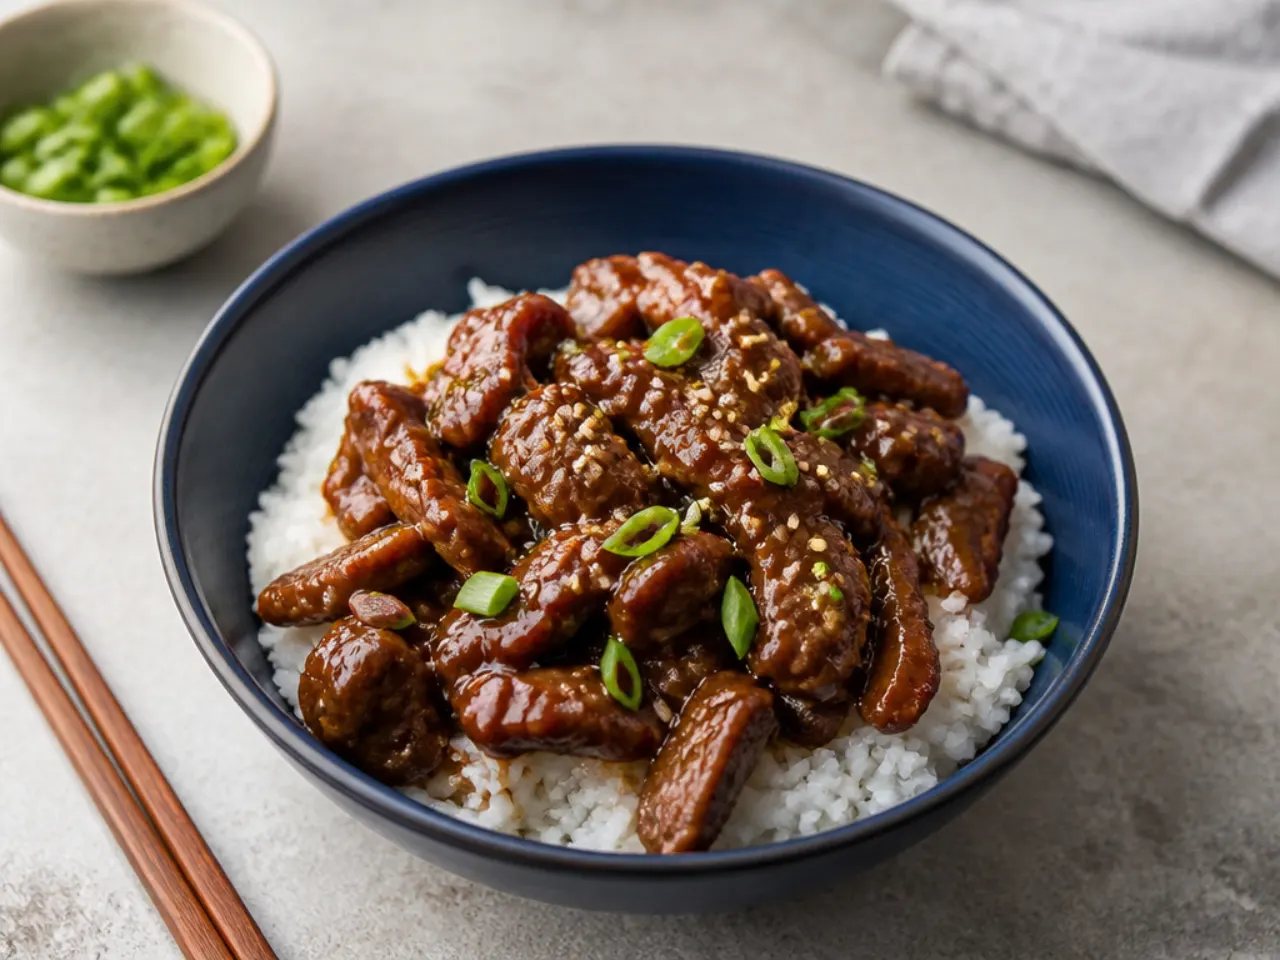
The dish is nearly gluten-free already, so only two swaps are needed. Replace the soy sauce with tamari measure for measure, and check your cornstarch packet for a certified gluten-free label, since some brands are milled alongside wheat flour. Tamari tastes slightly deeper and saltier than light soy sauce, so taste the finished sauce and loosen it with a tablespoon of water if it seems strong. Everything else, including timings, temperatures and the cornstarch coating, stays exactly the same. Coconut aminos also work for a soy-free version, though you should cut the brown sugar by a third because aminos are sweeter.
13. Lighter Low-Sugar Mongolian Beef
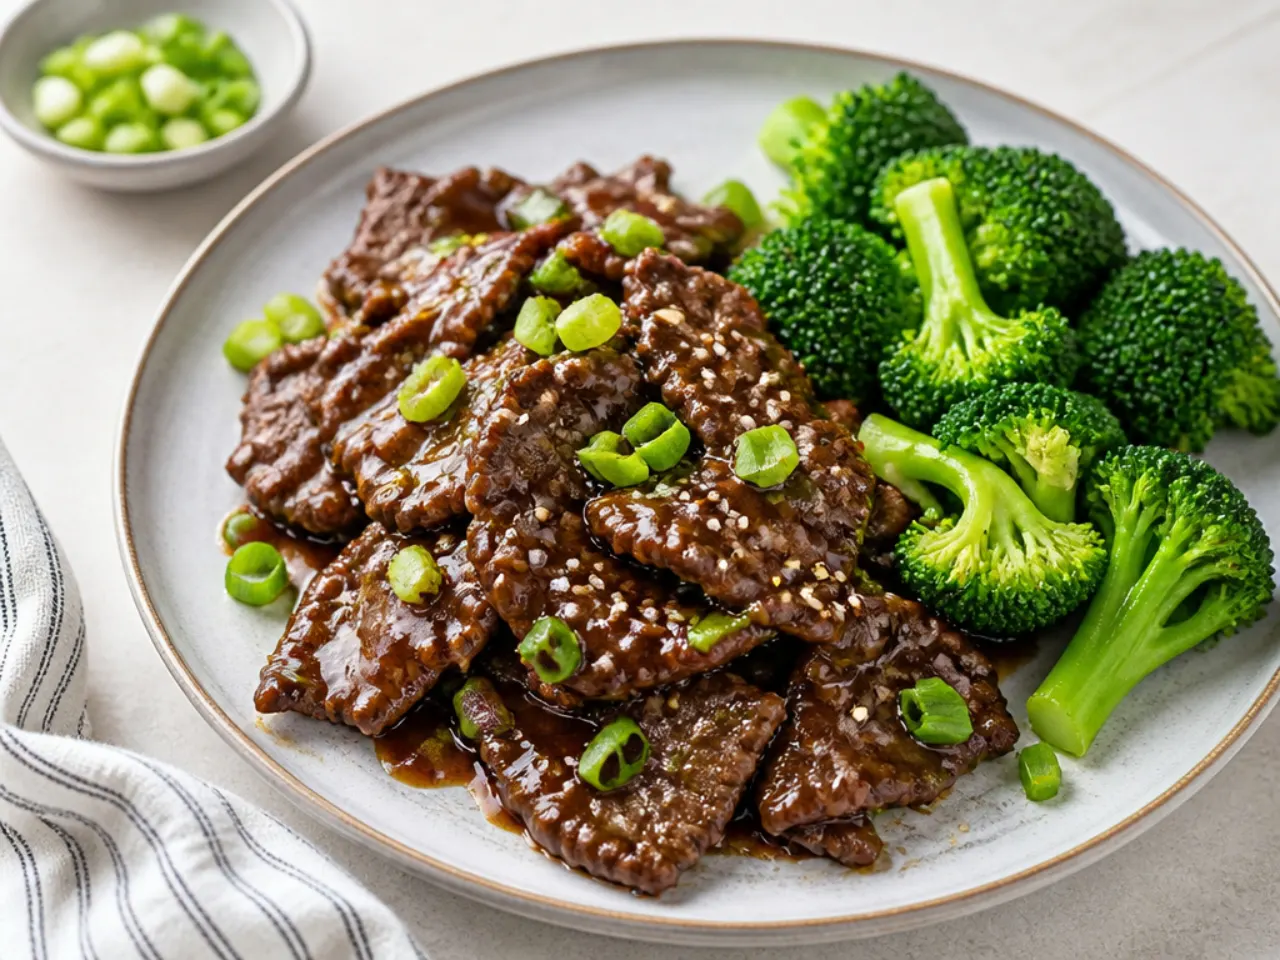
Restaurant Mongolian beef is famously sweet, but you can halve the sugar without losing the character of the dish. Cut the brown sugar to 50 g (1/4 cup), use low-sodium soy sauce, and cook in a nonstick pan with just 1 tablespoon of oil rather than shallow-frying. Because there is less sugar to thicken the glaze, stir in a slurry of 2 teaspoons cornstarch and 1 tablespoon water at the end and simmer one minute so the sauce still clings. The Woks of Life takes a similar less-sweet approach and it tastes more balanced, letting the ginger and garlic come forward. You save roughly 100 calories per serving compared with the classic.
14. Spicy Chilli-Garlic Mongolian Beef
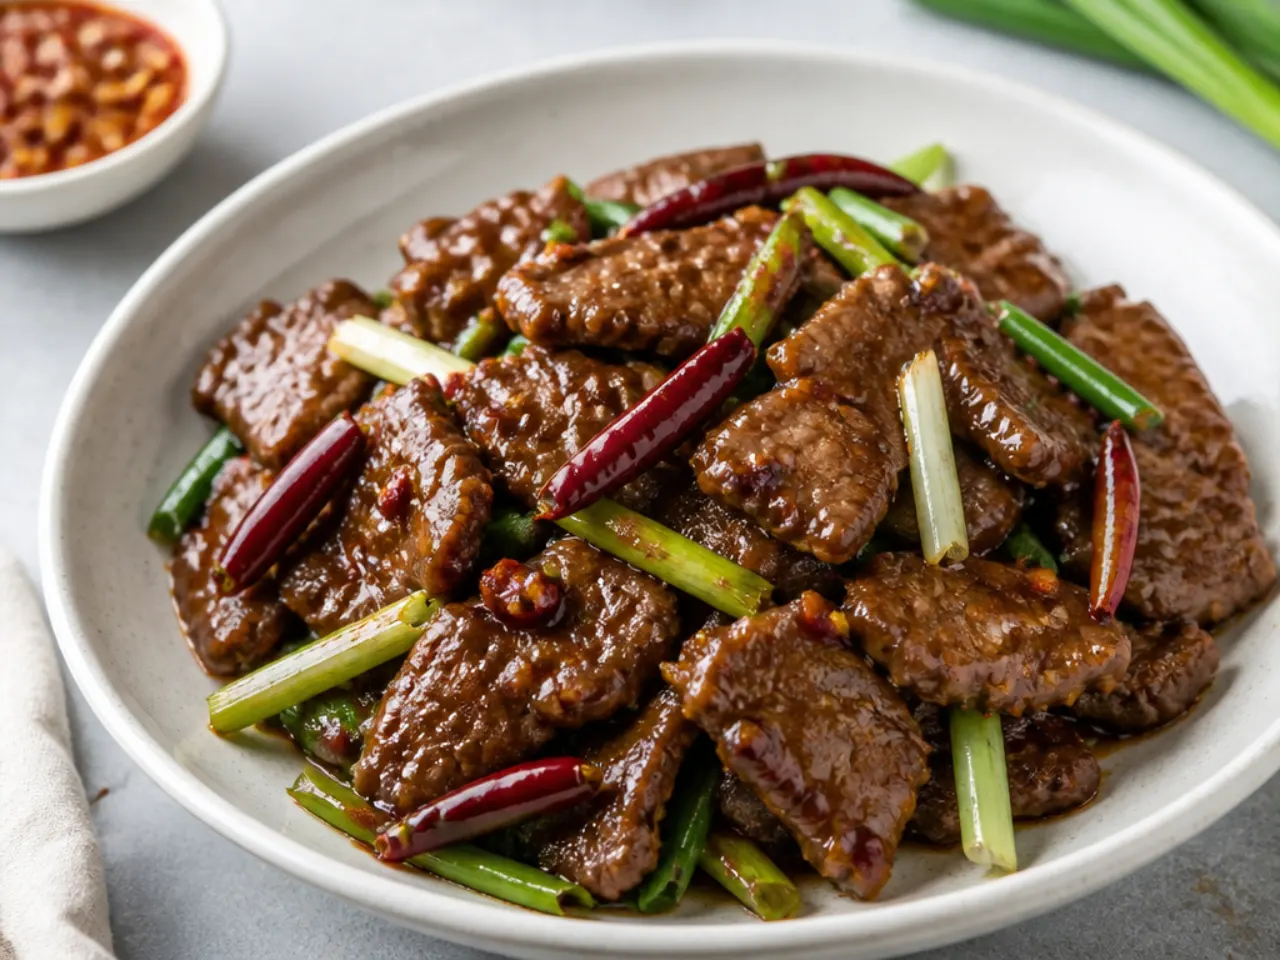
Traditional versions are mild, so this one is for heat lovers. Add 6 to 8 whole dried red chillies to the pan with the garlic and ginger for 15 seconds before the sauce goes in, and stir 1 tablespoon of chilli-garlic sauce or sriracha into the sauce mix. Whole chillies perfume the oil gently; snap two or three in half if you want real fire, since the seeds carry most of the heat. A pinch of red pepper flakes at the table lets everyone adjust their own plate. The sweetness of the brown sugar keeps the heat rounded rather than harsh.
15. Mongolian Beef Fried Rice
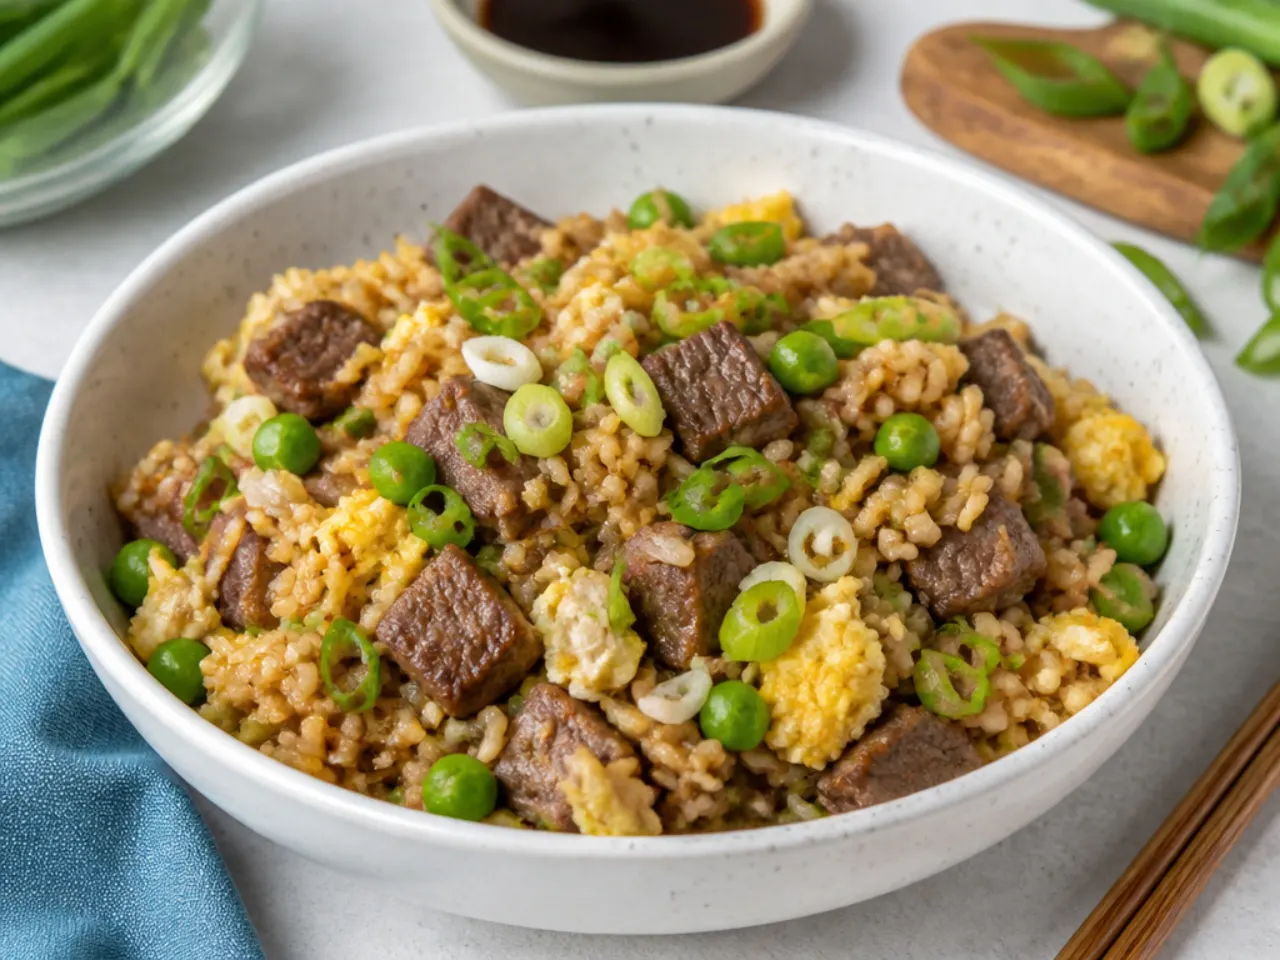
This is the best use for leftovers and a trick most lists miss entirely. Chop about 200 g of leftover Mongolian beef into small pieces, then stir fry 450 g of cold day-old rice in 2 tablespoons of oil over high heat for 3 minutes, pressing it against the pan so it toasts. Push the rice aside, scramble 2 eggs in the empty space, then add the beef, a handful of frozen peas and any leftover sauce and toss for 2 more minutes. Day-old rice is essential, since fresh rice turns the dish gummy. One cook, two completely different dinners.
Save this for later 📌
Pin this article to your Pinterest board so the full list is one tap away when you need it.
Save on Pinterest16. Mongolian Beef Ramen
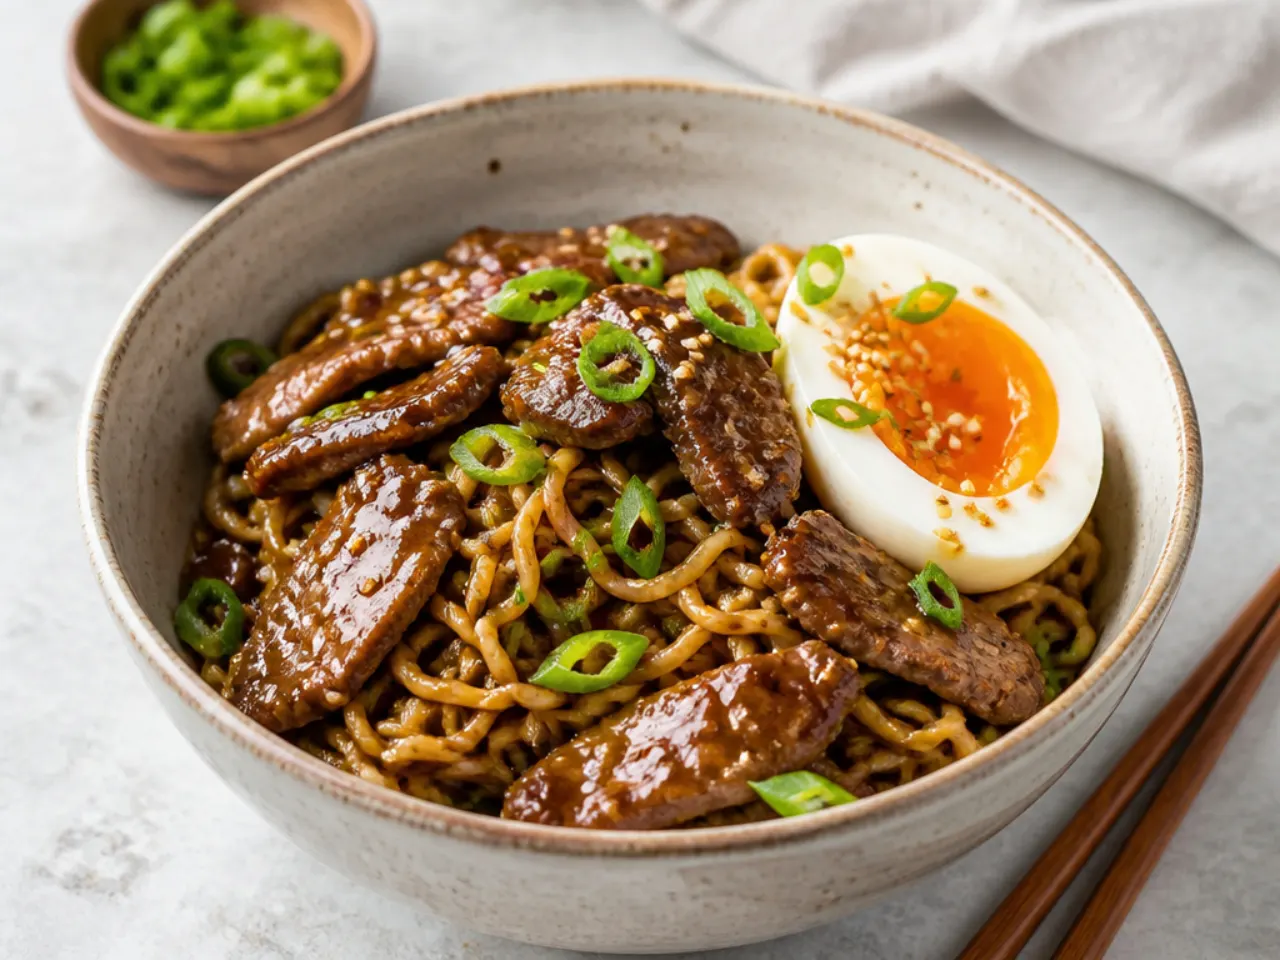
Instant noodles turn the dish into a saucy noodle bowl in the same 30 minutes. Cook 2 blocks of instant ramen one minute short of the packet time and discard the seasoning sachets, which would double-salt the dish. Make the base sauce with an extra 120 ml (1/2 cup) of beef stock so there is enough liquid to coat the noodles, simmer it 2 minutes, then toss in the seared beef and drained noodles together. The wavy noodles trap the glaze better than flat ones. Top with a soft-boiled egg (6 and a half minutes in boiling water) and sliced spring onions.
17. Honey-Ginger Mongolian Beef
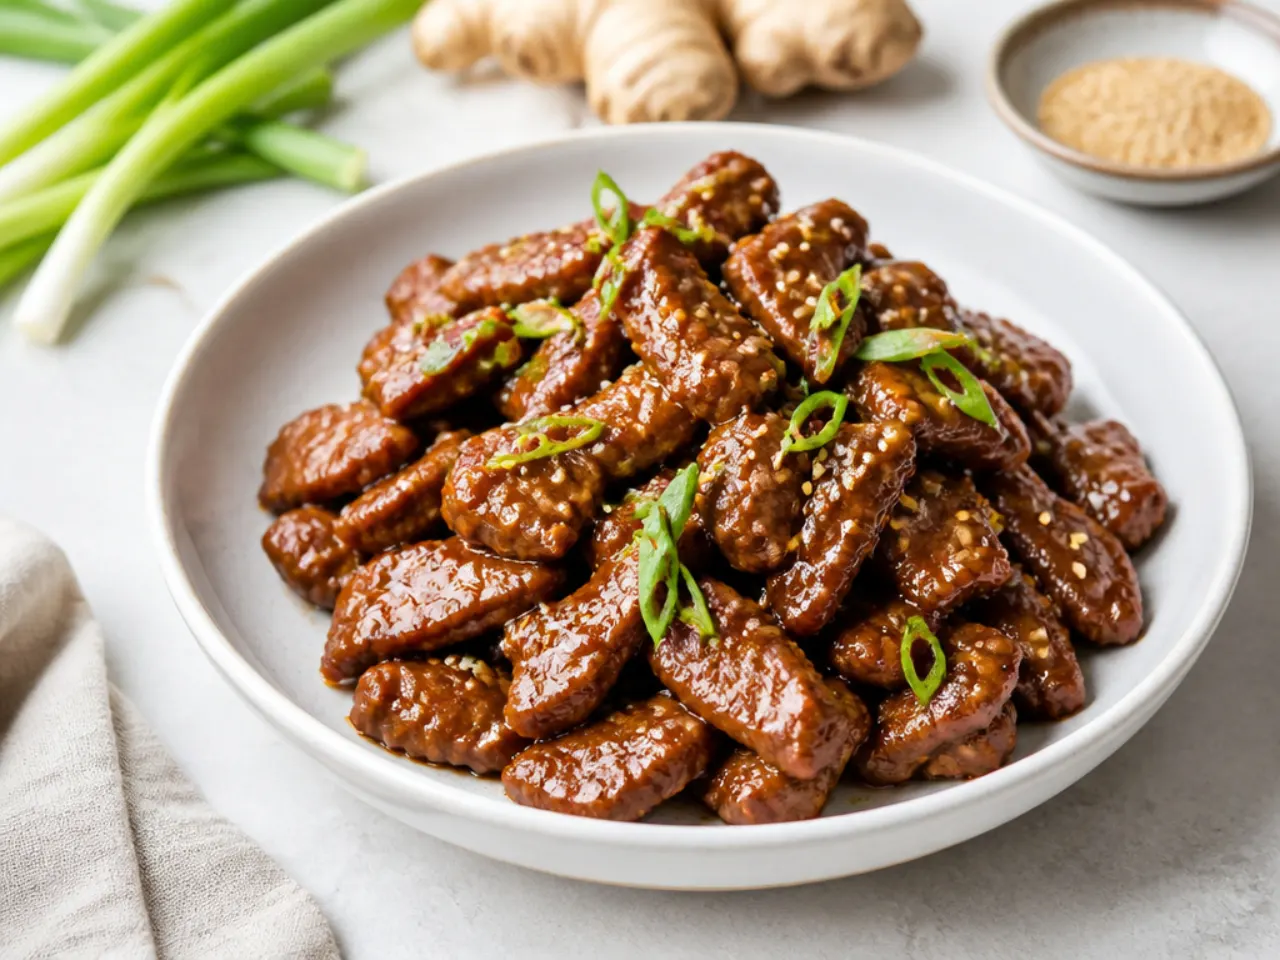
Swapping the brown sugar for honey gives the glaze a floral edge and an even shinier finish. Use 80 ml (1/4 cup) of runny honey in place of the sugar and double the fresh ginger to 2 tablespoons so the sauce does not tip into cloying. Honey scorches faster than sugar, so keep the sauce at a gentle simmer rather than a rolling boil and pull it after 2 minutes, once it coats a spoon. The pairing works because honey and ginger both sit naturally against salty soy. This version is especially good with the air fryer method in idea 8.
18. Mongolian Beef Meal-Prep Bowls
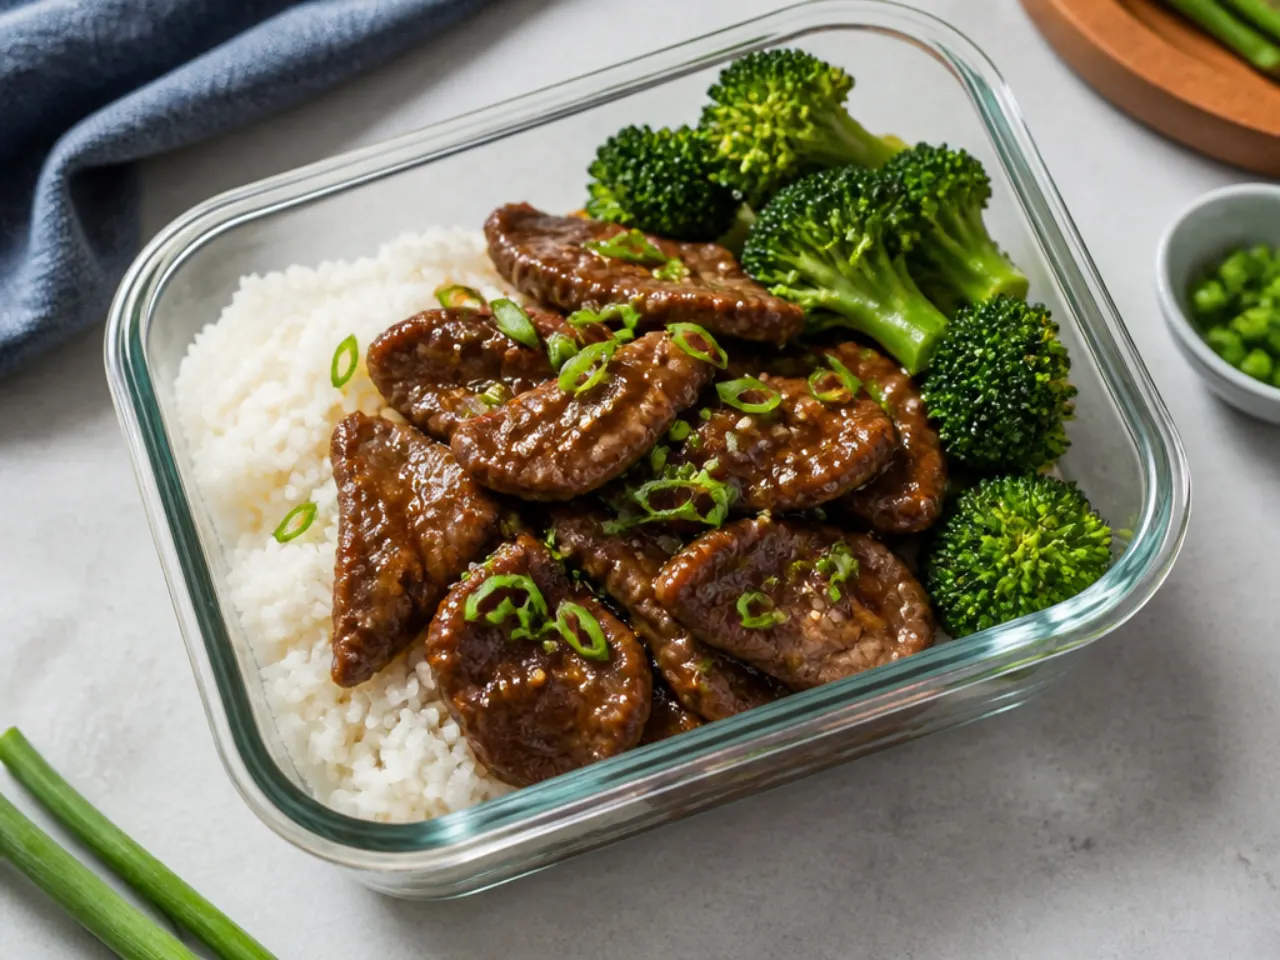
Mongolian beef holds up unusually well in the fridge because the sauce protects the meat from drying out. Double the base recipe, but stop reducing the sauce about a minute early so it is slightly loose, since it thickens further as it chills. Portion into four containers with 180 g of cooked rice and a fist of steamed broccoli each, and refrigerate for up to 4 days. Reheat a bowl in the microwave for 90 seconds to 2 minutes, stirring halfway, and the sauce loosens back to freshly-made consistency. Keep spring onion garnish in a separate bag so it stays fresh.
19. Mongolian Beef Tacos
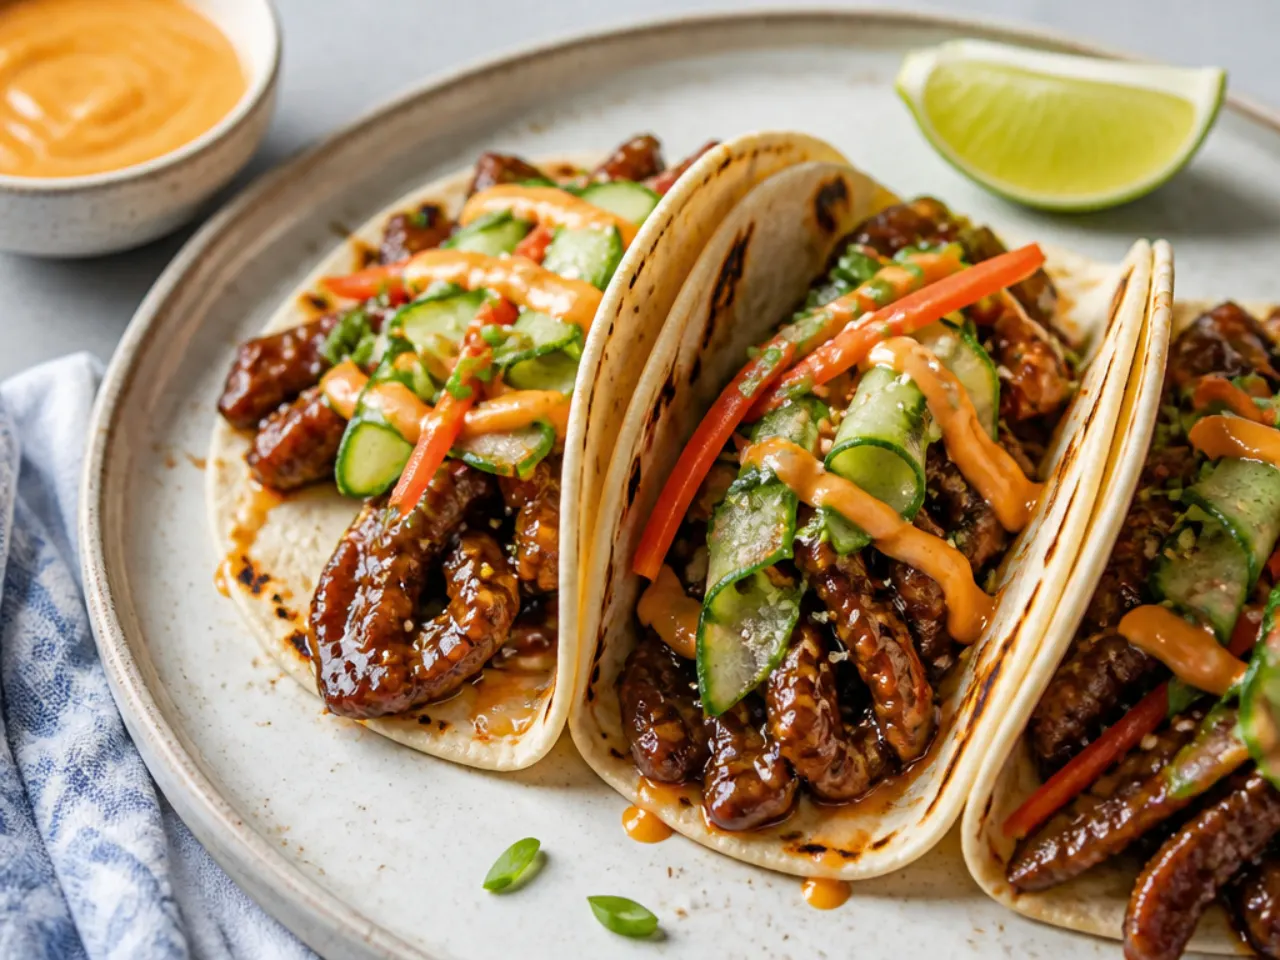
This fusion angle turns leftovers or a fresh batch into a completely different dinner. Pile the hot beef into warmed small flour tortillas (20 seconds per side in a dry pan) and top with quick-pickled cucumber, made by tossing thin cucumber slices with 2 tablespoons rice vinegar, 1 teaspoon sugar and a pinch of salt for 10 minutes. Add a swirl of sriracha mayo, which is 3 tablespoons mayonnaise mixed with 2 teaspoons sriracha. The sharp pickle cuts straight through the sweet glaze, so every bite stays balanced. A batch fills 8 tacos, enough for four people with a side.
20. Freezer-Bag Mongolian Beef Kit
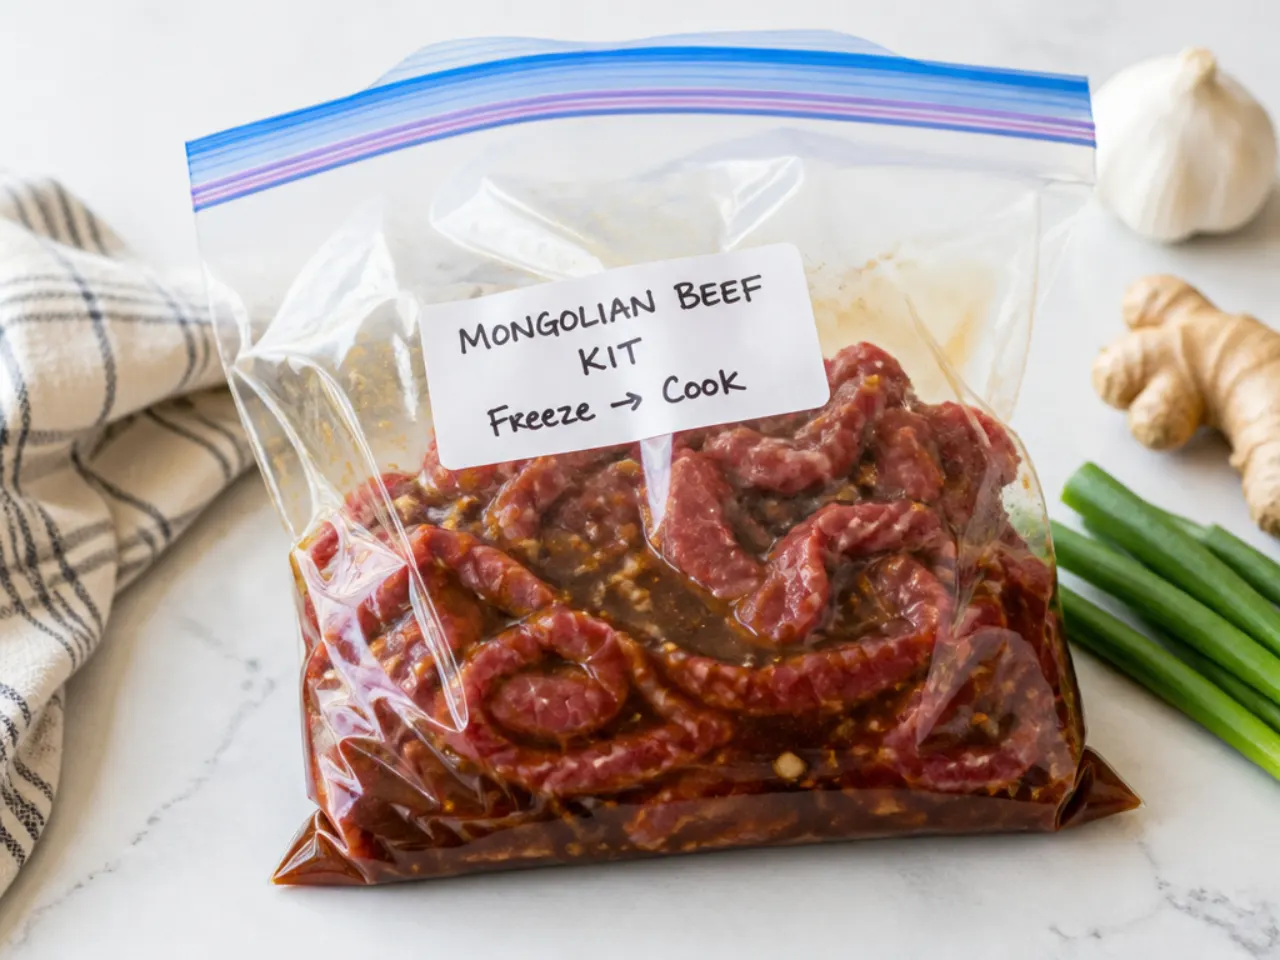
Prep this once and future-you gets a near-instant dinner. Slice the raw flank steak, mix the sauce (soy, brown sugar, water, garlic, ginger, but no cornstarch), and freeze both together flat in a labelled zip bag for up to 3 months; the sauce acts as a marinade as it thaws. Move the bag to the fridge the night before, then drain the beef well, pat it dry, toss in cornstarch and cook exactly as in the base recipe, using the drained liquid as your sauce. Never add the cornstarch before freezing, as it turns gluey. Make three bags in 20 minutes and you have covered three busy weeknights.
Pro Tips
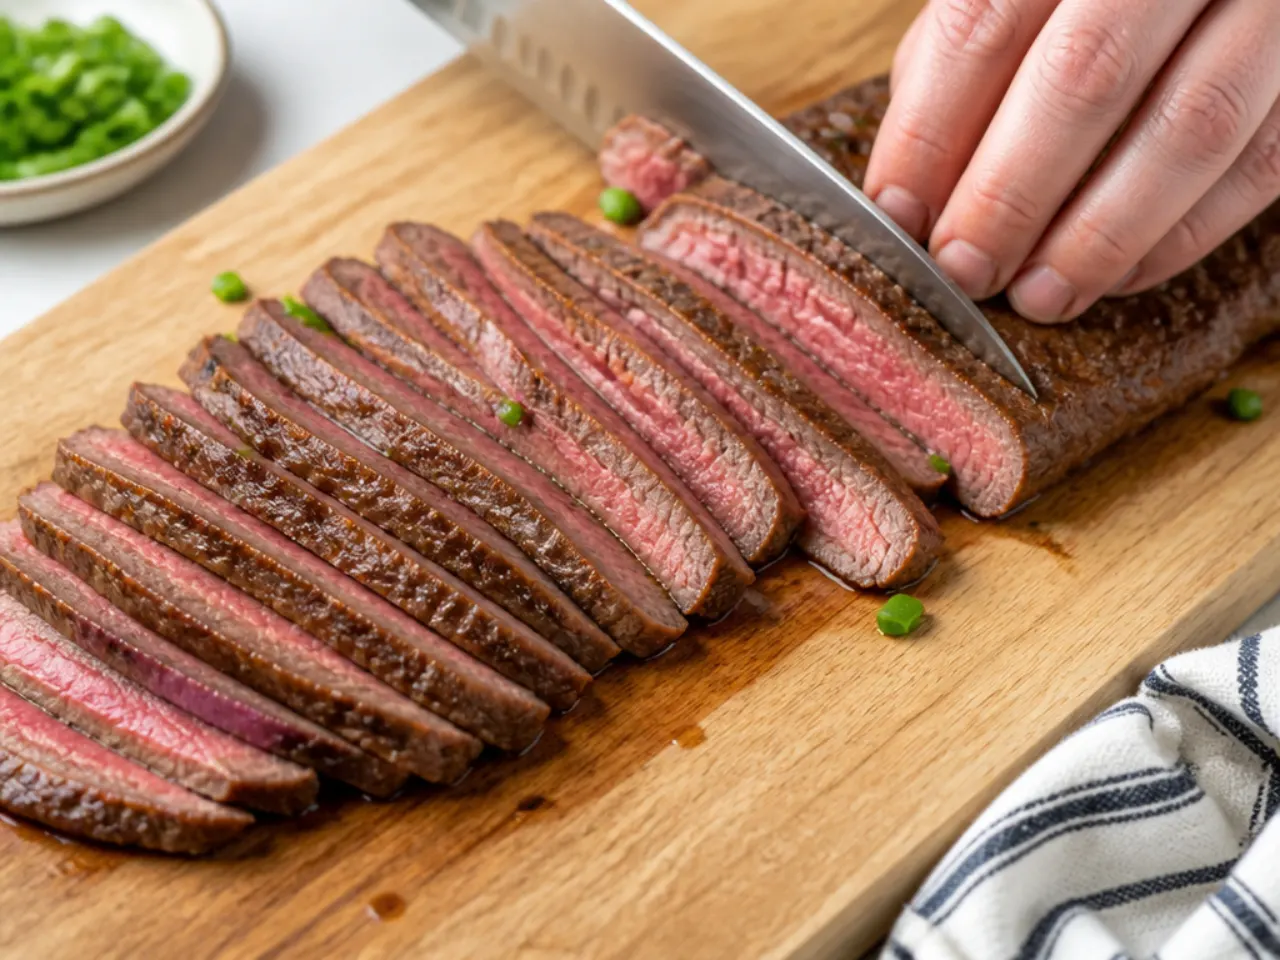
Freeze the steak for 20 minutes before slicing so it firms up, then cut 5 mm (1/4 inch) slices against the grain; this single step is the difference between tender and chewy beef. Let the cornstarch-coated slices rest 10 minutes before cooking so the coating hydrates and sticks instead of dusting off into the oil. Cook in two or three batches in a properly hot pan, because crowded beef steams grey instead of browning. For extra-tender restaurant texture, massage the raw slices with 1/4 teaspoon bicarbonate of soda and 1 tablespoon water for 15 minutes before coating, the velveting trick used by The Woks of Life. Finally, the sauce is done when it coats the back of a spoon; if you boil it too far it turns to toffee once it cools on the plate.
Serving Suggestions
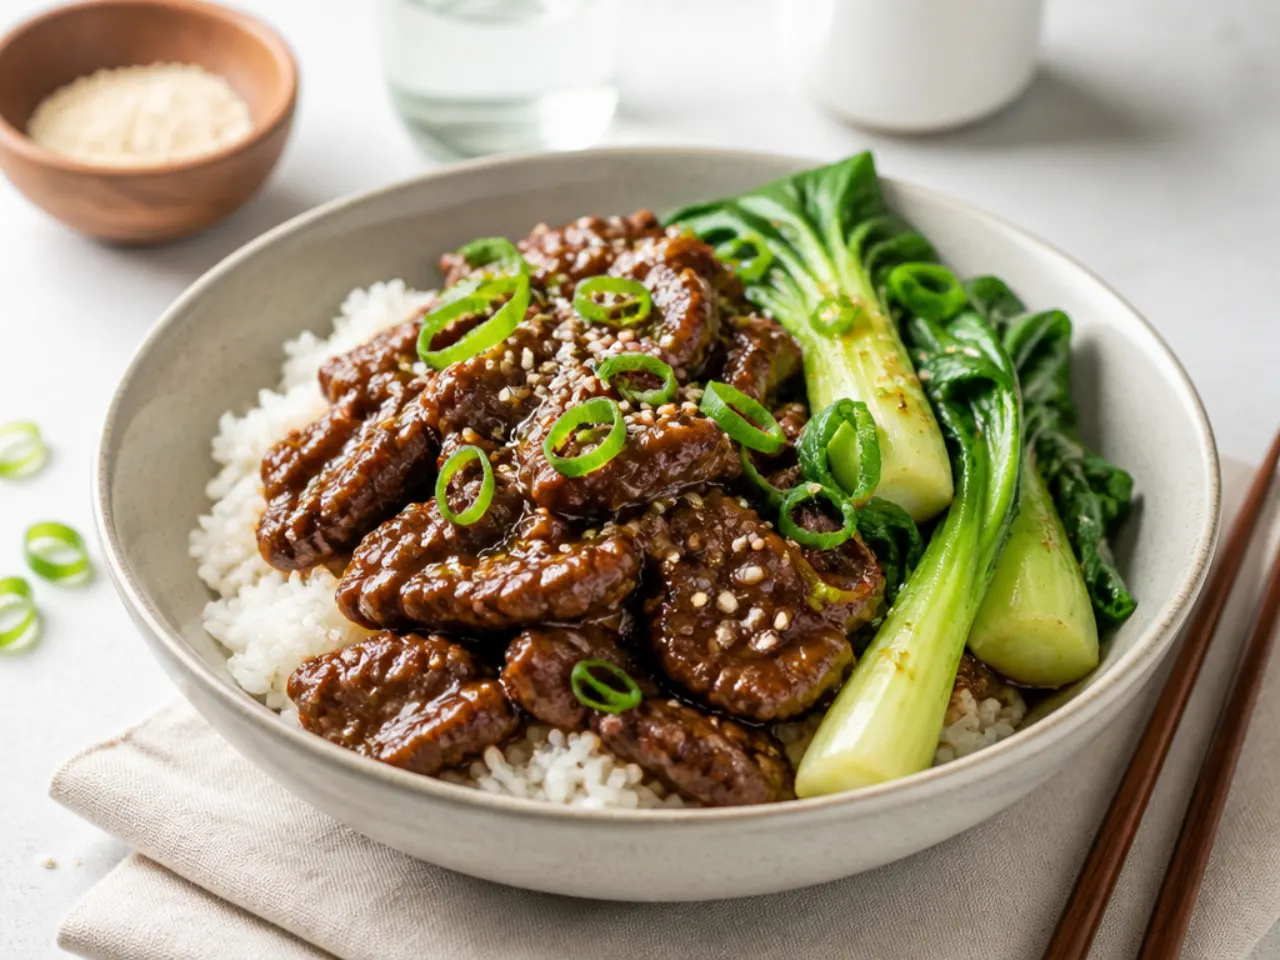
Steamed jasmine rice is the classic partner; 300 g (1 1/2 cups) of dry rice feeds four alongside the beef. For a change, try udon noodles, egg fried rice, or cauliflower rice if you are keeping carbs down. Round out the plate with quick garlic green beans (fry 2 minutes in 1 tablespoon oil with a sliced clove), a cucumber salad dressed with rice vinegar and sesame oil, or simple steamed pak choi. Always finish with the spring onion greens and a teaspoon of toasted sesame seeds, added off the heat so they stay vivid. If you are feeding a crowd, pair it with Mongolian chicken made from the same sauce so everyone has a choice.
Storage and Reheating
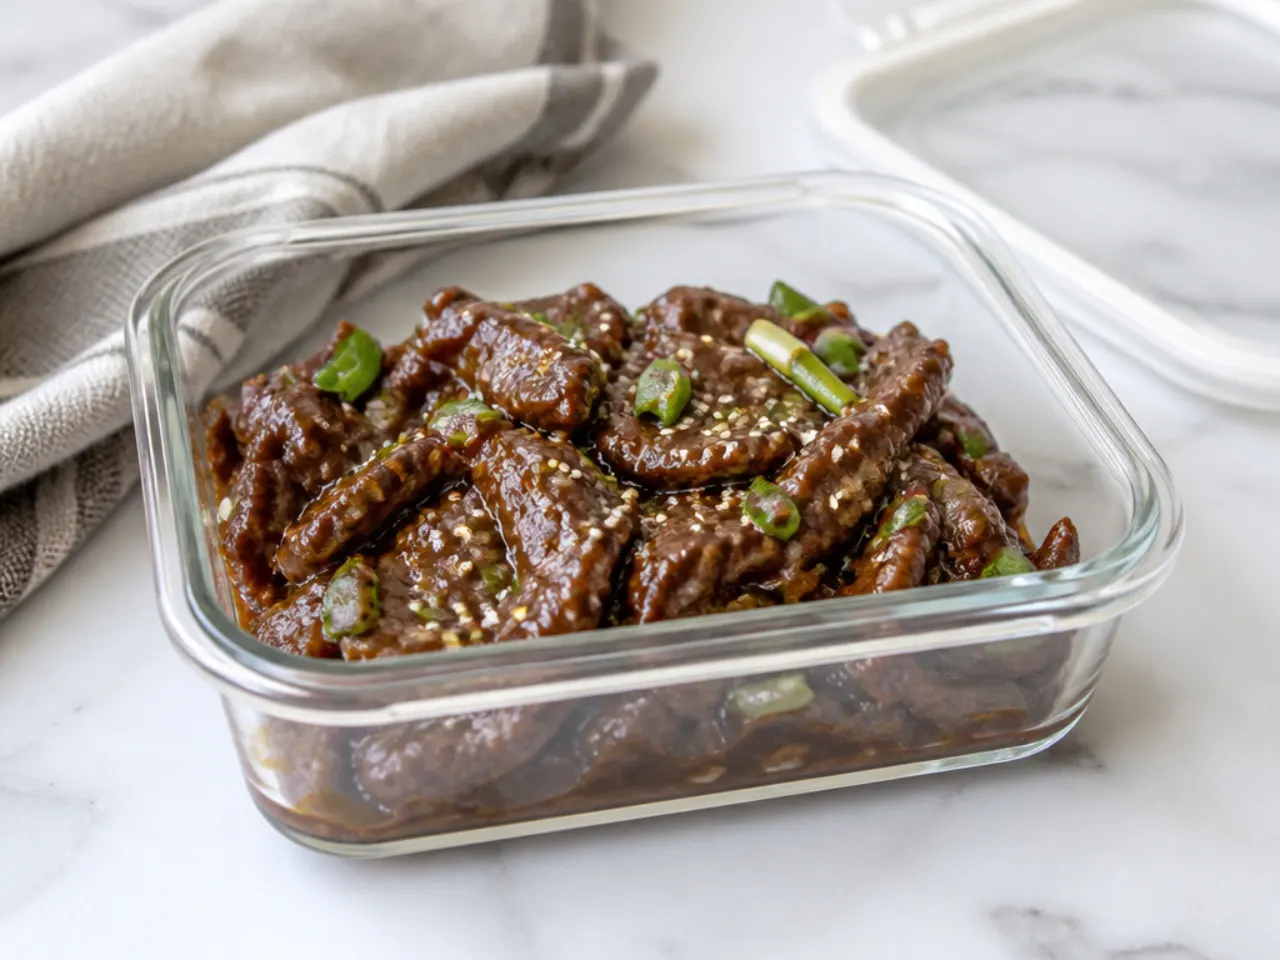
Cool leftovers within an hour, then refrigerate in an airtight container for up to 4 days. The dish also freezes well for up to 3 months, though the coating softens; thaw overnight in the fridge before reheating. The best reheat is a skillet over medium-low heat with a splash of water for 3 to 4 minutes, which loosens the sauce without overcooking the beef, or a covered dish in a 150°C (300°F) oven for about 10 minutes. The microwave works in 60 to 90 second bursts, stirring between them, but expect the crust to go soft. Store rice separately and never reheat it more than once.
The Recipe
The Master Recipe
15 min
15 min
30 min
4
Beginner
Ingredients 4 Person(s)
Directions
Step 1: Slice the beef
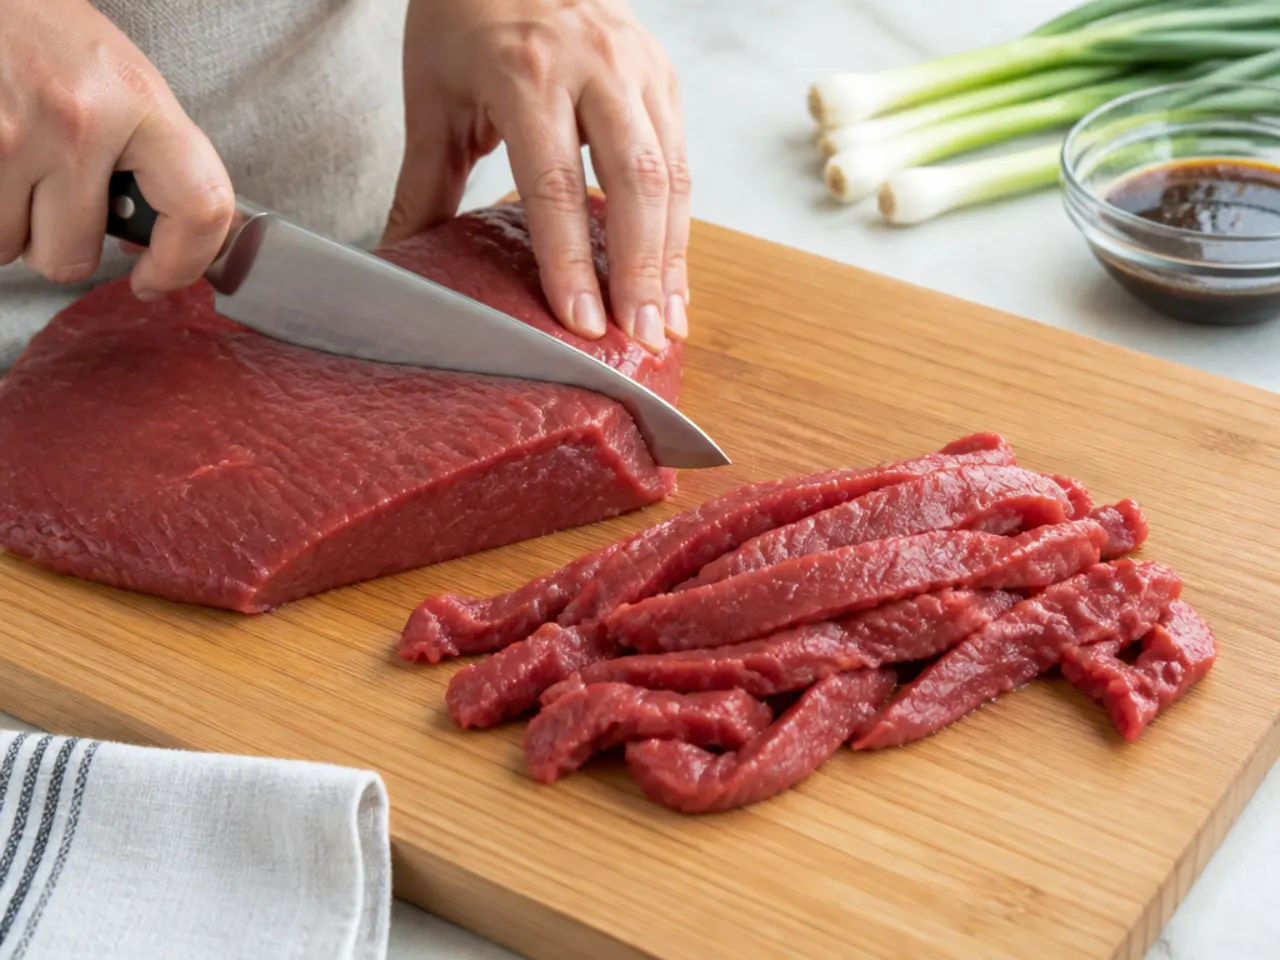
Put the flank steak in the freezer for 20 minutes so it firms up, then slice it against the grain into 5 mm (1/4 inch) strips. Look for the lines of muscle fibre running along the steak and cut across them, not with them; this shortens the fibres so the cooked beef is tender. Each strip should be roughly the size of your little finger. Pat the slices dry with kitchen paper so the coating sticks.
Step 2: Coat in cornstarch
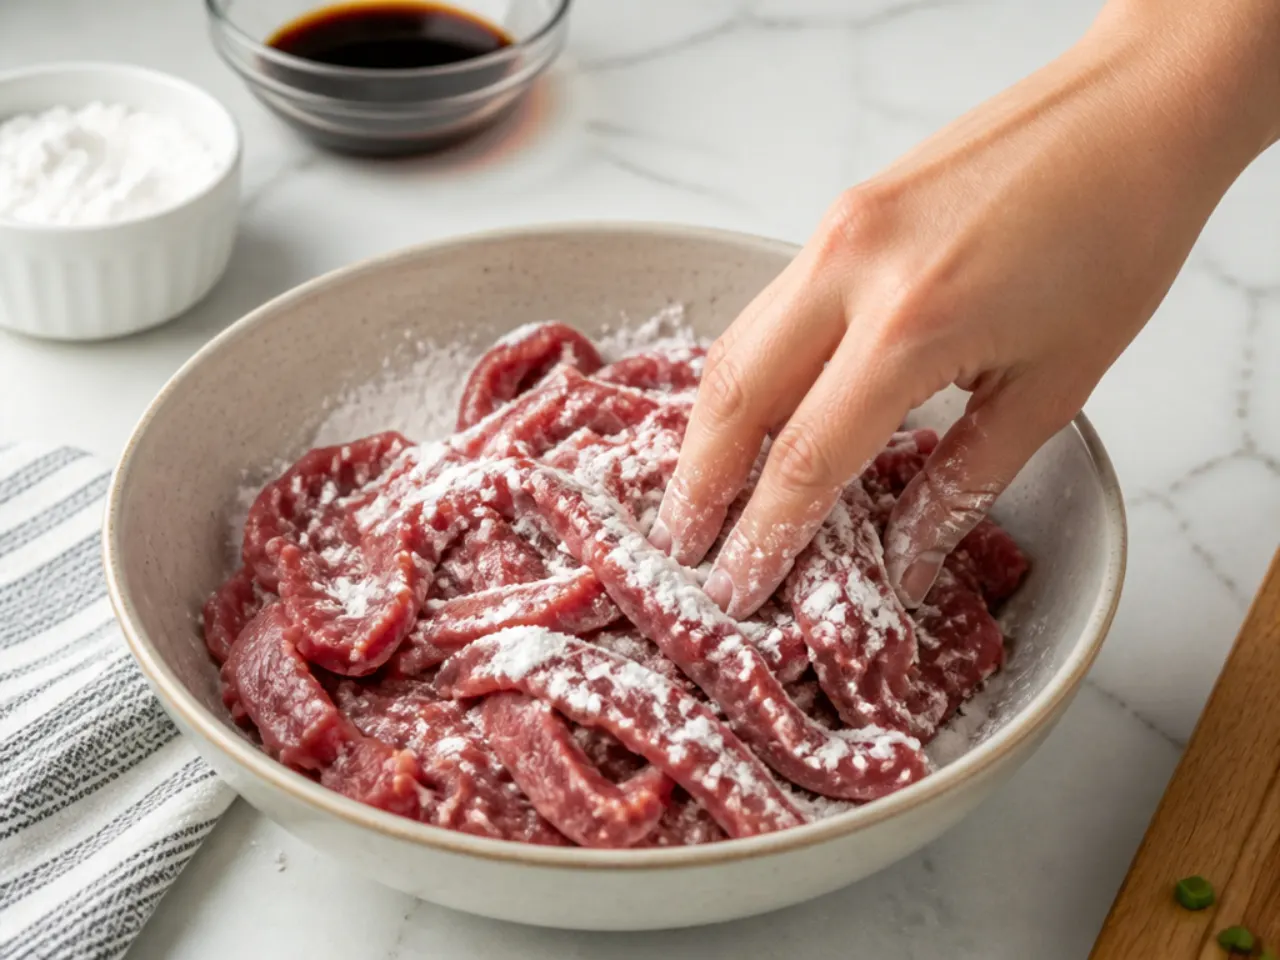
Add the beef and 60 g (1/2 cup) cornstarch to a large zip bag or bowl and toss until every slice is evenly dusted with no wet patches showing. Shake off the excess and spread the slices on a plate in a single layer. Let them rest for 10 minutes while you make the sauce; the coating will turn from powdery white to slightly damp and pasty, which means it will stay on the beef instead of clouding the oil.
Step 3: Mix the sauce
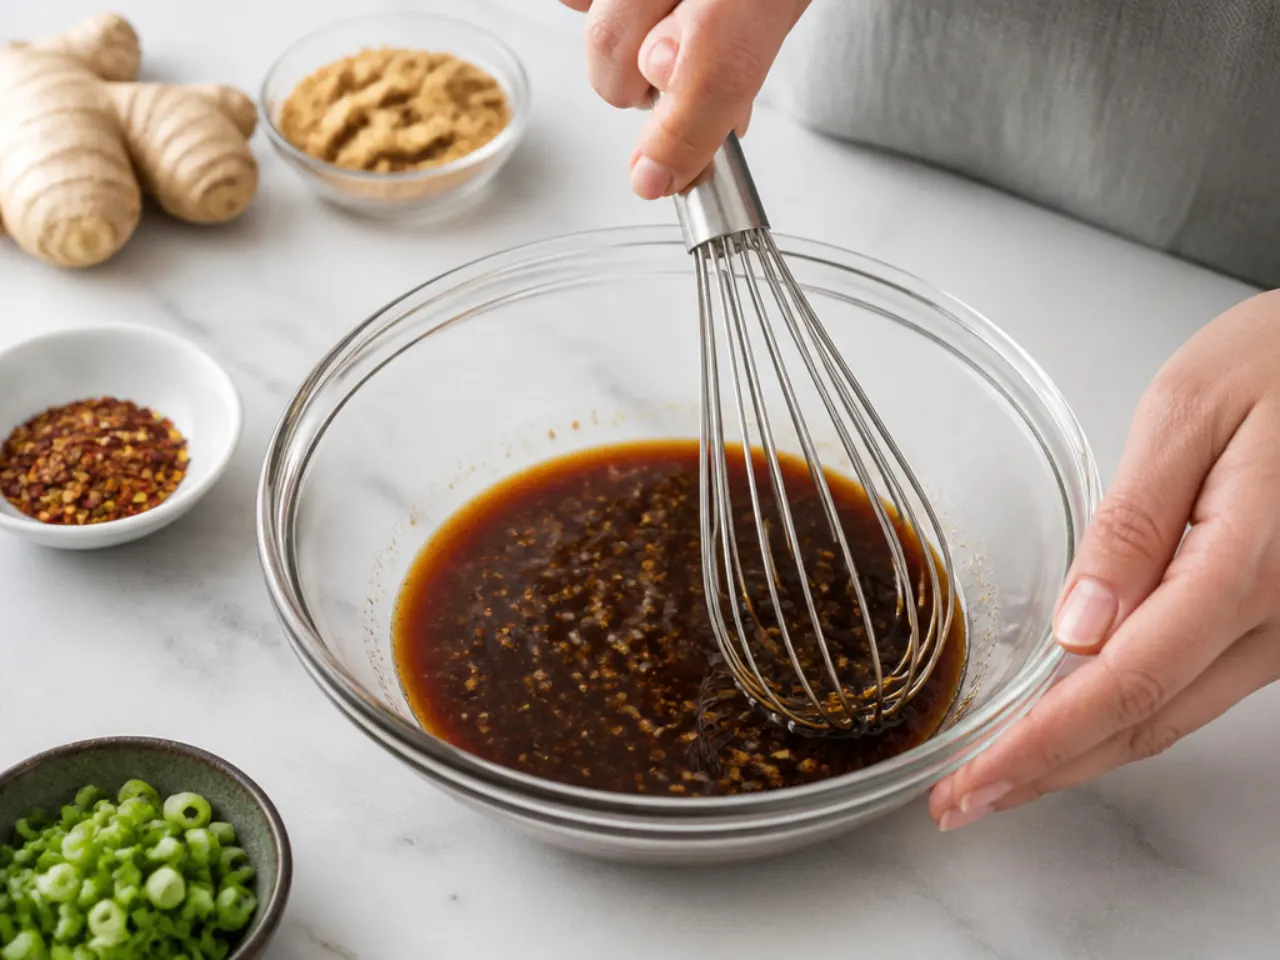
In a bowl or jug, whisk together 120 ml (1/2 cup) low-sodium soy sauce, 90 g (1/2 cup) light brown sugar and 120 ml (1/2 cup) water until the sugar has fully dissolved and no grains remain on the bottom. Set it next to the hob so it is ready to pour the moment the pan needs it. The sauce looks thin at this stage; the cornstarch on the beef will thicken it later.
Step 4: Sear the beef in batches
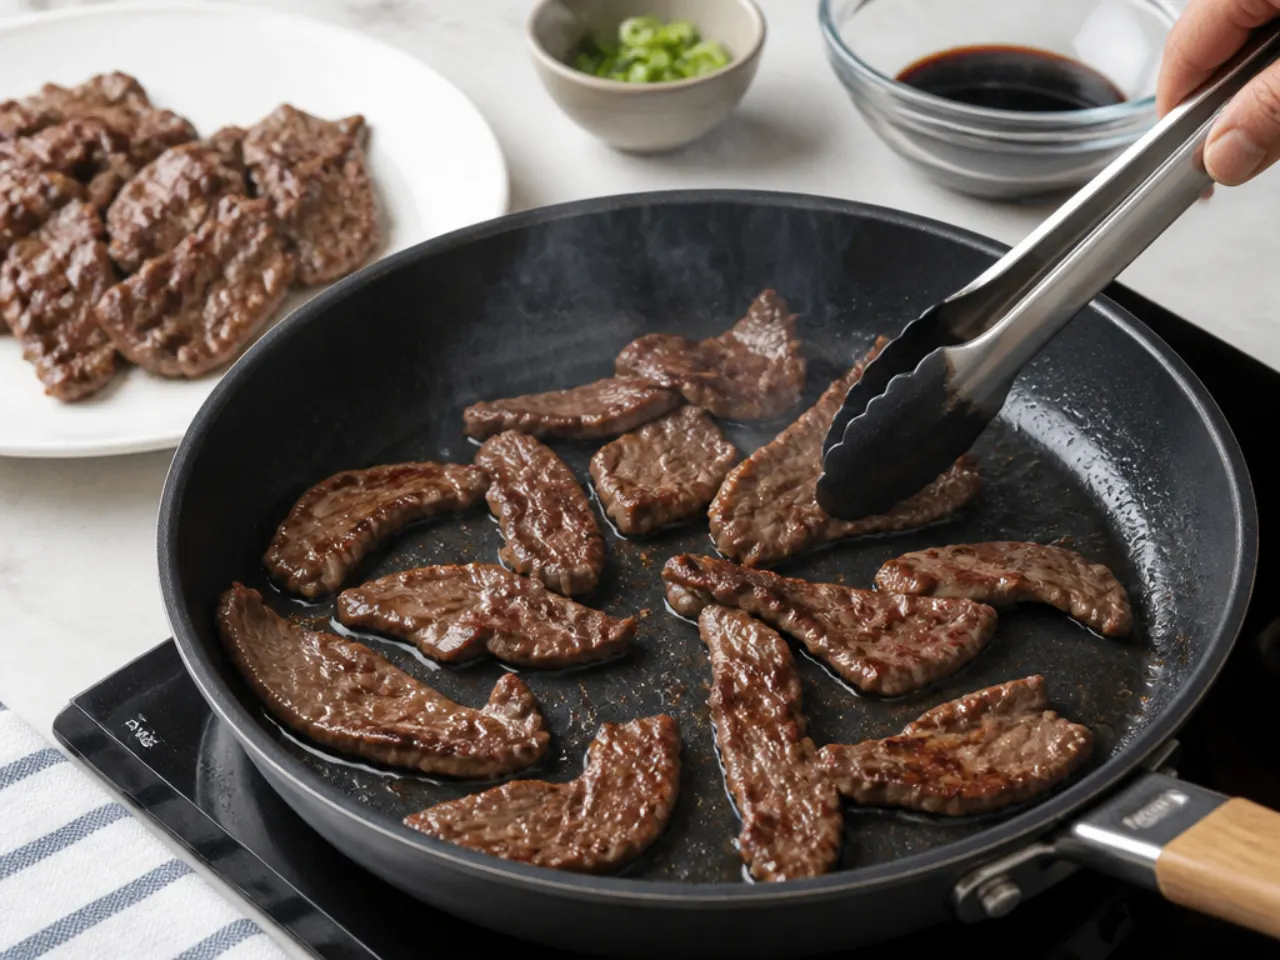
Heat 3 tablespoons of the oil in a large skillet or wok over high heat until it shimmers, about 190°C (375°F); a strip of beef should sizzle hard on contact. Lay in half the beef in a single layer and cook for about 60 seconds per side, until the edges are browned and lightly crisp but the centre is barely cooked. Transfer to a clean plate and repeat with the second batch. Do not crowd the pan, or the beef will steam and the coating will slough off.
Step 5: Bloom the aromatics
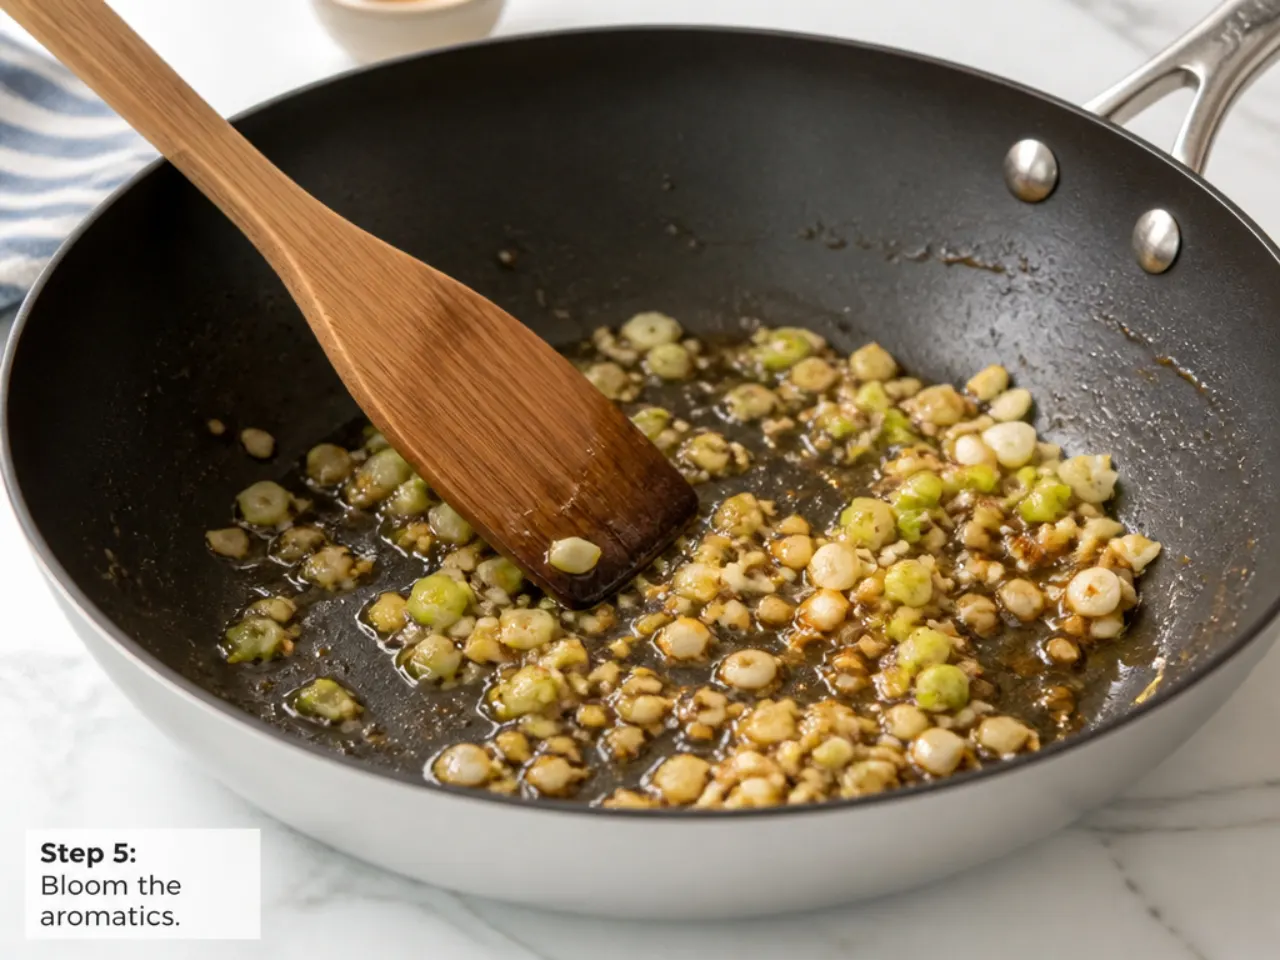
Reduce the heat to medium and add the remaining 1 tablespoon of oil to the empty pan. Add the minced garlic, grated ginger, spring onion whites and the red pepper flakes if using, and stir constantly for 30 seconds until fragrant and just turning golden. Watch closely here: garlic burns fast in a pan that has just seared beef, and burnt garlic will make the whole sauce bitter.
Step 6: Simmer the sauce
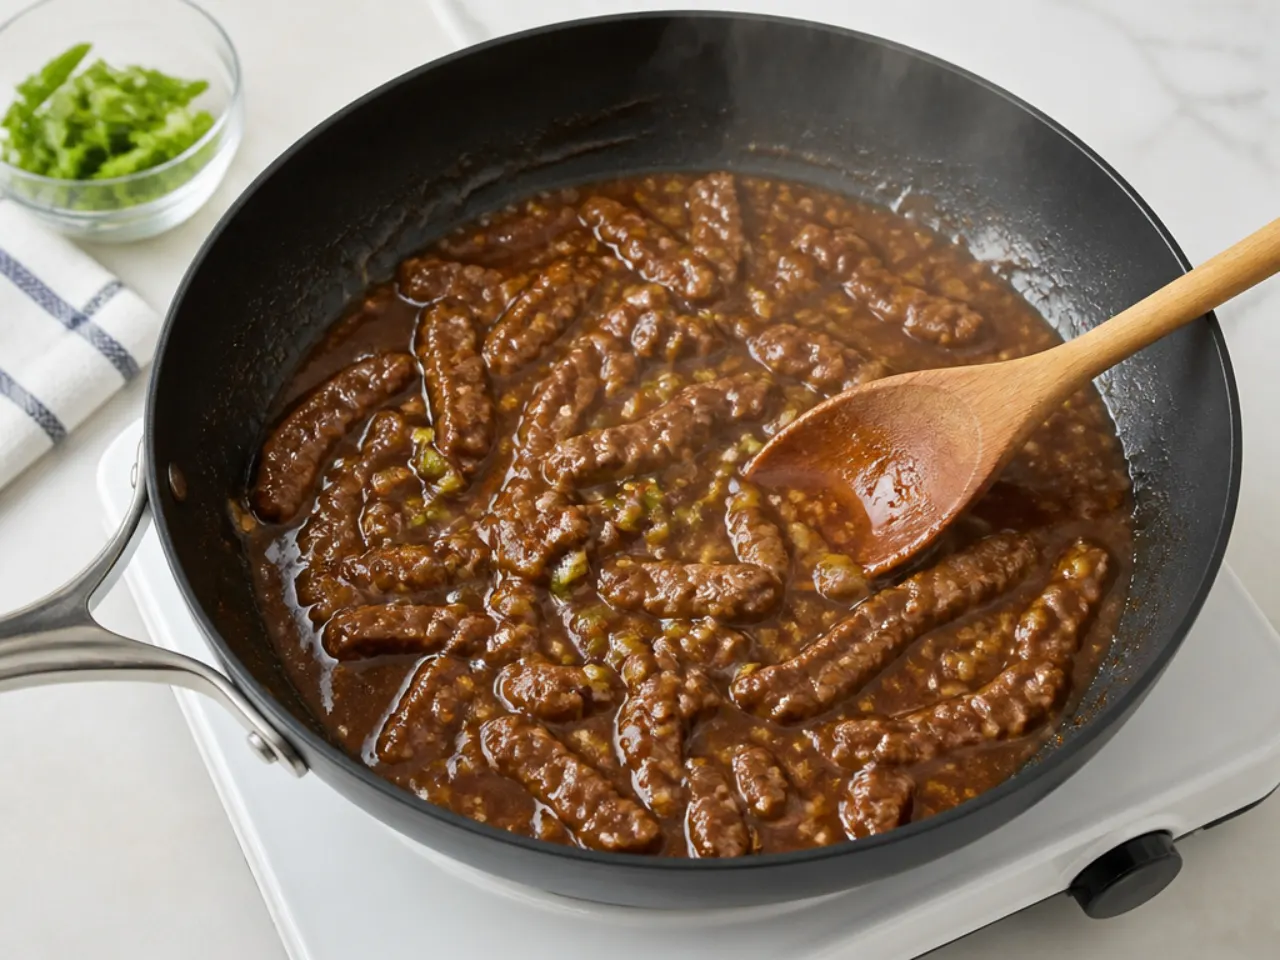
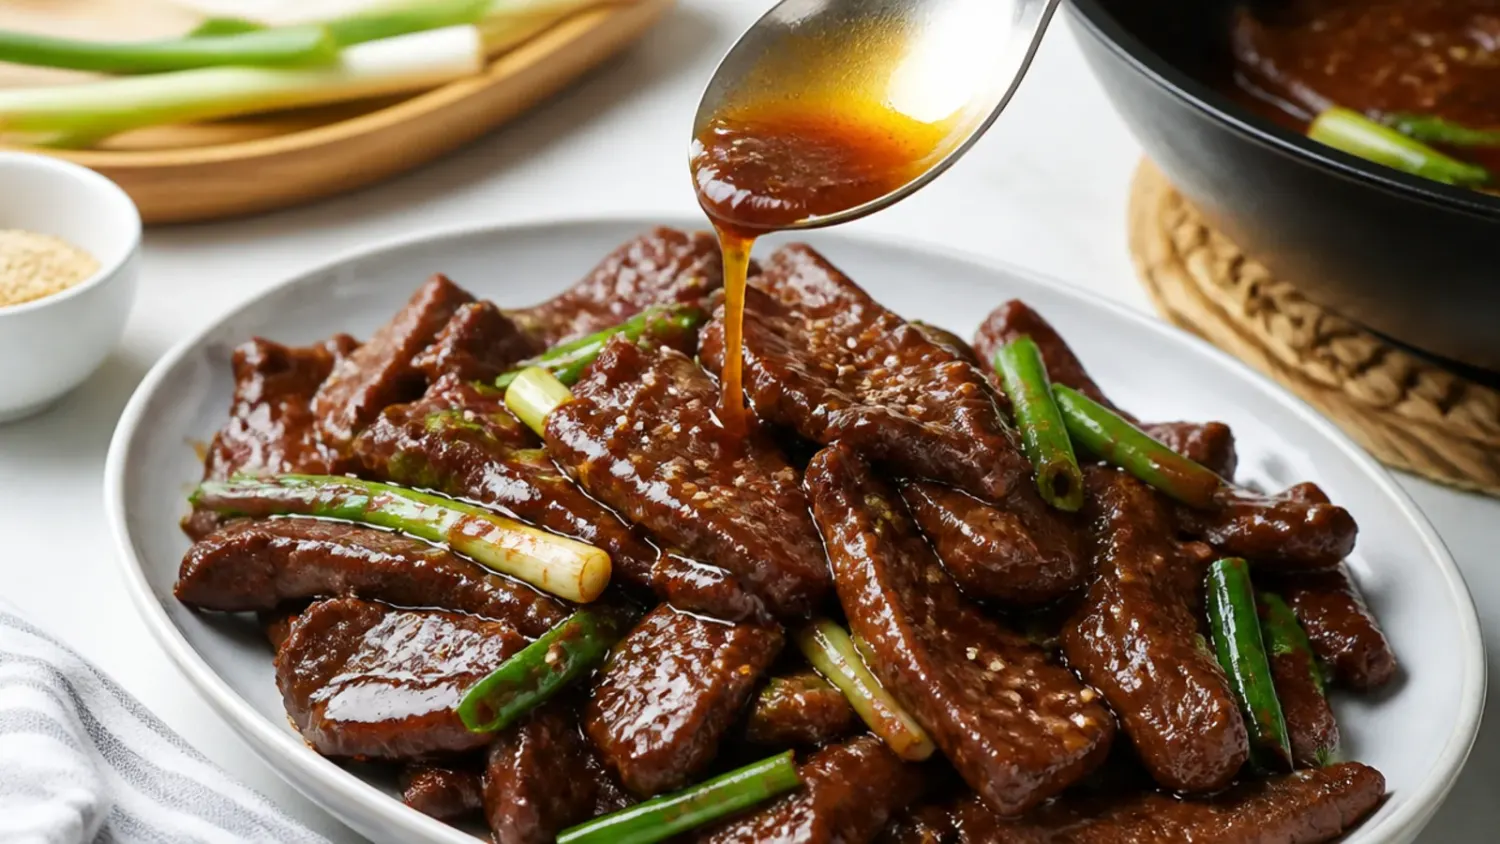
Pour the sauce mixture into the pan, scraping up any browned bits from the base with your spoon. Bring it to a boil, then let it bubble for 2 to 3 minutes until it darkens slightly and coats the back of a spoon; when you drag a finger through the coating on the spoon, the line should hold. If it thickens too far, loosen it with a splash of water rather than letting it turn to caramel.
Step 7: Combine and serve
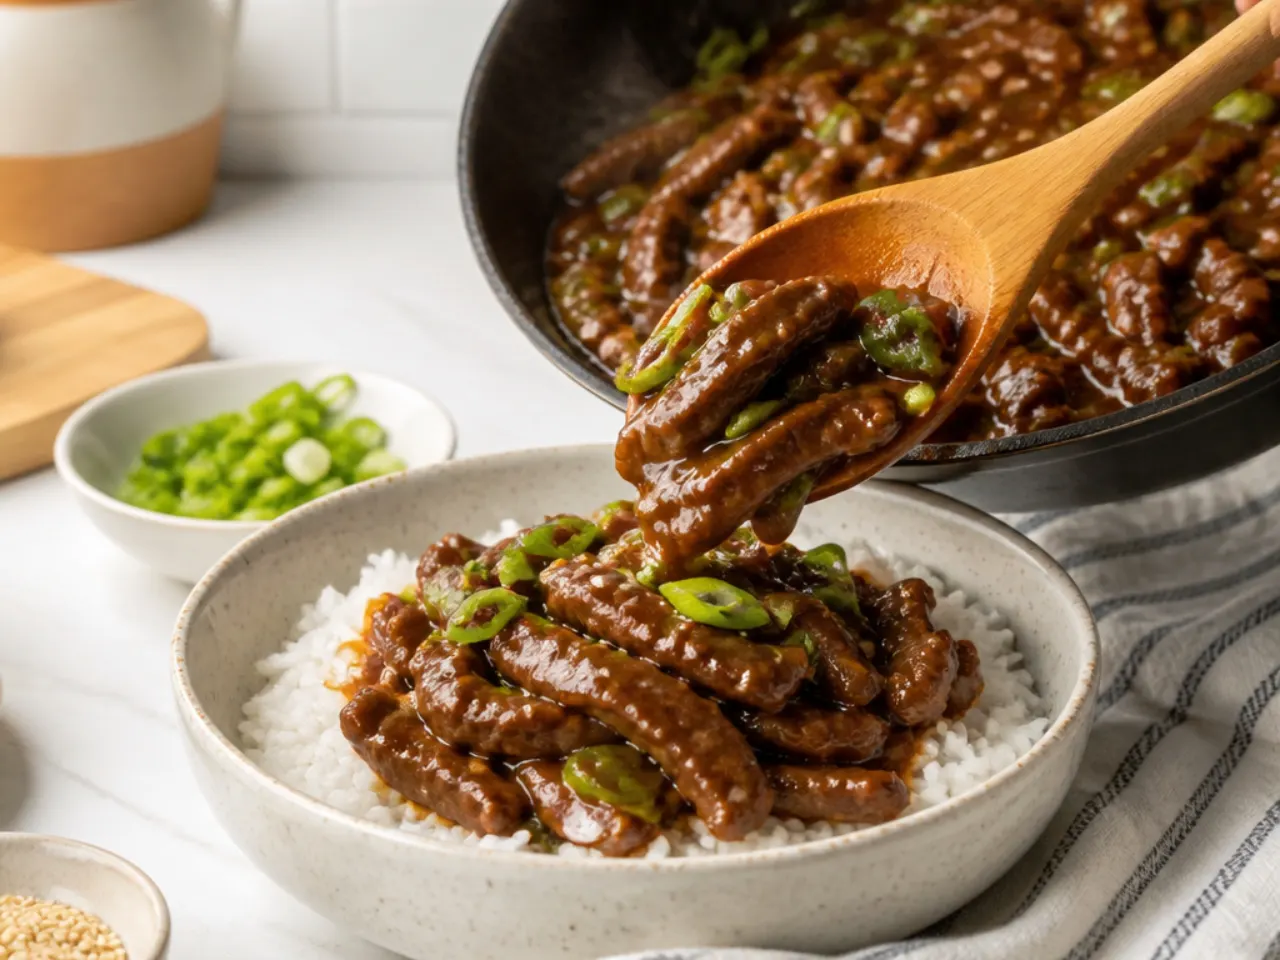
Return the beef and any resting juices to the pan along with the spring onion greens. Toss everything together over the heat for 1 to 2 minutes, until every slice is glossy and the sauce clings to the beef with almost no loose liquid left in the pan. Serve immediately over steamed jasmine rice, scattered with extra spring onion or sesame seeds. The coating is at its crispest in the first ten minutes, so bring it straight to the table.
Frequently Asked Questions
Flank steak is the standard choice because it is lean, beefy and cooks in about two minutes when sliced thin. Sirloin, skirt steak and hanger steak all work well too, and even top round is fine if you slice it thinly. Whatever cut you use, freeze it for 20 minutes first and slice it 5 mm (1/4 inch) thick against the grain so it stays tender.
Save this for later 📌
Pin this article to your Pinterest board so the full list is one tap away when you need it.
Save on Pinterest