5 Mistakes I Made Baking a Kuromi Cake
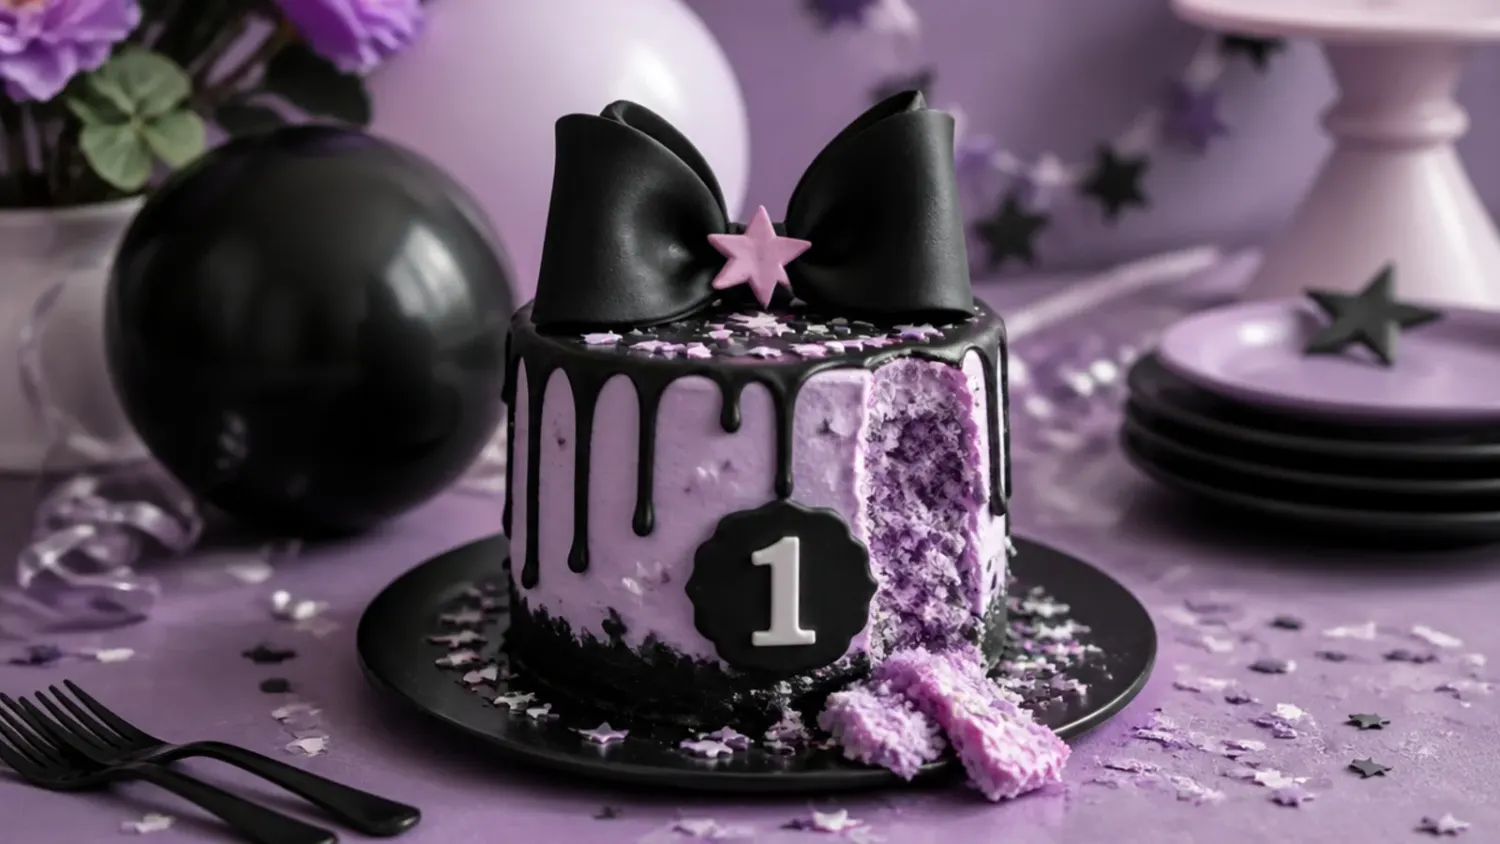
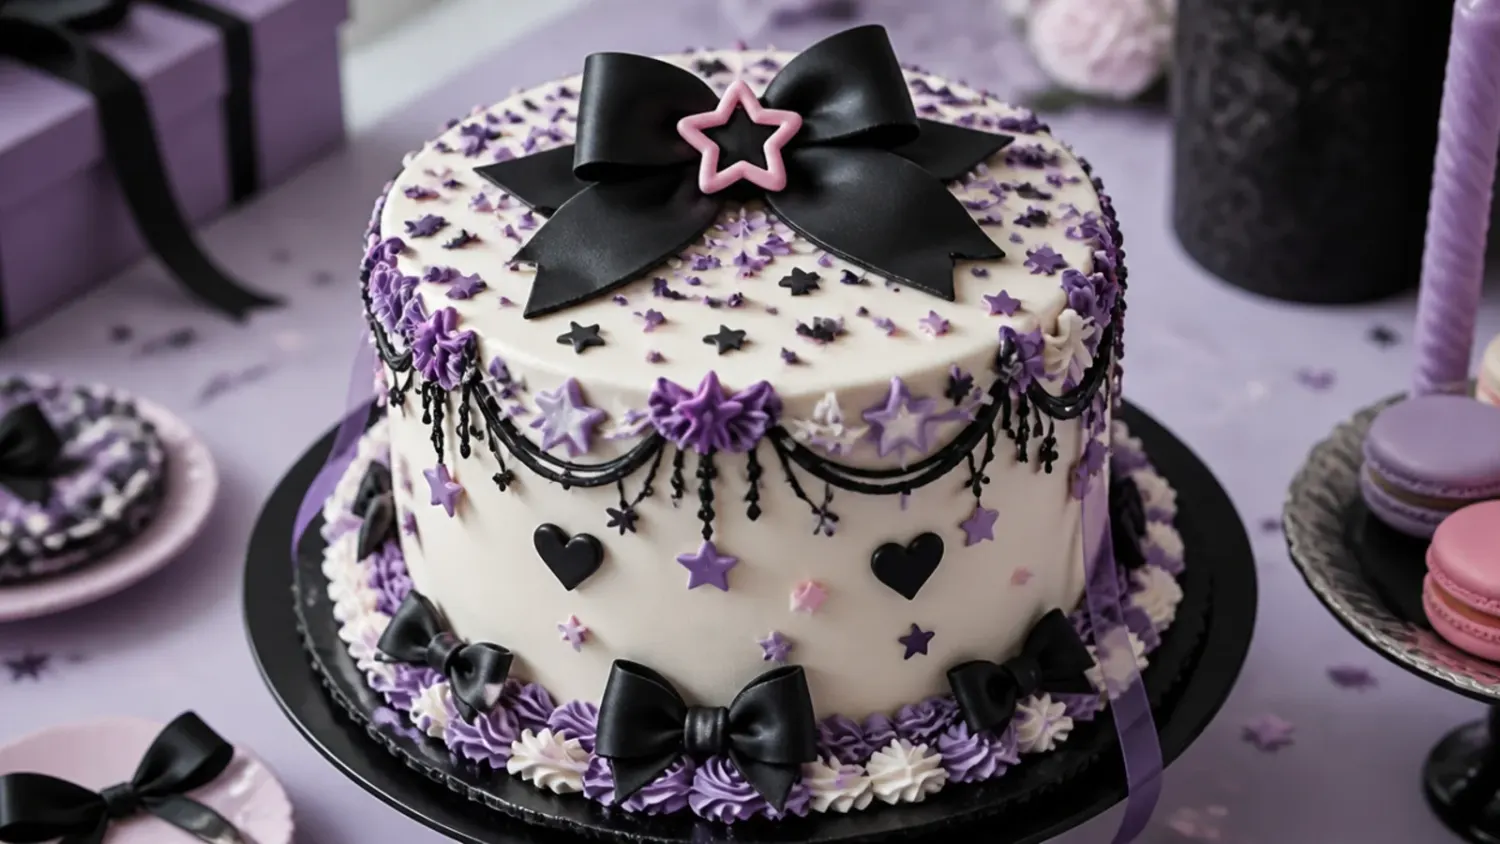
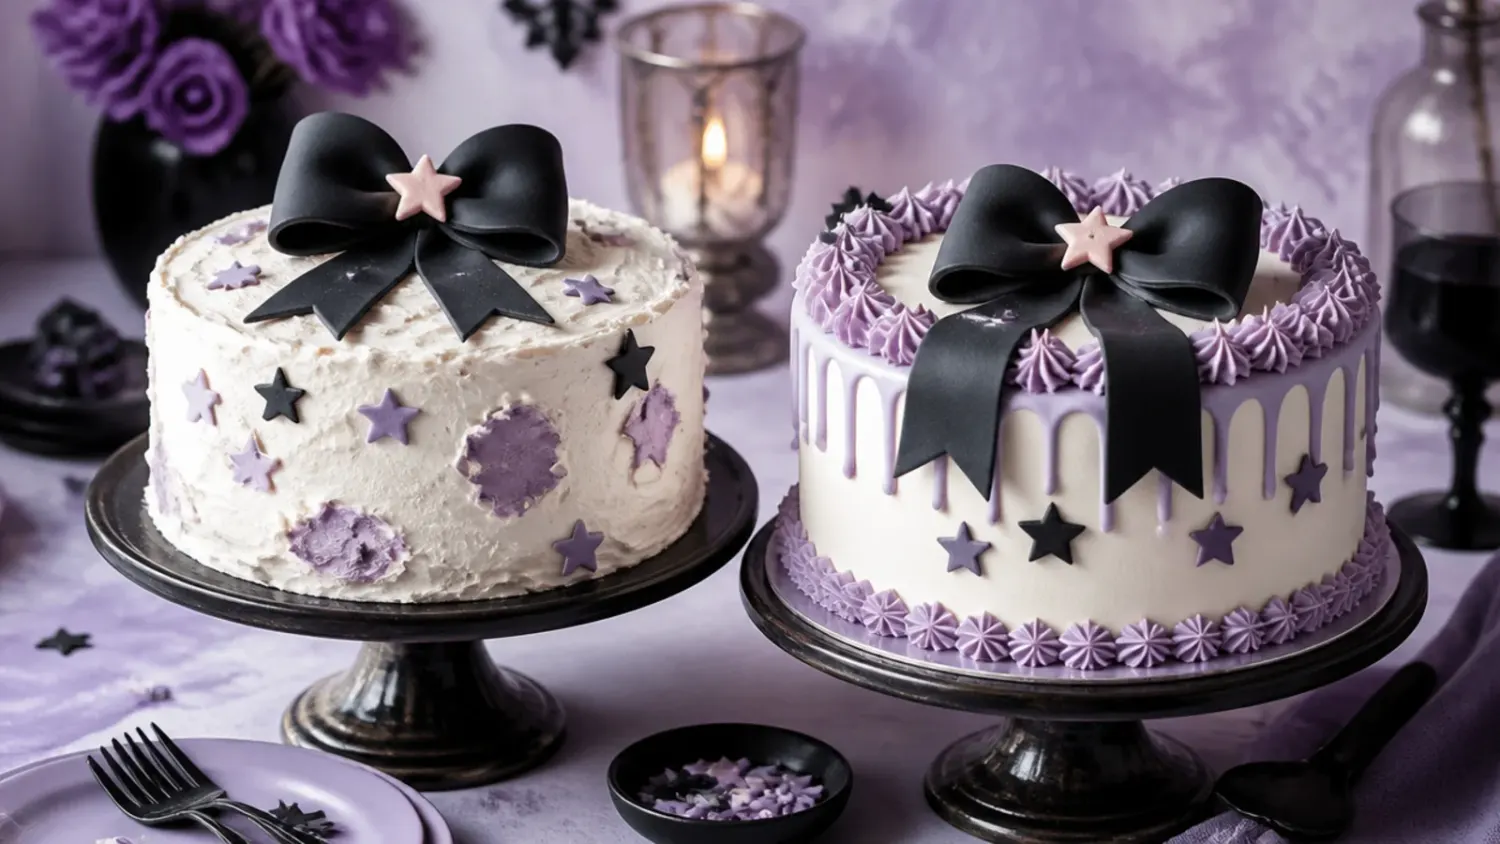
I made five real mistakes baking a homemade Kuromi cake so you don't have to, from grey buttercream to a sunken sponge and drooping fondant. If you love kuromi cake inspiration, start with our Kuromi Cake Ideas collection, then browse the full Cake Ideas hub for more.
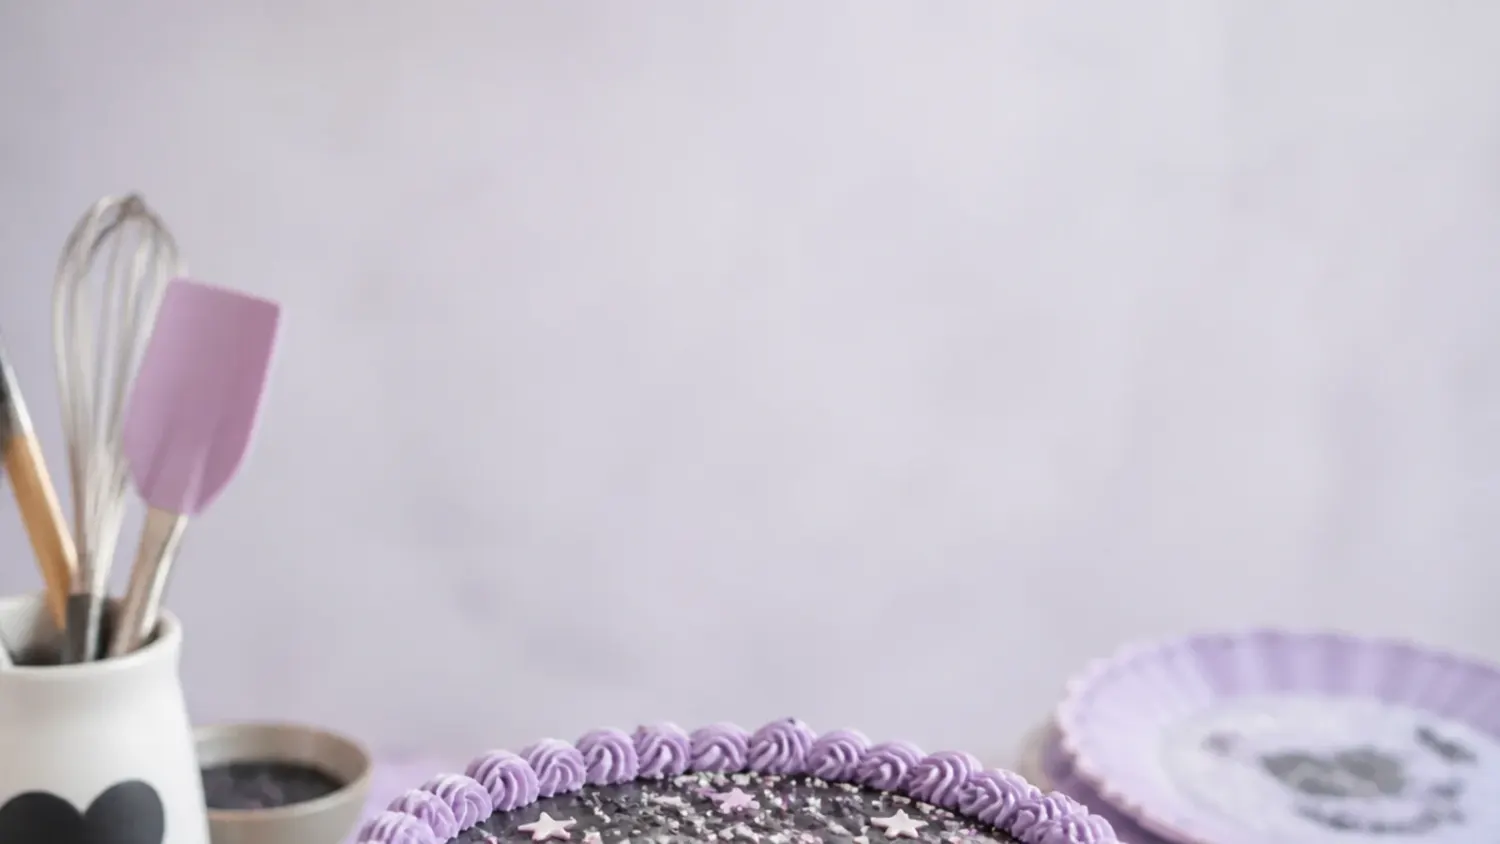
Save this for later 📌
Pin this article to your Pinterest board so the full list is one tap away when you need it.
Save on PinterestCake Ideas
Beginner
Kitchen Journal
5 steps
Table of Contents
- Lesson 1: I Overmixed the Batter and Got a Dense, Sunken Sponge
- Lesson 2: My Black Buttercream Turned Grey and Tasted Bitter
- Lesson 3: I Frosted a Warm Cake and Skipped the Crumb Coat
- Lesson 4: My Fondant Ears and Bow Cracked and Drooped
- Lesson 5: My Purple Went Muddy and I Crammed on Too Many Details
- What I'd Tell a Friend Trying This
- The Recipe I Used
Lesson 1: I Overmixed the Batter and Got a Dense, Sunken Sponge
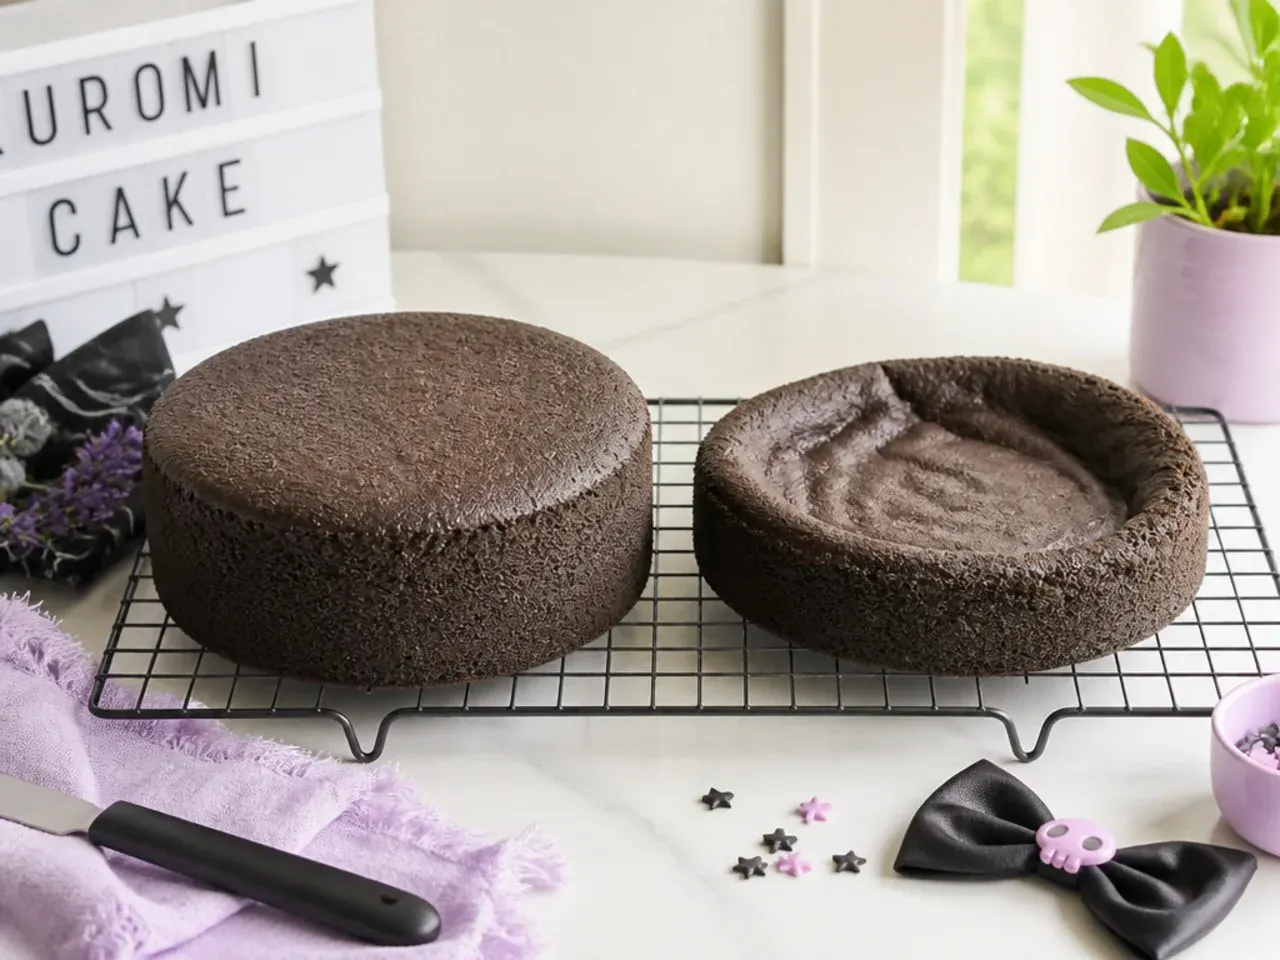
My first Kuromi cake came out heavy and slightly sunken in the middle, and I couldn't work out why until I filmed myself the second time. The problem was the mixer: after the flour went in I kept beating on medium for a good minute, thinking smoother was better, and I knocked all the air back out. Now I whisk the flour, baking powder and salt separately, add it to the creamed butter in two goes on the lowest speed, and stop the second the dry streaks vanish, roughly 20 seconds. I also learned to have everything at room temperature and to work fast once mixing starts, because bubbles collapse if the batter sits. Baked at 180°C/350°F for 25-28 minutes in two 20cm (8in) pans, my second attempt rose level and springy every time.
Lesson 2: My Black Buttercream Turned Grey and Tasted Bitter
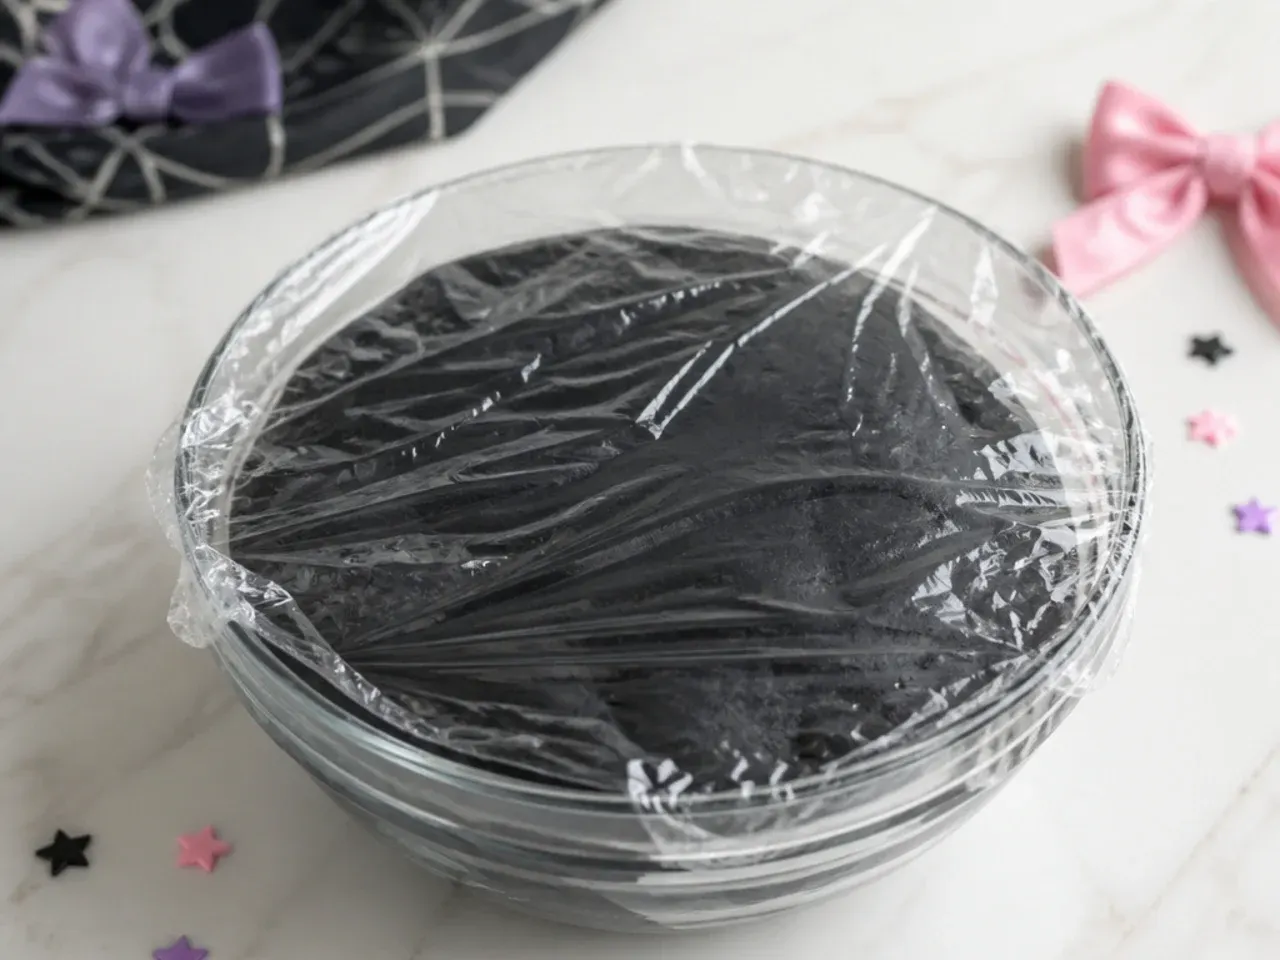
I wanted a deep inky black for the borders and bows, so I squeezed in half a bottle of black gel on the spot, and I ended up with a bitter, grey-purple mess that stained everyone's teeth. Two things fixed it. First, I started from a chocolate buttercream base using 40g of black cocoa powder (the ultra-Dutched kind), which gets you most of the way to black before any gel goes in and tastes like a chocolate sandwich cookie rather than bitter dye. Second, I made it a full day ahead with just a small amount of AmeriColor Super Black, pressed cling film onto the surface, and let it rest; black buttercream looks like wet concrete when mixed but deepens to true black overnight. I also stopped over-whipping it, because beating air in lightens black straight back to grey, so I finish the last mixing by hand with a spatula.
Lesson 3: I Frosted a Warm Cake and Skipped the Crumb Coat
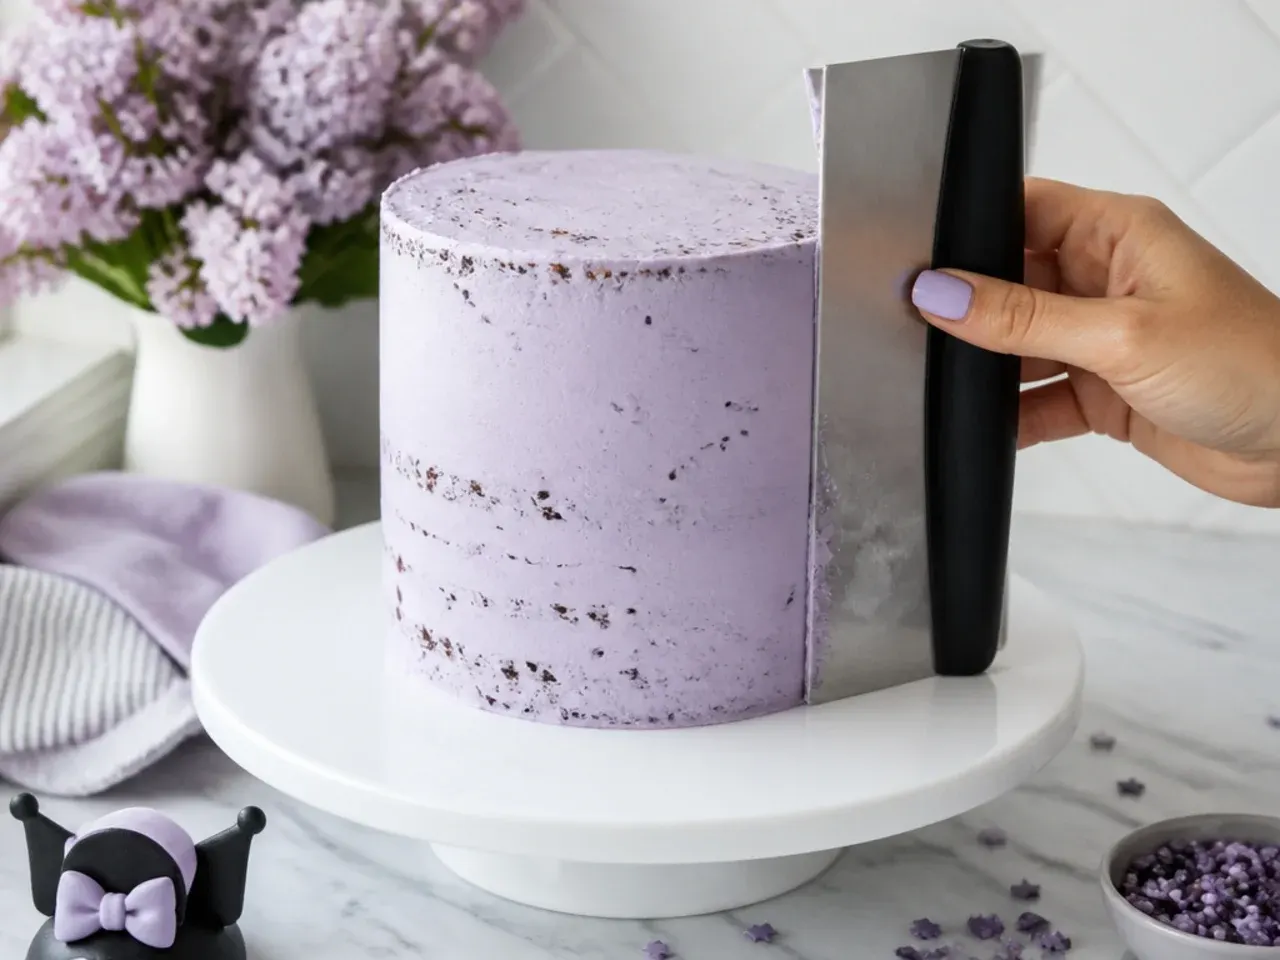
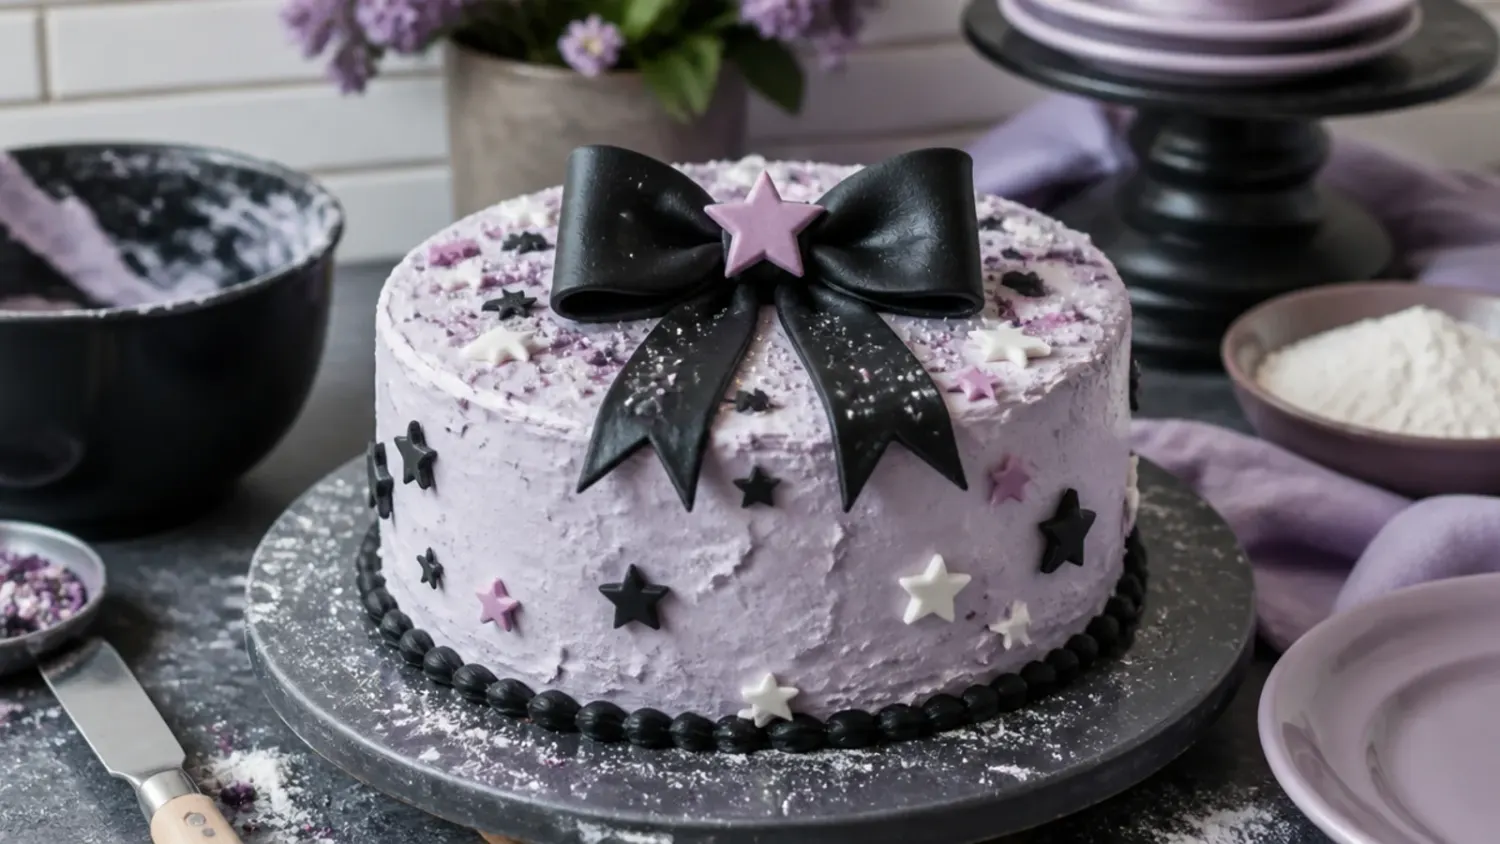
In a rush, I spread lilac buttercream straight onto layers that were still faintly warm, with no crumb coat, and the frosting slid, dragged purple-flecked crumbs everywhere, and looked speckled and patchy. Cooling matters more than I realised: I now leave the layers on a wire rack until completely cold, about an hour, or chill them for 30 minutes to be sure. Then I do a thin crumb coat all over to trap the loose crumbs, chill the cake for 20 minutes in the fridge, and only then apply the final lilac coat and smooth it with a bench scraper. That two-coat routine is the single biggest difference between my first cake and my third. A quick 15-minute chill again before piping the black details stops them sinking into soft frosting.
Lesson 4: My Fondant Ears and Bow Cracked and Drooped
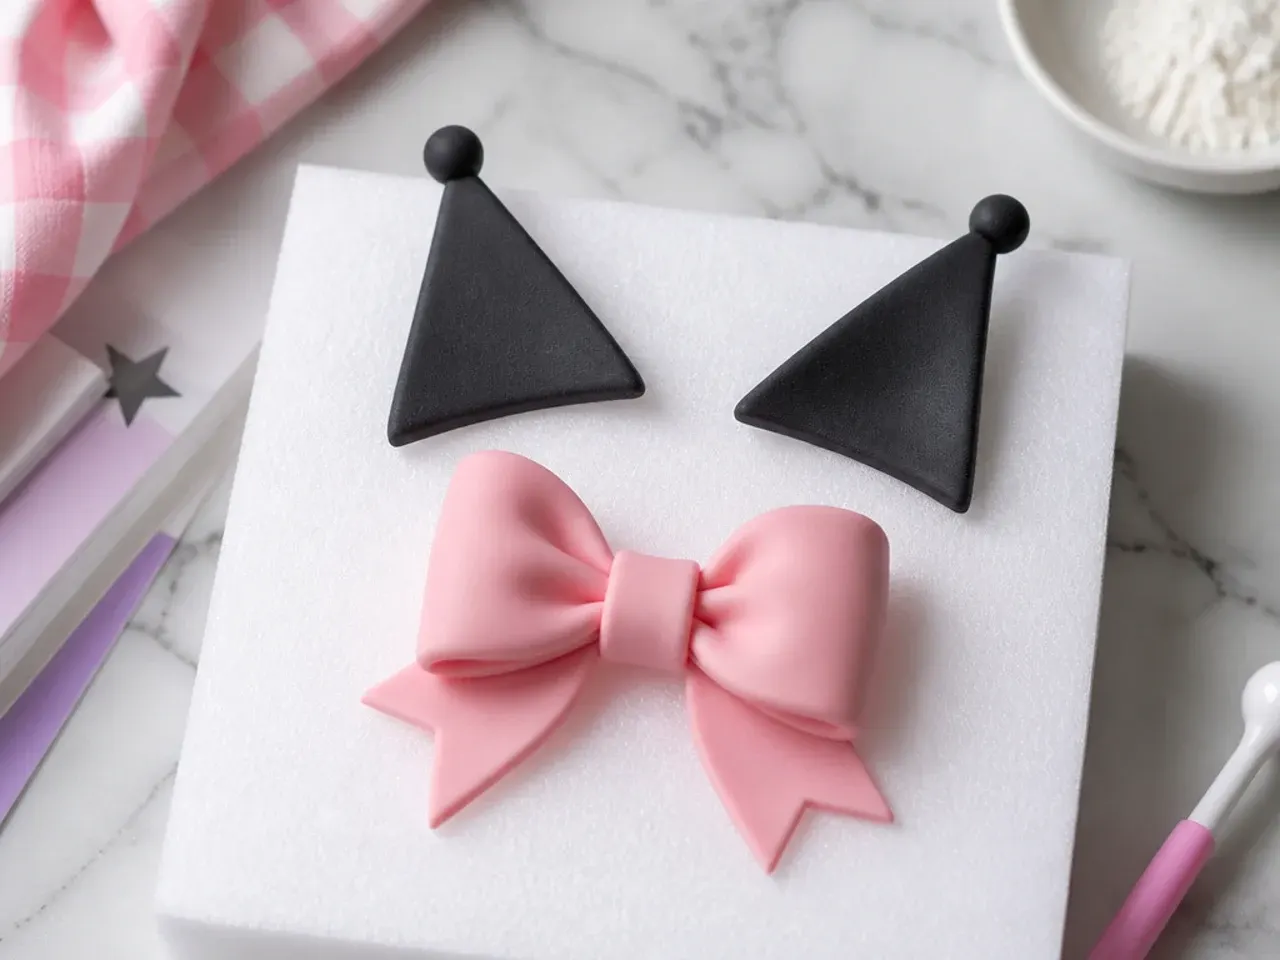
The Kuromi-inspired ear shapes and pink bow were the part I was most excited about, and they were the first to fail, cracking at the edges and slowly sagging by the time cake was served. I'd rolled the fondant too thin and made the pieces the same morning, so they never firmed up. Now I roll fondant to about 3mm, cut the pointed ear shapes and bow loops a day ahead, and leave them to dry on a foam pad overnight so they hold their shape. For anything standing upright, like the ears, I push a short piece of dry spaghetti or a lollipop stick into the cake as a hidden support before pressing the fondant on. A tiny smear of buttercream glues each piece in place, and I keep the finished cake out of the fridge's humidity until an hour before serving so the fondant doesn't turn sticky.
Lesson 5: My Purple Went Muddy and I Crammed on Too Many Details
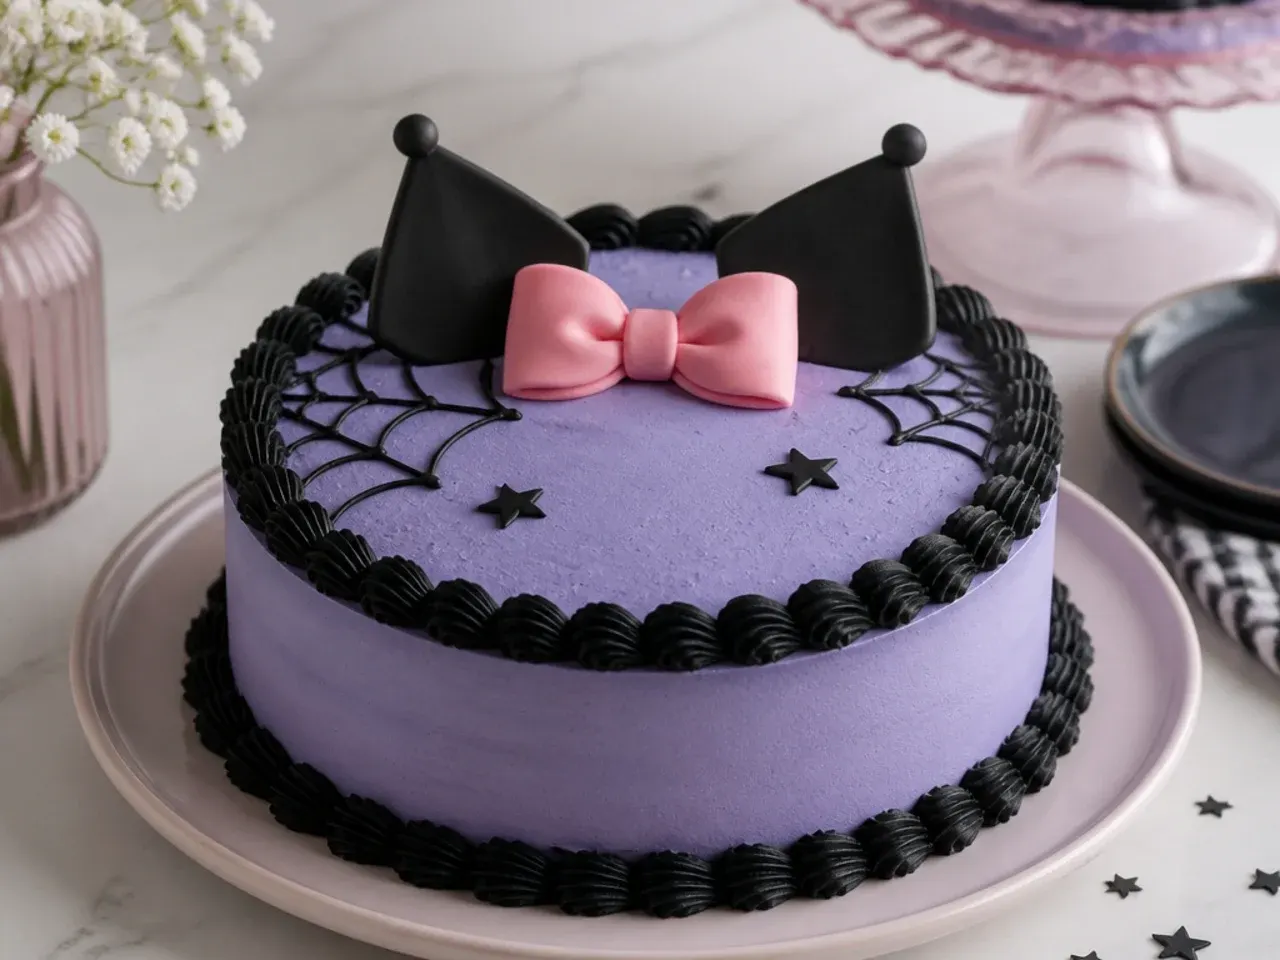
I mixed my purple by eye with a random blob of blue and red liquid colour, and it came out a dull greyish mauve, then I tried to rescue the cake by piling on every idea at once, bows, dots, stars and a drip, until it looked chaotic. Gel is the fix for the colour: I use a proper violet or regal purple gel a couple of dots at a time, and if I'm blending my own I lean slightly more pink than blue for that warm Kuromi-inspired lilac, then wait 30 minutes because the shade keeps developing. For the design, I now pick one lilac base plus one or two accents, black shell borders with a Wilton 21 tip and a single pink fondant bow, and stop there. Restraint reads as deliberate; clutter reads as panic, and I've learned to trust the palette to do the work.
What I'd Tell a Friend Trying This
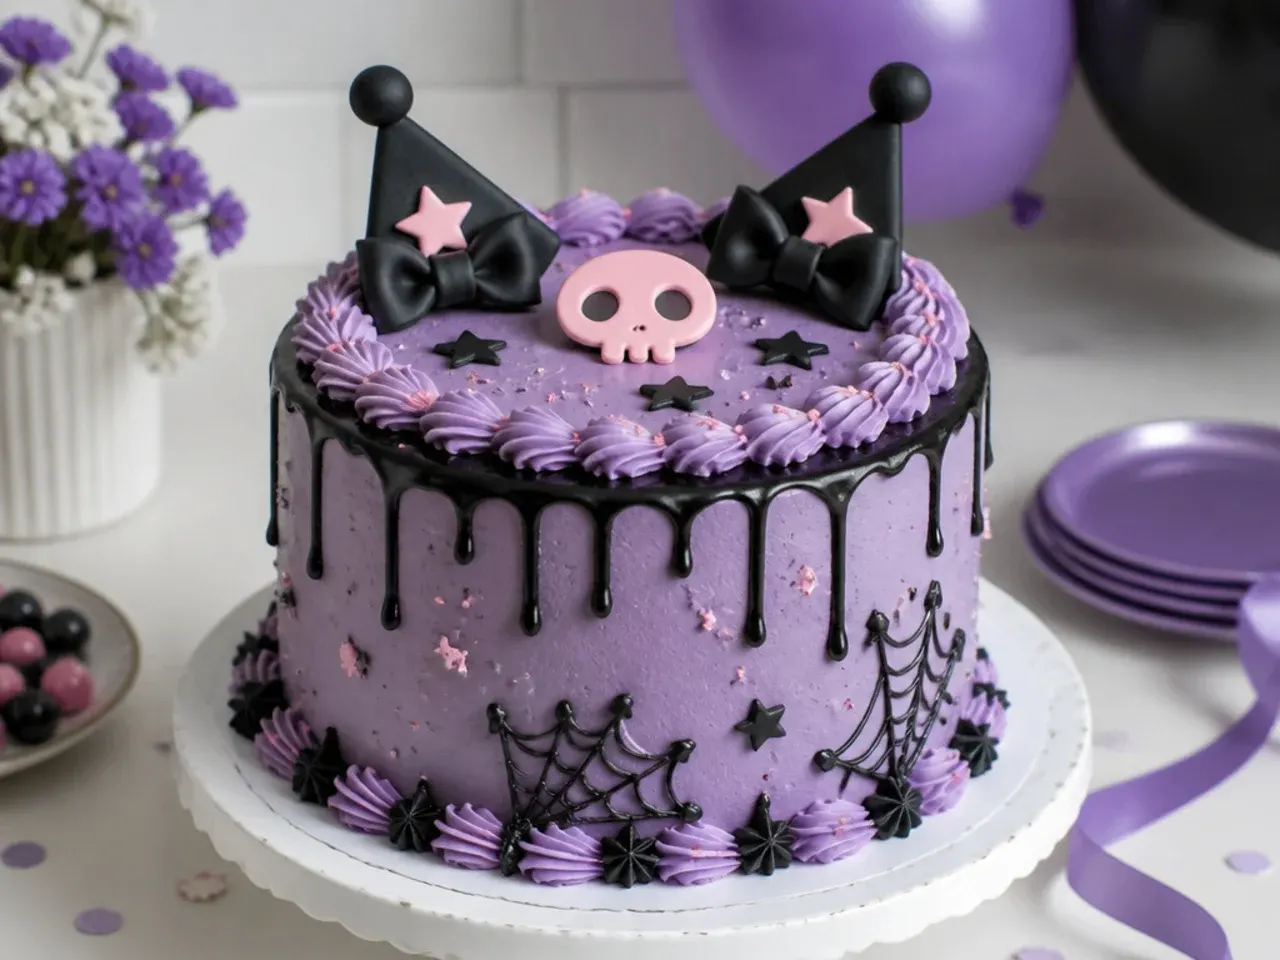
If you're making a homemade Kuromi cake for the first time, spread the job over two days so you're not doing everything at once, and it becomes genuinely fun. Bake the sponges and mix the black buttercream the day before, letting the buttercream rest overnight to deepen; cut and dry any fondant ears and bows overnight too. On decorating day, work with a cold cake, do a crumb coat, chill, then the final coat, and lean on gel colours for a clean lilac and a true black. Keep the design simple and let the purple, black and pink palette carry the theme rather than trying to recreate every feature perfectly. The finished cake keeps for 3 days covered at cool room temperature, and honestly, my daughter loved the wonky first one just as much, so don't let a mistake ruin the day.
The Recipe
The Recipe I Used
40 min
28 min
1 hr 8 min
12
Beginner
Ingredients 12 Person(s)
Directions
Step 1: Prep pans, oven and ingredients
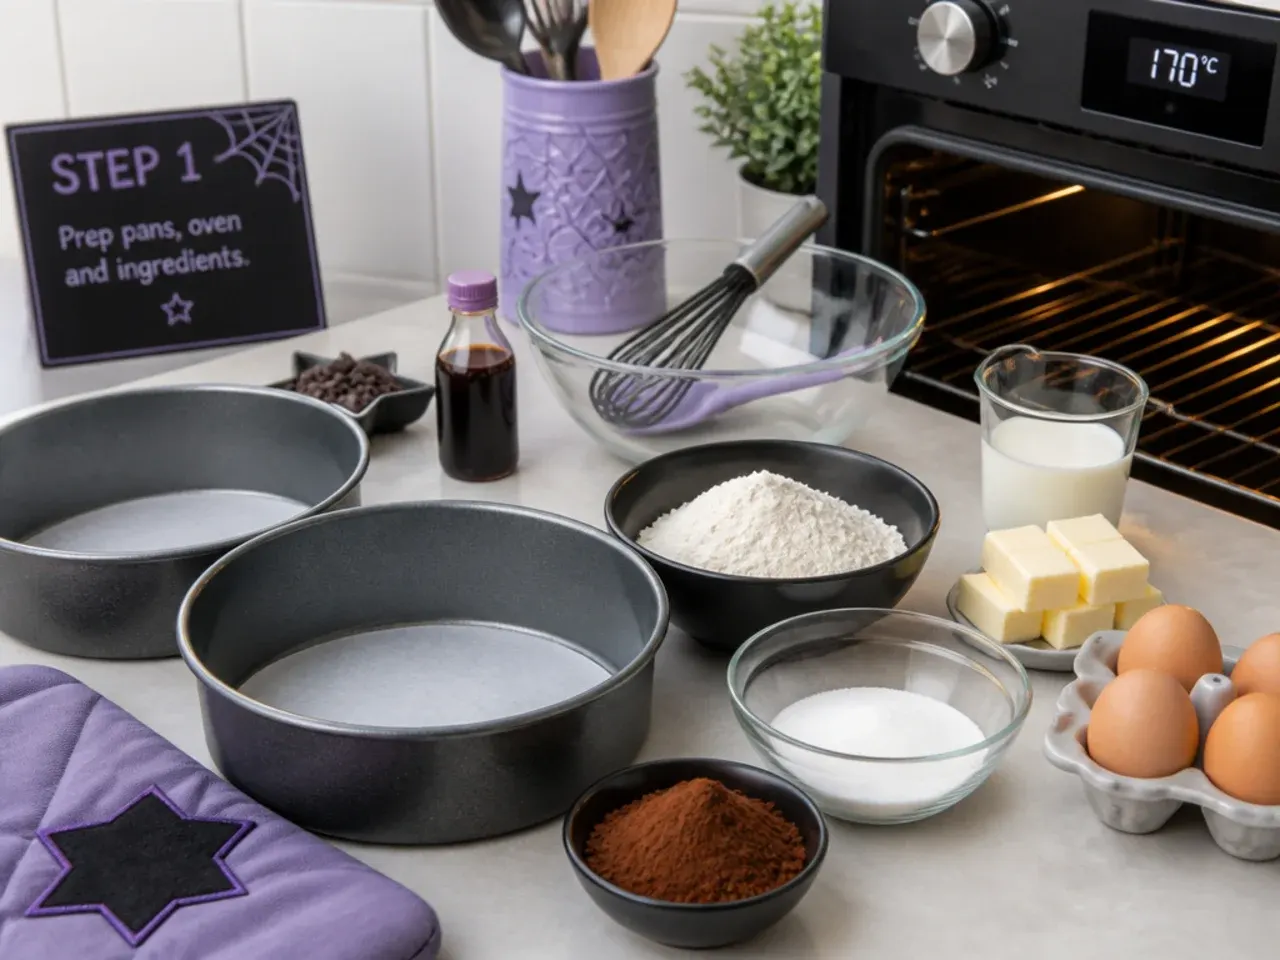
Heat the oven to 180°C/350°F (160°C fan). Grease two 20cm (8in) round pans, line the bases with baking parchment and dust the sides with flour. Weigh everything out and let the butter, eggs and milk come fully to room temperature, since cold ingredients cause a curdled, dense batter. The butter is ready when a finger leaves a dent without sinking straight through.
Step 2: Cream the butter and sugar
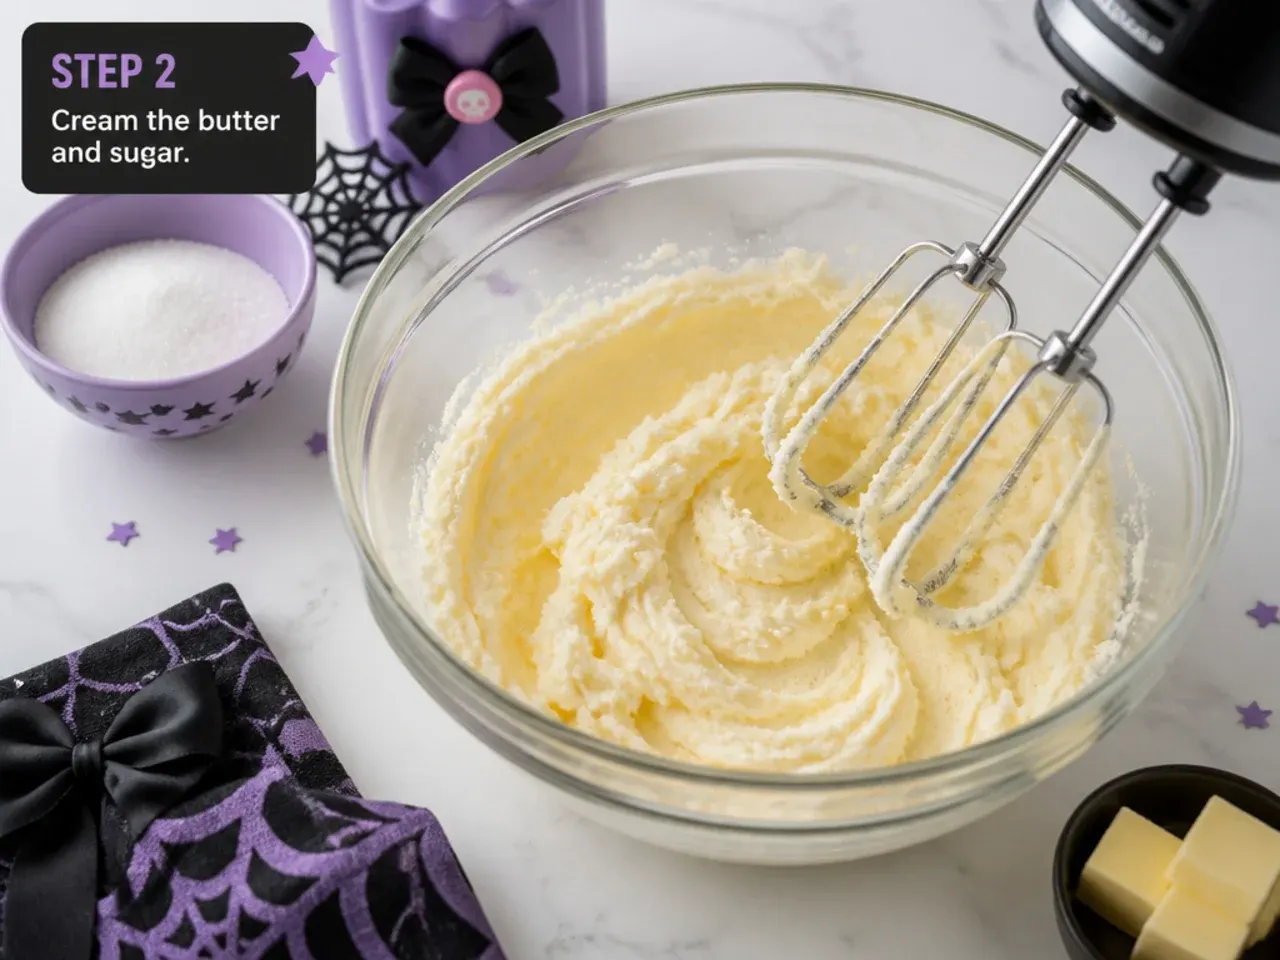
Beat 225g softened butter with 225g caster sugar on medium-high for a full 3 minutes, scraping the bowl down halfway. Don't rush this, because the air you whip in now is what makes the sponge rise light and level. It's ready when the mixture has turned noticeably paler, almost white, and looks fluffy like whipped frosting.
Step 3: Add eggs and vanilla
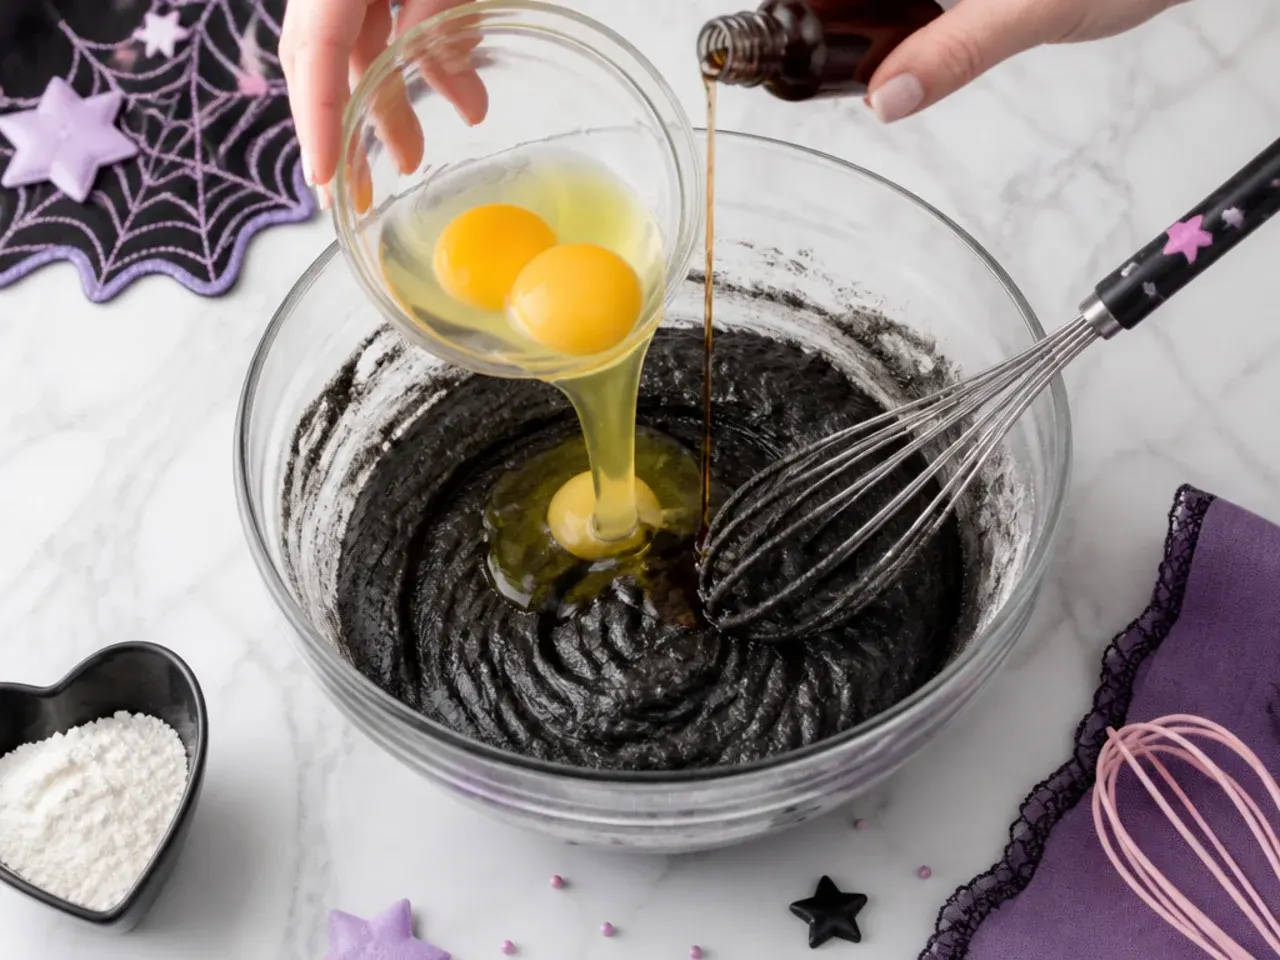
Add the 4 eggs one at a time, beating 30 seconds after each, then beat in 2 teaspoons of vanilla. If it looks curdled or split, add a tablespoon of your measured flour and keep beating and it will come back smooth. The finished mixture should look glossy, thick and completely uniform.
Step 4: Fold in flour and milk (don't overmix)
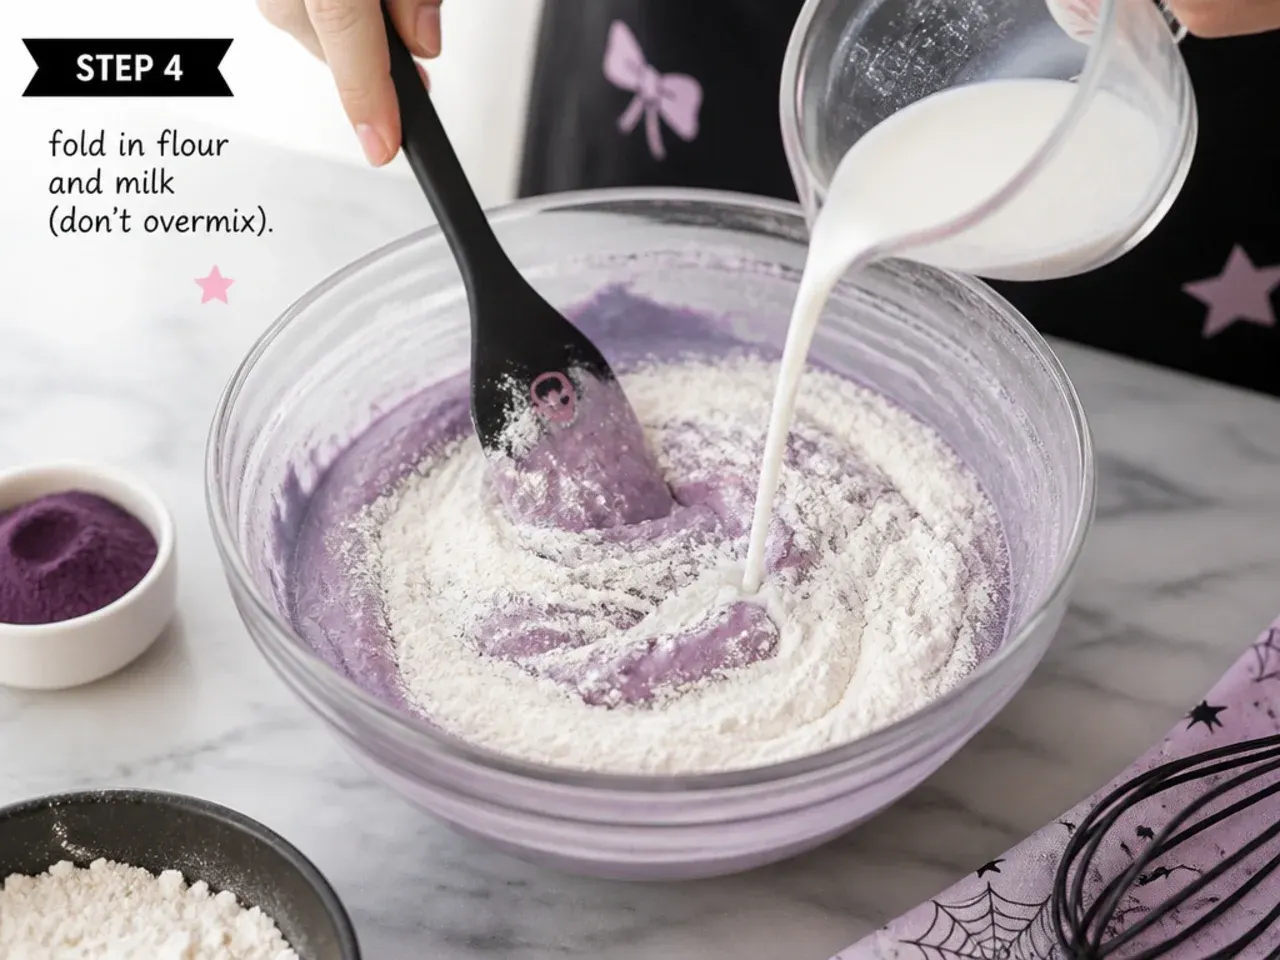
Whisk the 250g flour with 2.5 teaspoons baking powder and 0.25 teaspoon salt. Add half to the batter on the lowest speed, pour in the 120ml milk, mix briefly, then add the rest and mix only until no dry streaks remain, about 20 seconds. This is the mistake I made first: overmixing here knocks the air out and gives a dense, sunken cake, so stop the moment it comes together.
Step 5: Bake and cool completely
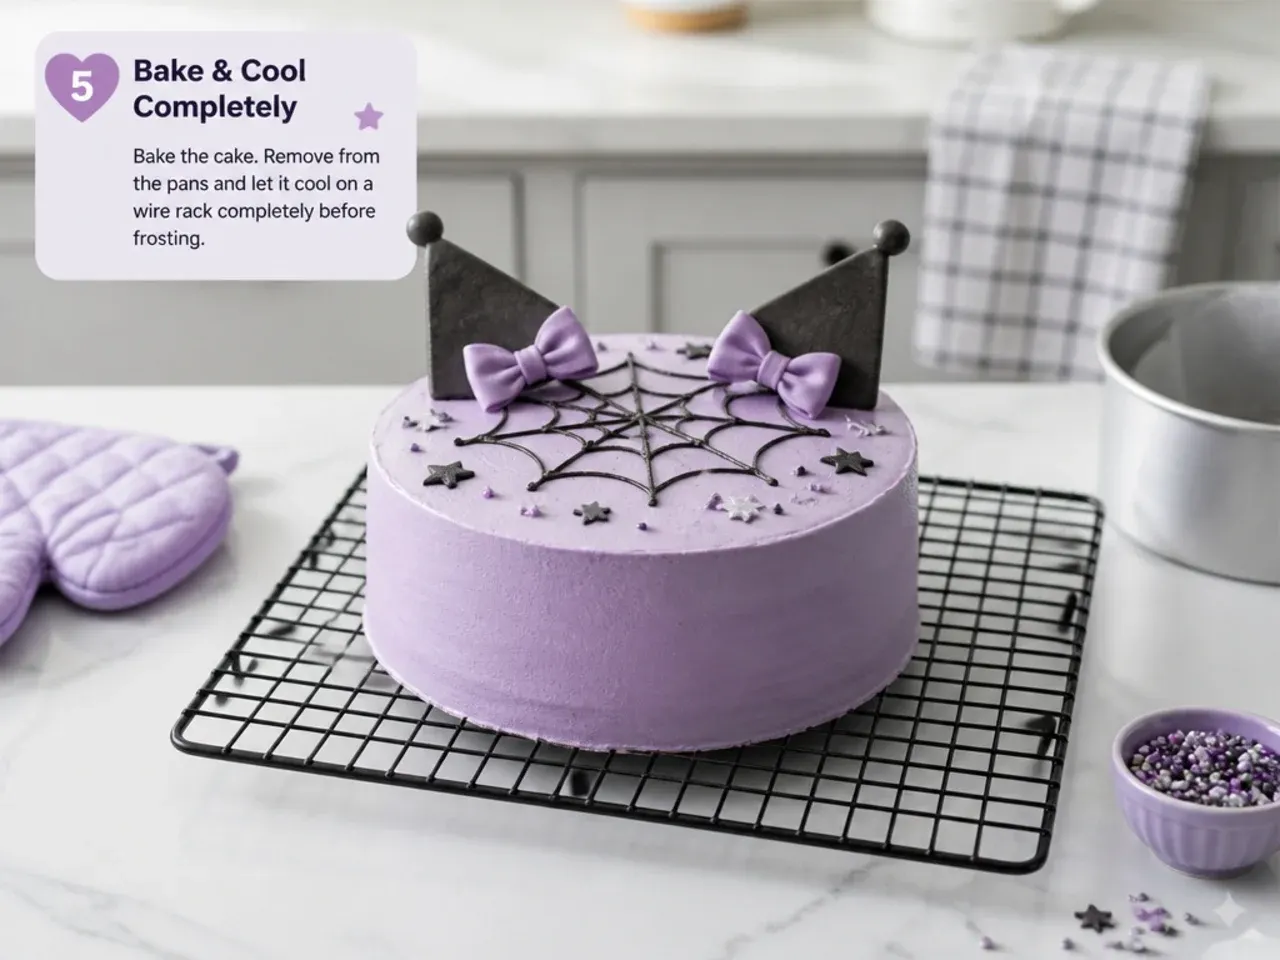
Divide the batter evenly between the pans (about 525g each) and smooth the tops. Bake at 180°C/350°F for 25-28 minutes, until golden, springy to a light press, and a skewer comes out clean. Cool in the pans for 10 minutes, then turn out onto a wire rack until completely cold, about 1 hour, because frosting a warm cake melts the buttercream and drags crumbs.
Step 6: Make and rest the buttercream (day ahead)
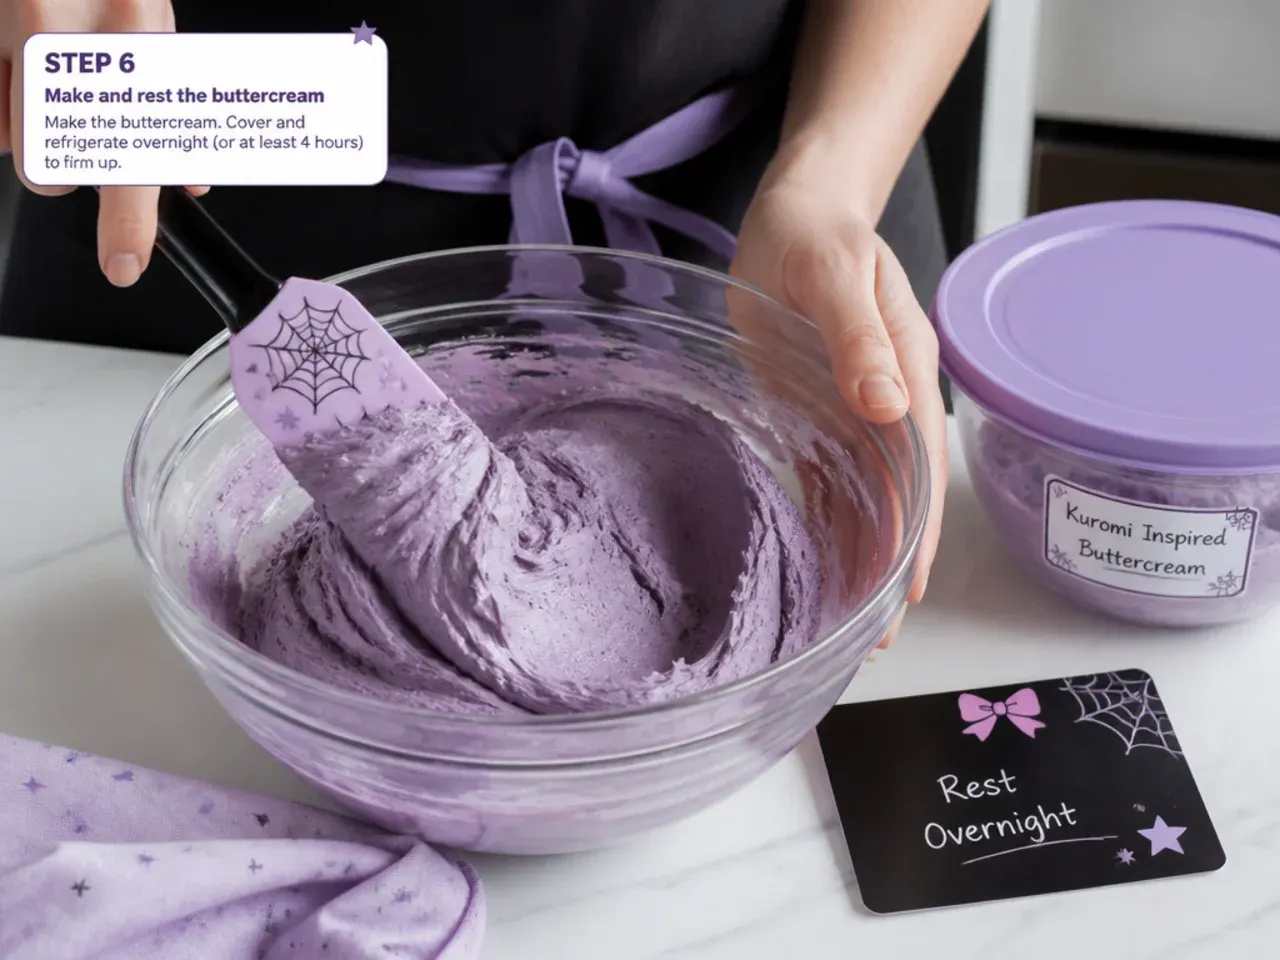
Beat 250g softened butter for 2 minutes until pale, then add 500g sifted icing sugar in two additions on low speed. Beat in 2 tablespoons of milk and 1 teaspoon of vanilla for 3 minutes until spreadable. Tint two-thirds soft lilac with 2-3 dots of violet gel. For the black third, beat in 40g black cocoa first, then a little Super Black gel, press cling film onto the surface and rest it overnight so it deepens to true black without turning bitter or grey; finish the mixing by hand so you don't whip it pale.
Step 7: Crumb coat, chill, decorate
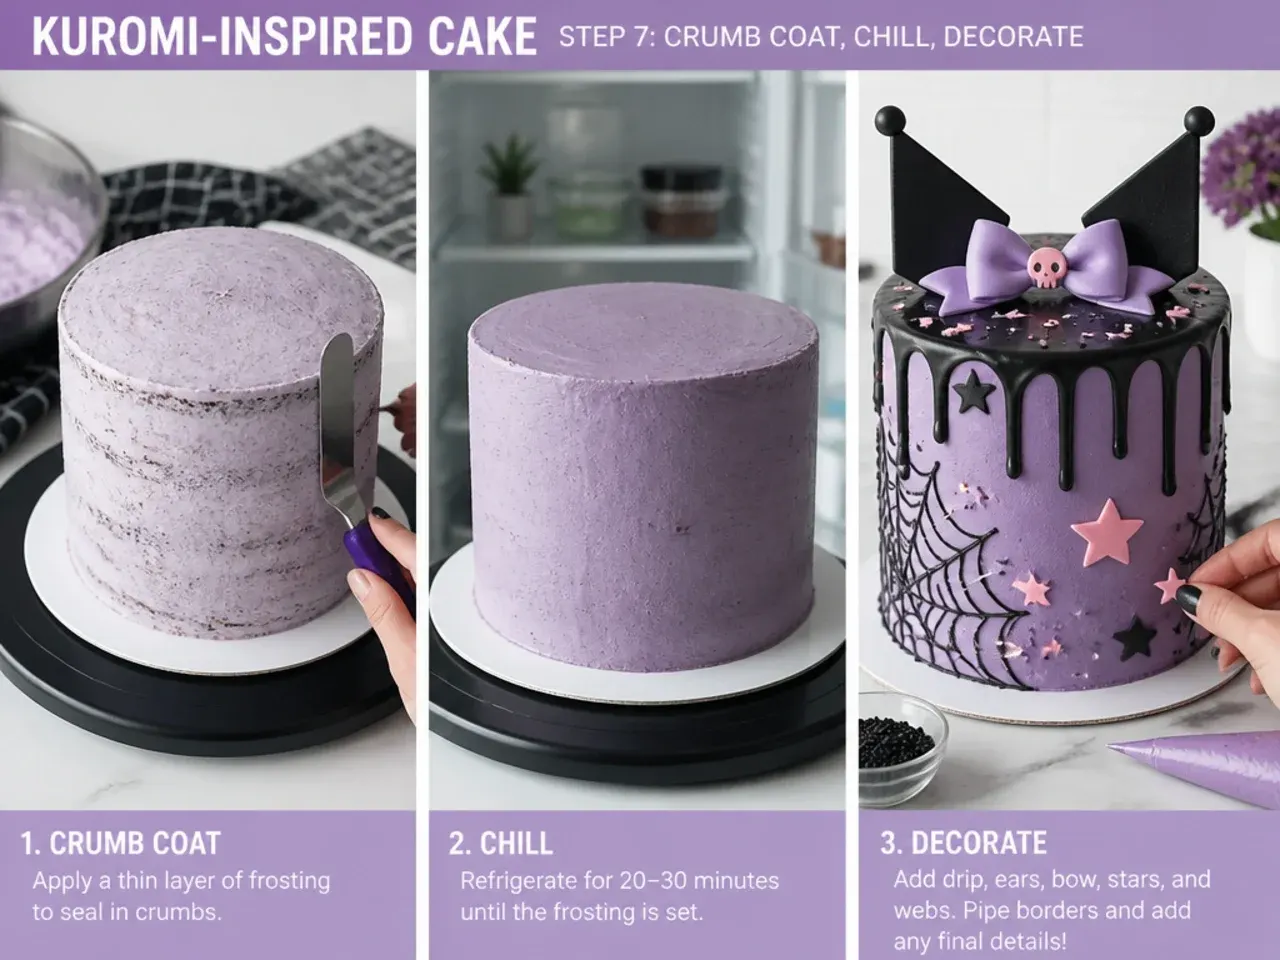
Level the domes, sandwich the cold layers with about 150g lilac buttercream, then spread a thin crumb coat all over and chill for 20 minutes. Apply the final lilac coat, smooth with a bench scraper, and chill again for 15 minutes. Pipe black shell borders with a Wilton 21 tip and add a single pink fondant bow; keep the design simple and let the purple, black and pink palette carry the Kuromi-inspired theme.
Frequently Asked Questions
There's no set flavour, because the look comes entirely from the purple, black, pink and white palette, so any sponge works underneath. Vanilla and chocolate are the safest bets for kids' parties, while ube, blackberry and cookies-and-cream suit the colour scheme naturally. I'd pick the birthday person's favourite and let the decoration do the theming.
Save this for later 📌
Pin this article to your Pinterest board so the full list is one tap away when you need it.
Save on Pinterest